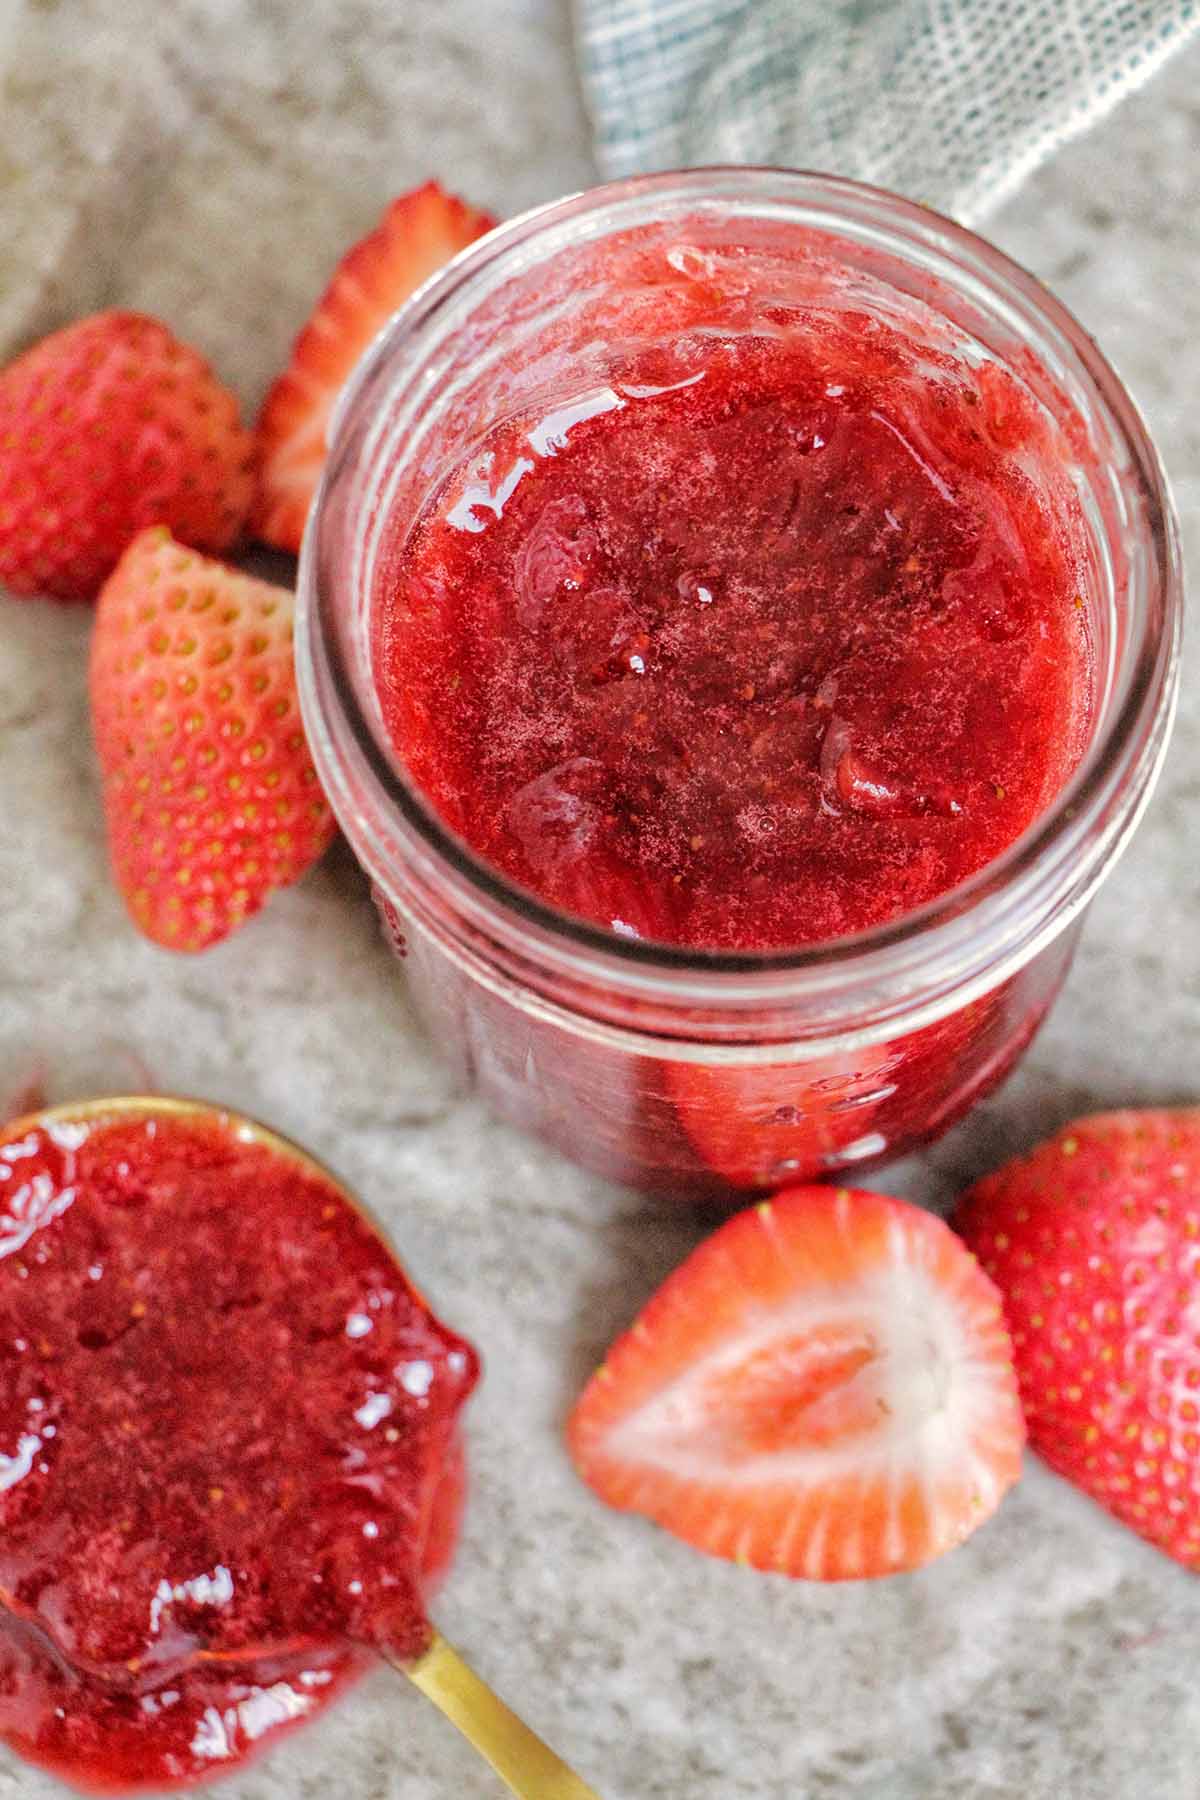
This strawberry jam is made completely from scratch (it's easier than you think)! Try making jam with fresh, frozen, or even strawberries that are past their prime.
Want To Save This Article?
Enter your email below and we'll send it straight to your inbox. Plus, you'll receive new weekly recipe inspiration.
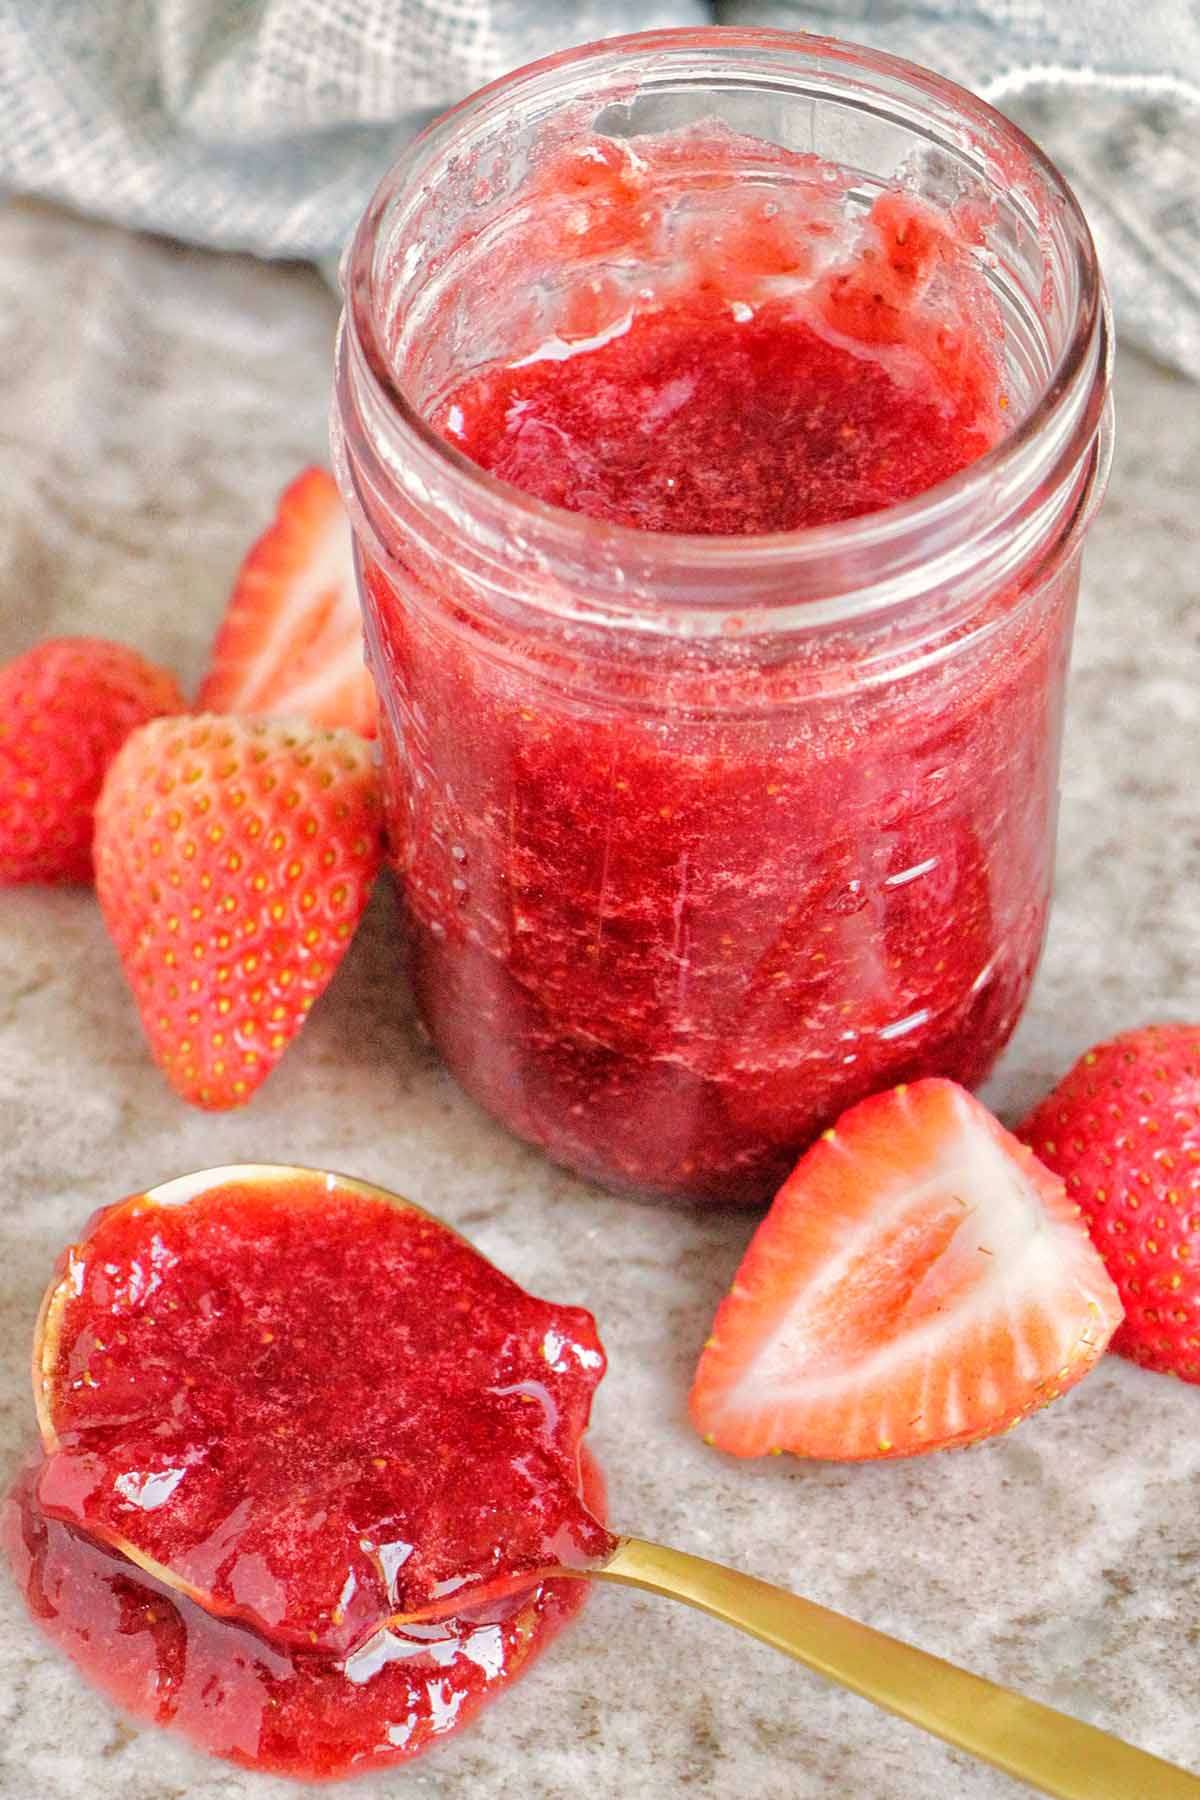
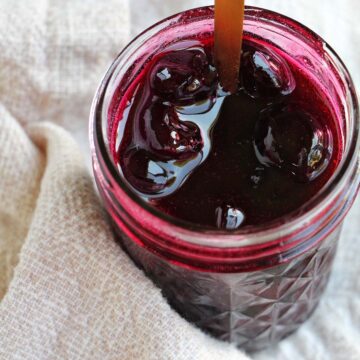
Strawberry jam on a thick piece of sourdough toast might just be my favorite thing to eat for breakfast!
No matter how hard I try to eat all the strawberries in the carton before they get soft and mushy, I always end up with a few bad ones. This recipe is perfect to make with those 'not so perfect' strawberries.
I'll teach you all my favorite tricks to ensure your jam turns out thick and delicious.
Jump to:
What You'll Learn In This Recipe
- Using fresh, frozen, or 'past their prime' strawberries for jam.
- Tips to ensure your jam is thick enough.
- How to store jam in the fridge or freezer.
For more tips and tricks to help level up your baking game, check out my top 10 secrets to becoming a better baker.
Ingredients You Need
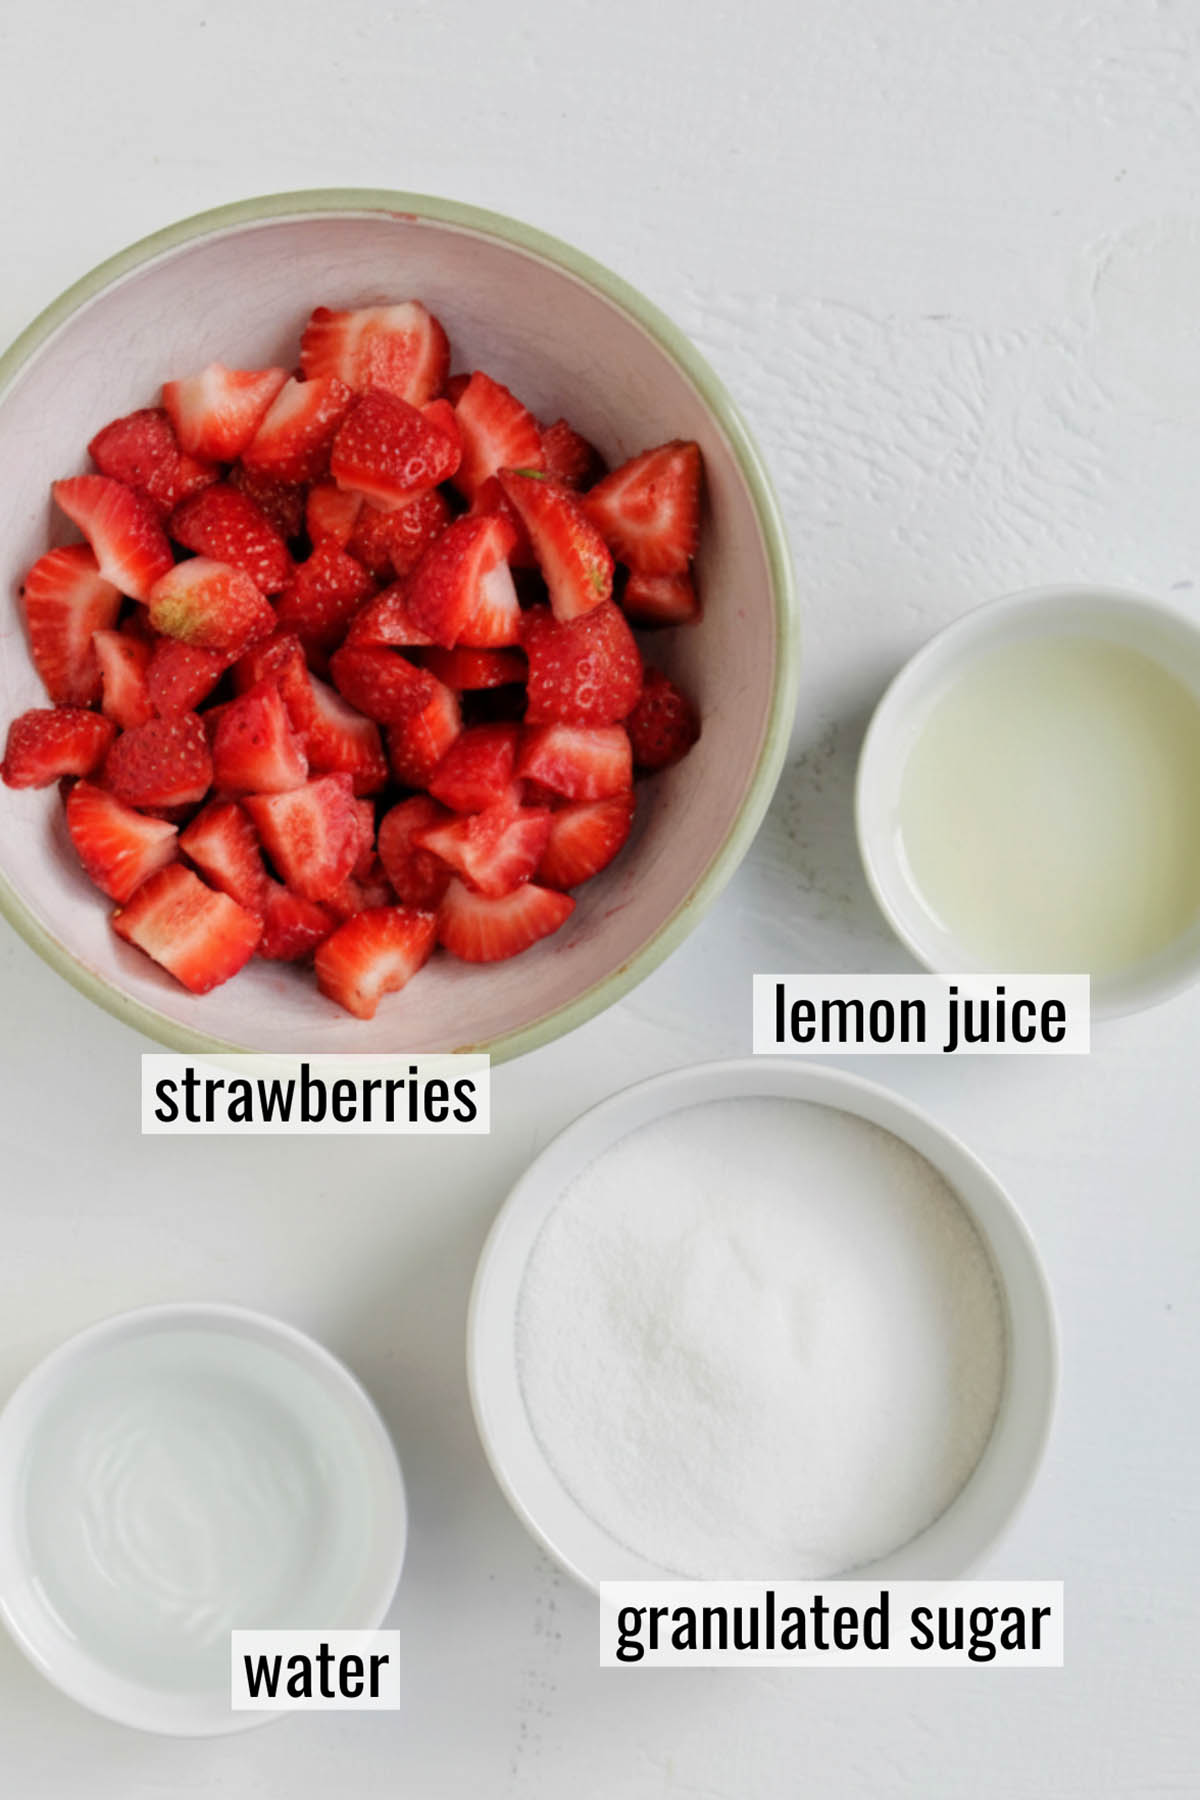
- Strawberries: Both fresh and frozen strawberries will work! You can even use mushy or older strawberries, just make sure to cut off any moldy spots. To prep for jam, remove the green stem and roughly chop.
- Granulated sugar: Jam uses a lot of sugar, so don't be alarmed at the amount!
- Water: Adding a bit of water ensures the fruit doesn't burn.
- Lemon juice: This adds some additional flavor and tartness to the jam.
How To Make This Recipe
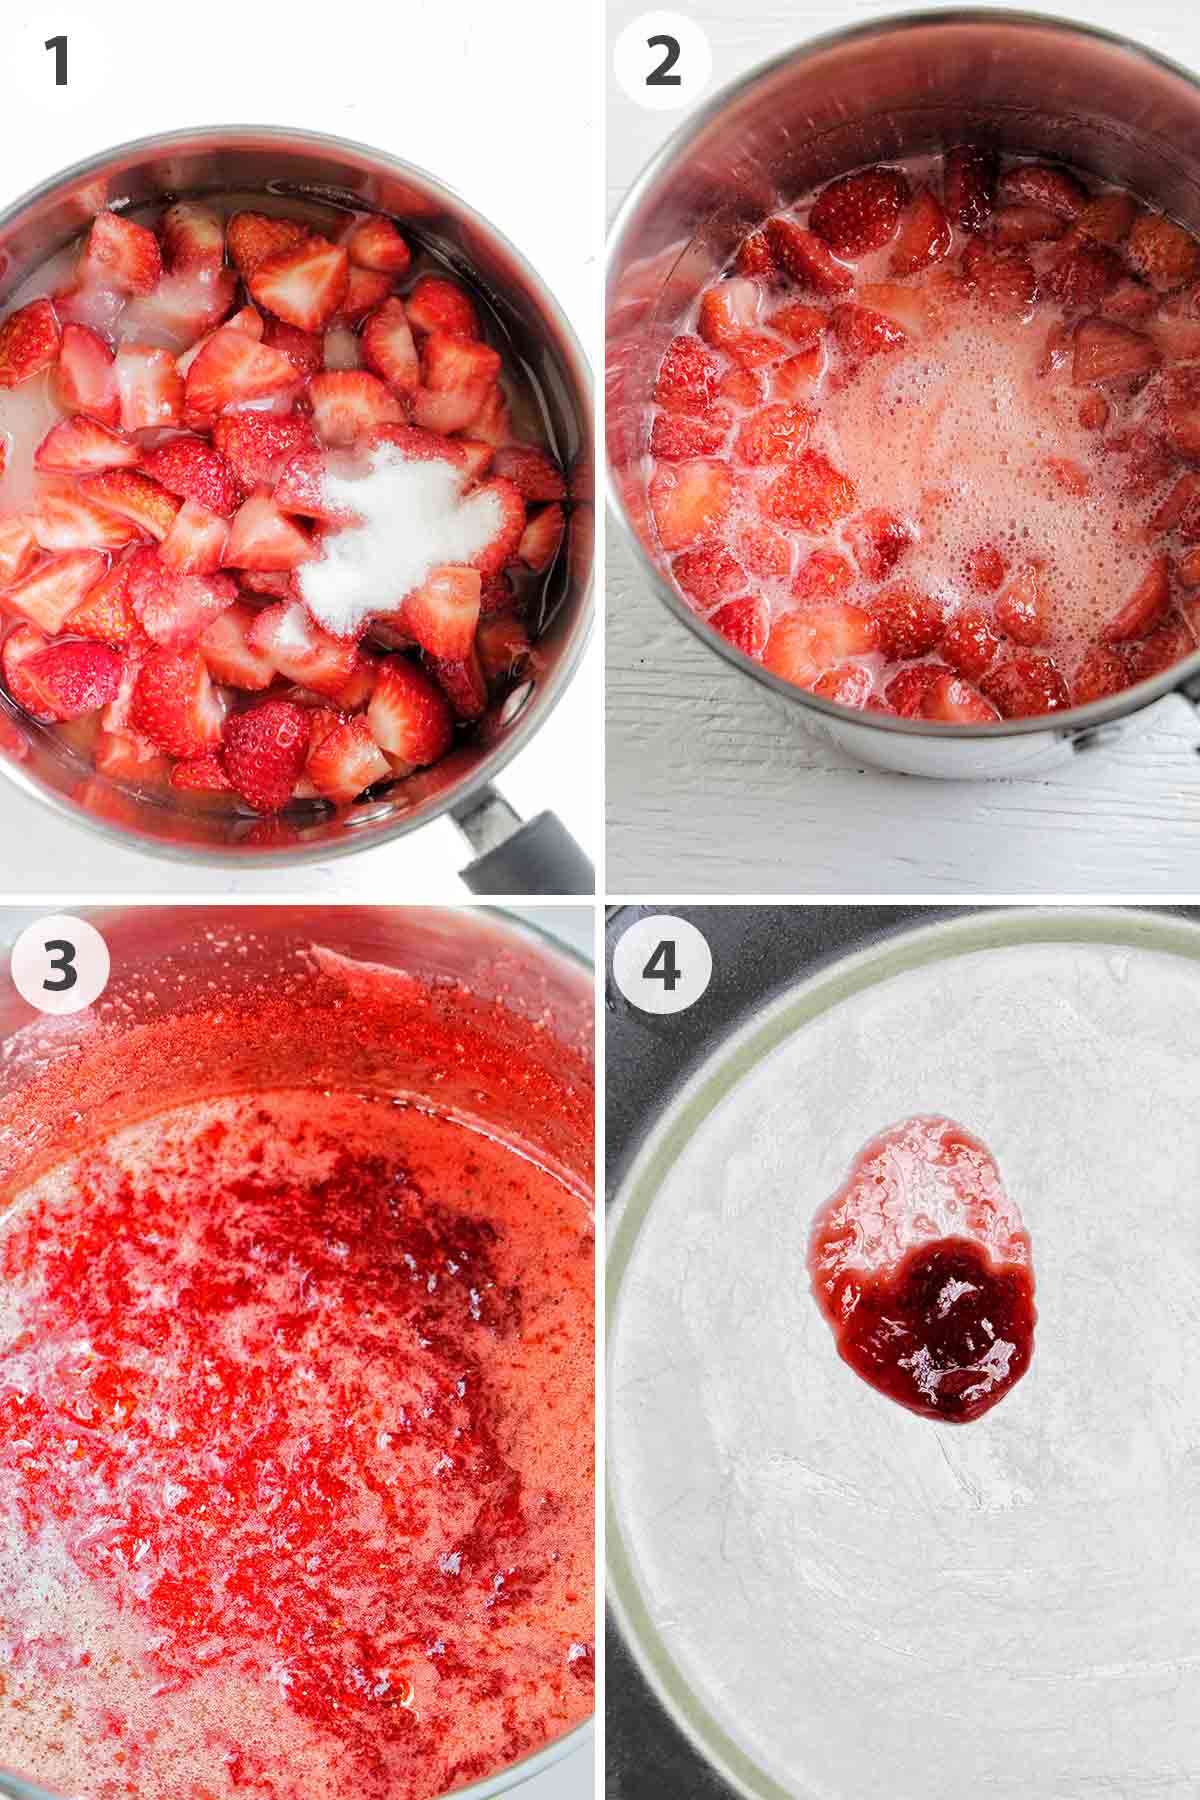
1. Heat the strawberries, granulated sugar, water, and lemon juice over medium-high heat in a saucepan until it's boiling.
2. Next, reduce the heat to medium and continuously stir.
3. Don't be tempted to walk away! Watch as the jam cooks down and thickens.
4. To test that the jam is thick enough, place a plate in the refrigerator until chilled. Place a small dollop of jam on the chilled plate. If the jam stiffens, it’s fully cooked. If liquid runs from the jam, it needs to continue cooking.
Remember, the jam will continue to thicken as it cools, so don't overcook it.
Expert Tips
- Storage: The jam can be stored in an airtight container in the refrigerator for up to 1 - 2 weeks. Alternatively, store in the freezer for up to 2 months.
- To prevent sugar crystals from forming in the final jam, you can brush the sugar off the sides of the saucepan with a pastry brush dipped in cold water.
- If you'd like, you can remove any foam that might form with a spoon to ensure a beautiful final jam.
Recipe FAQs
No, this recipe has not been developed for the purpose of canning. It's a refrigerator/freezer jam.
It's good practice to always ensure your storage jar has been properly cleaned. Since this isn't a canning recipe, running the jar through the dishwasher is good enough for sanitizing!
If your jam is still runny after attempting the cold plate test, allow it to continue cooking until you notice the jam firms up when it hits the cold plate.
More Jam Recipes
Love this recipe? Please leave a 5-star ⭐⭐⭐⭐⭐ rating in the recipe card below. Have questions as you're cooking? Leave a comment below, and I'll help!

Strawberry Jam (Without Pectin)
Equipment
- medium sized saucepan
- spoon
- plate
- small bowl
Ingredients
- 1 ½ cups hulled and roughly chopped strawberries
- ¾ cup granulated sugar
- ¼ cup water
- 1 tablespoon lemon juice
Instructions
- Heat strawberries, granulated sugar, water, and lemon juice over medium high heat in a medium sized saucepan until boiling.
- Reduce the heat to medium. Cook, stirring often, until the fruit has thickened. To test that the jam is thick enough, place a plate in the refrigerator until chilled. Place a small dollop of jam on the chilled plate. If the jam stiffens, it’s fully cooked. If liquid runs from the jam, it needs to continue cooking.
- Transfer jam to a small bowl, and refrigerate for 1 hour until fully cooled.
- Store in an airtight container in the refrigerator for up to 1 - 2 weeks.


Leave a Reply