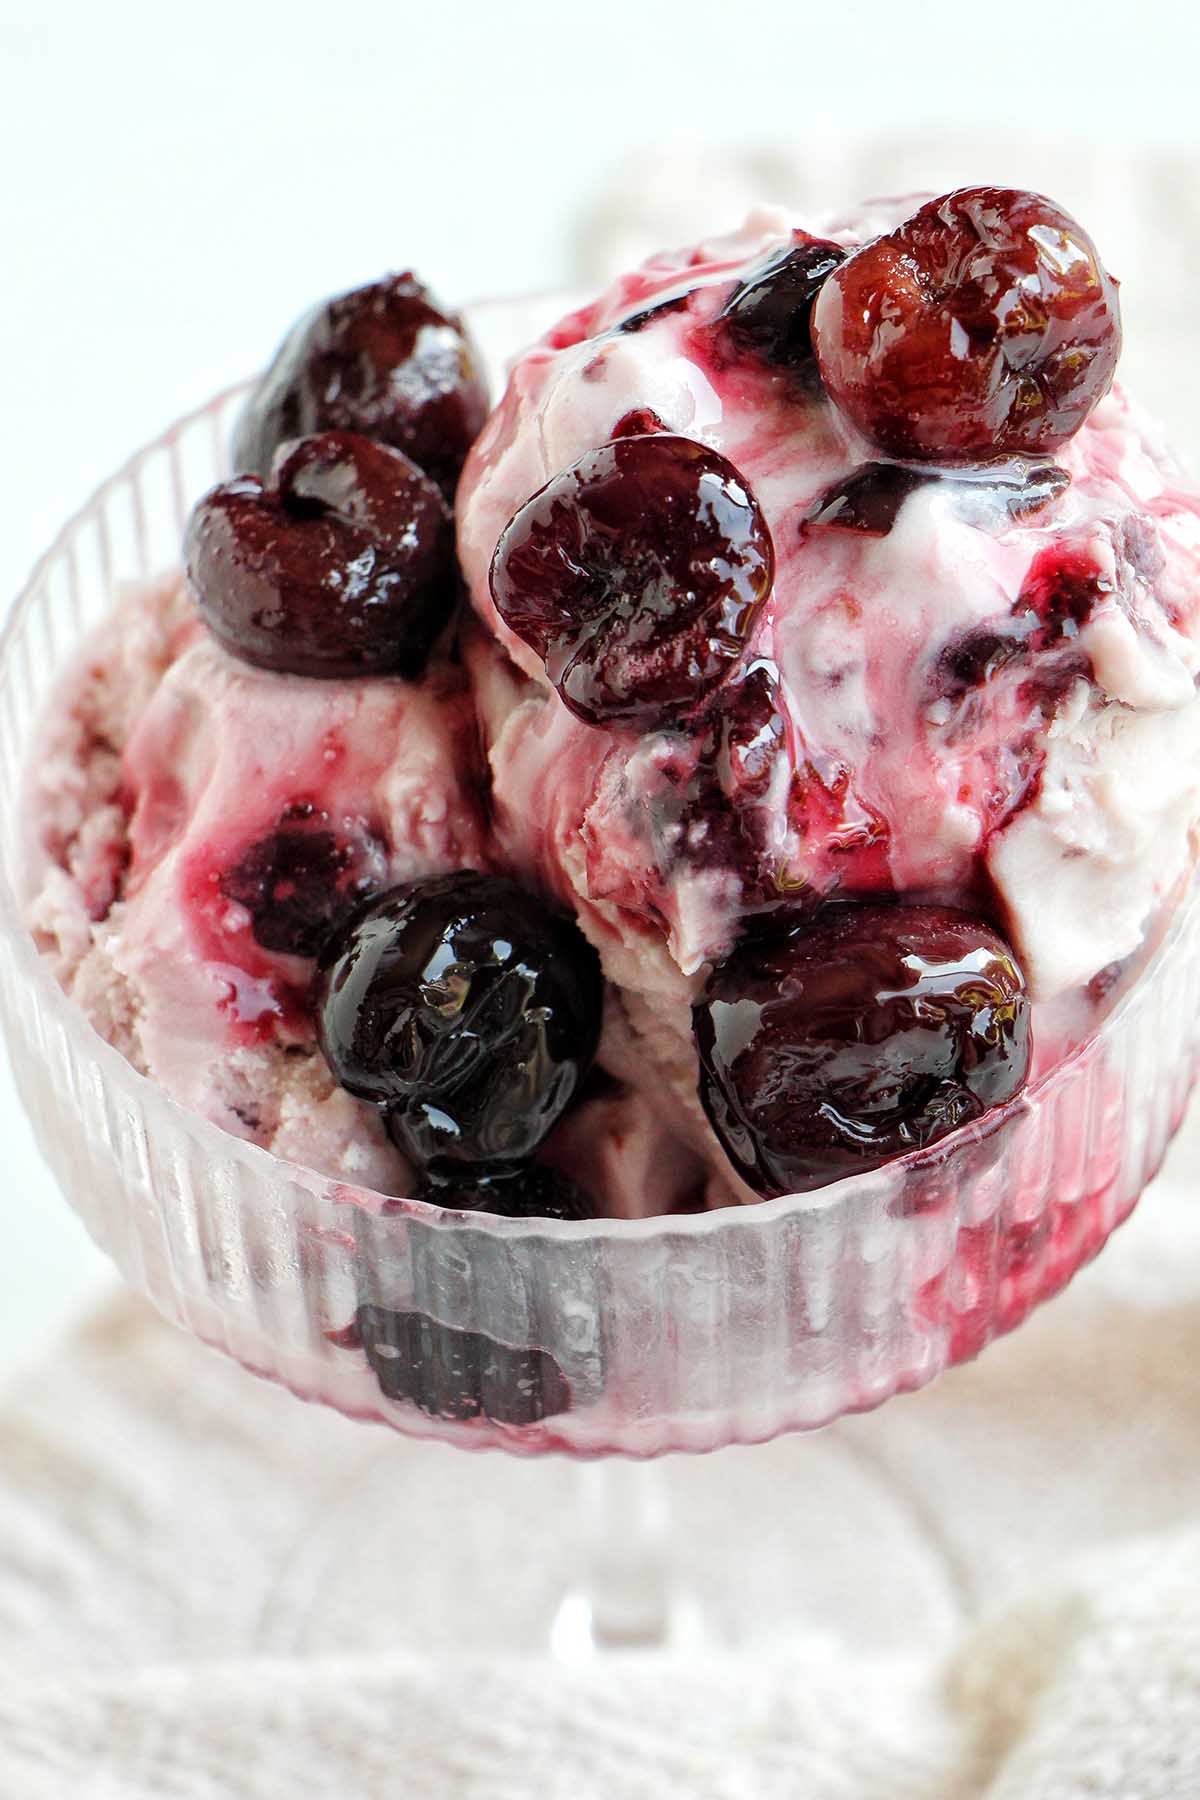
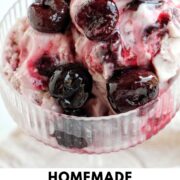
With just six ingredients, you can make homemade black cherry ice cream right at home. This Philadelphia-style ice cream is made without eggs, making it a great beginner-friendly recipe if you’re new to making ice cream.
Want To Save This Article?
Enter your email below and we'll send it straight to your inbox. Plus, you'll receive new weekly recipe inspiration.
Once summer hits, you can pretty much count on my ice cream machine being out on the counter, churning a new flavor.
This flavor was inspired by the overflowing bags of summer cherries at the grocery store. I always end up splurging and buying bag after bag while they're in season, because I just can't resist them!
While this recipe uses frozen black sweet cherries (so you can make it any time of the year), it's even better made with fresh, in-season cherries.
Jump to:
What You'll Learn In This Recipe
- How to make ice cream without eggs, and the secret ingredient you'll need to use instead of eggs to keep the ice cream super creamy.
- Why stabilizers are an important part of ice cream.
- How to substitute frozen cherries for fresh cherries.
Want even more delicious homemade ice cream recipes? Grab my free recipes, sent straight to your inbox!
Ingredients You Need
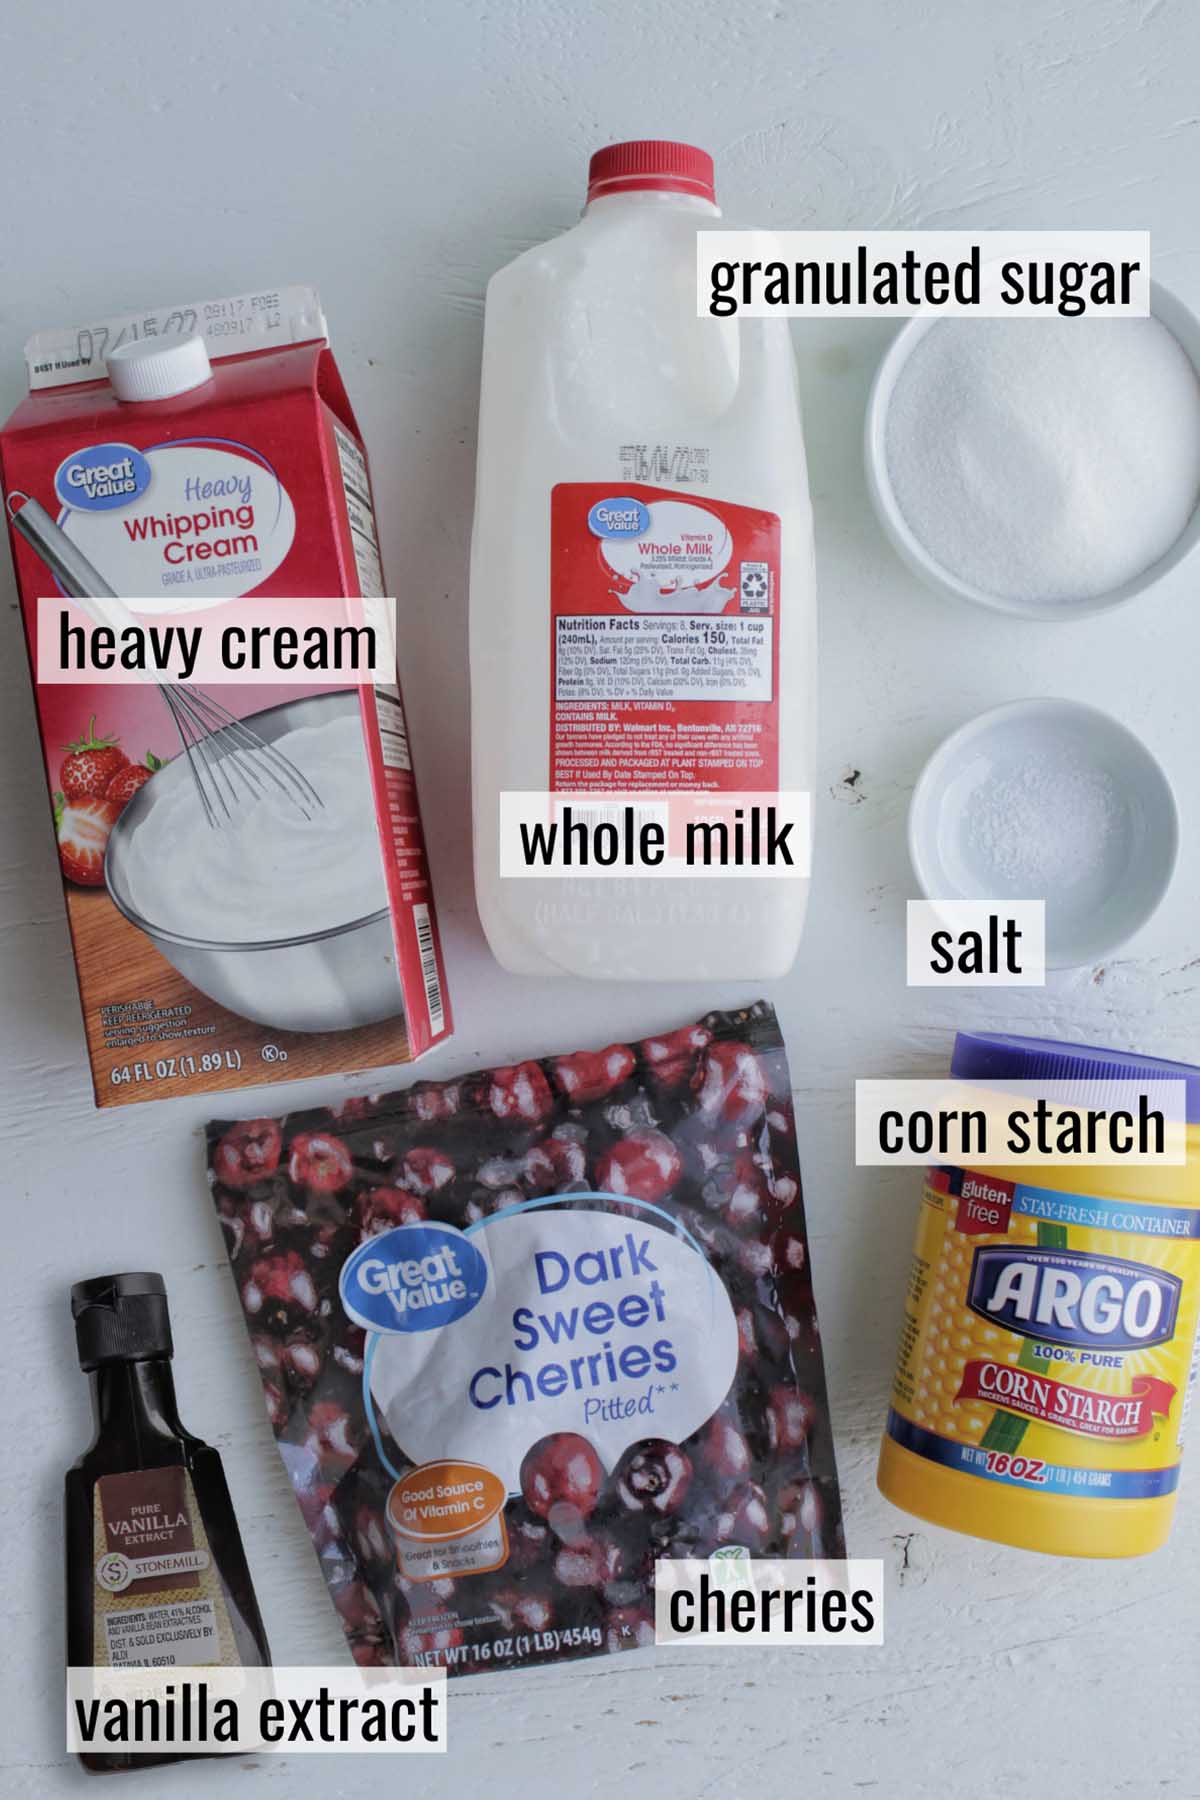
- Sweet Black Cherries: You can use either fresh or frozen black cherries. Other varieties will work as well. Feel free to make a double batch of the cooked cherries so you can use half as a topping over the finished ice cream.
- Heavy Cream and Whole Milk: The butterfat helps achieve that creamy, smooth texture. Don't use plant based milk or lower fat milk as a substitute.
- Granulated Sugar: Sugar does more than just sweeten the ice cream. It also helps keep it soft and scoopable by lowering the freezing point, which prevents the ice cream from freezing too hard.
- Cornstarch: Cornstarch acts as a stabilizer in this recipe instead of using egg yolks in the ice cream. It helps thicken the ice cream base and prevents large ice crystals from forming, which keeps the texture smooth and creamy.
Check out the recipe card for the complete list of ingredients and quantities.
How To Make This Recipe
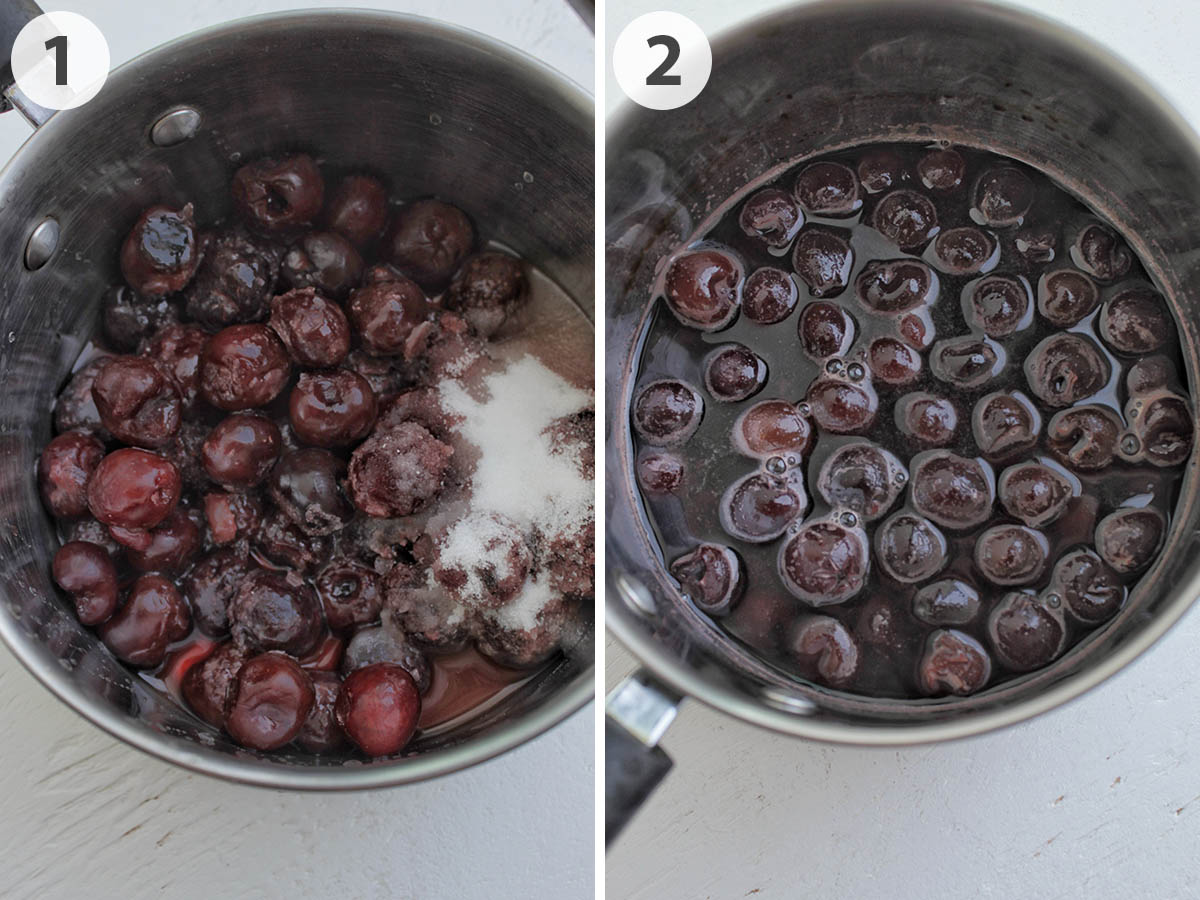
Step 1: Add the cherries (frozen or fresh), along with ¼ cup (50 grams) granulated sugar and water to a saucepan.
Step 2: Cook over medium heat until the cherries have broken down, softened, and a thickened syrup forms in the bottom. Then allow the cherries to fully cool and store them in the fridge for later.
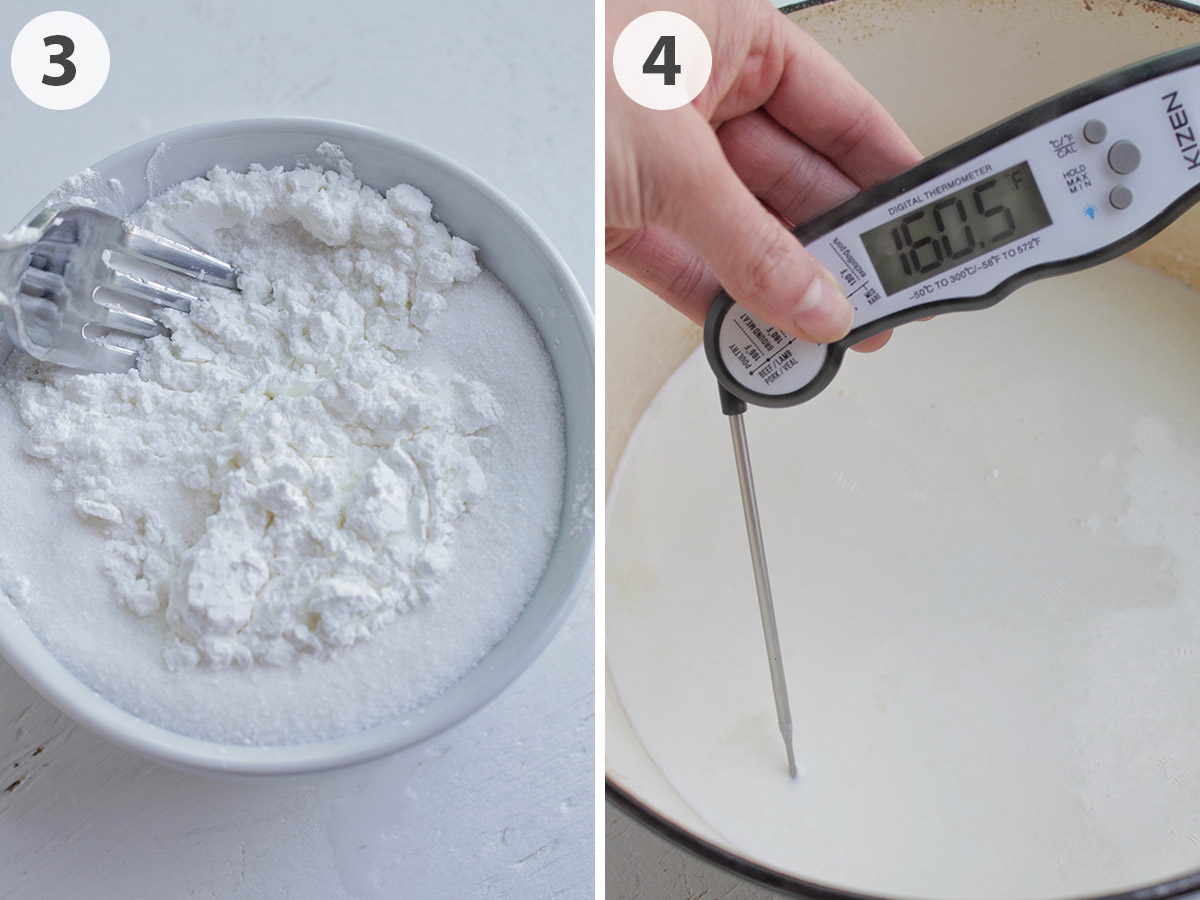
Step 3: Mix the granulated sugar, corn starch, and salt. This helps to prevent the corn starch from clumping up when added to the liquid ingredients.
Step 4: Next, bring the cream and milk up to 160°F (71°C) or until it begins to steam. Don't allow the mixture to boil.
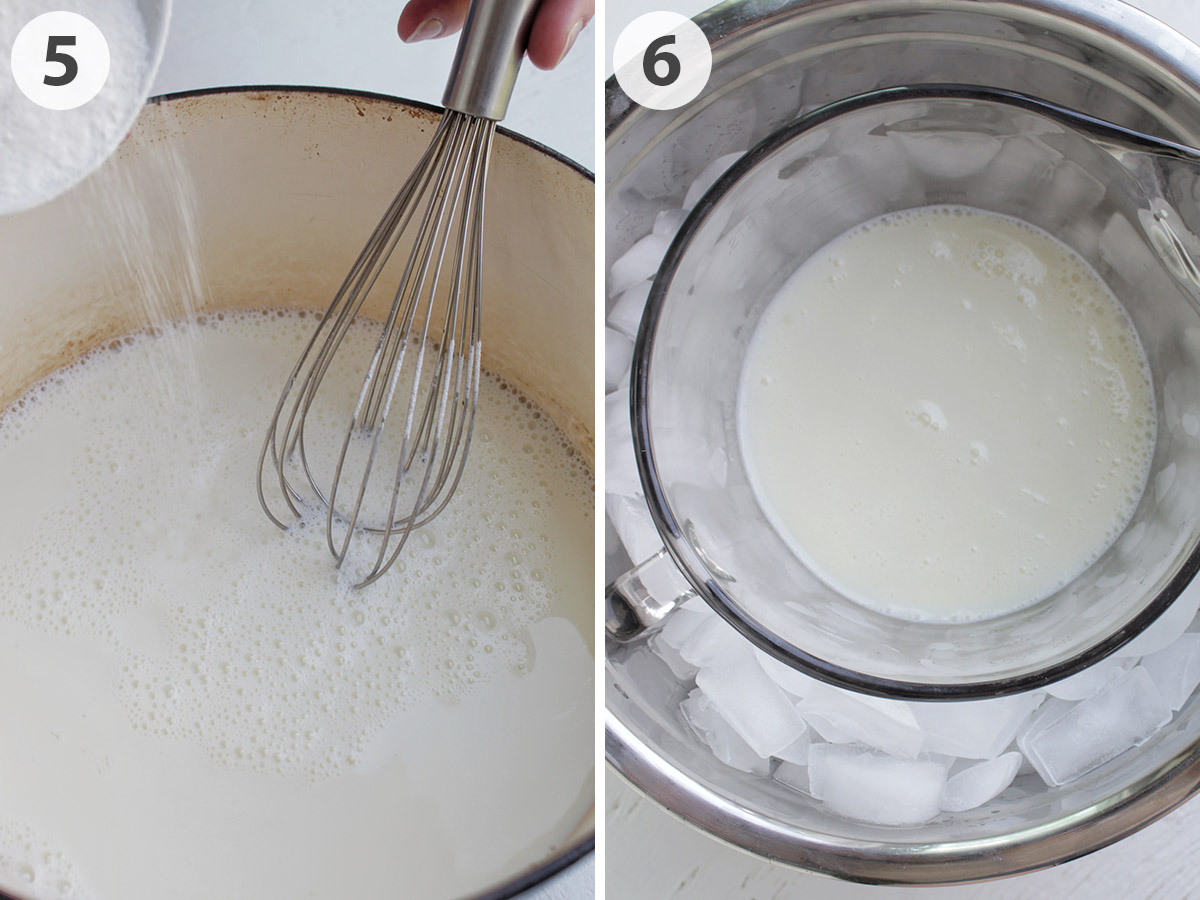
Step 5: Slowly add in the sugar and cornstarch mixture, whisking constantly throughout this process. In order for corn starch to thicken, it has to be activated by heat.
Continue to cook for an additional 2 - 3 minutes until the mixture has visually thickened. You can check this by scooping a bit of the liquid up with a spoon and testing the thickness.
Step 6: Finally, transfer the mixture to a heatproof bowl that's sitting in an ice bath. Allow the mixture to cool down and stop steaming.
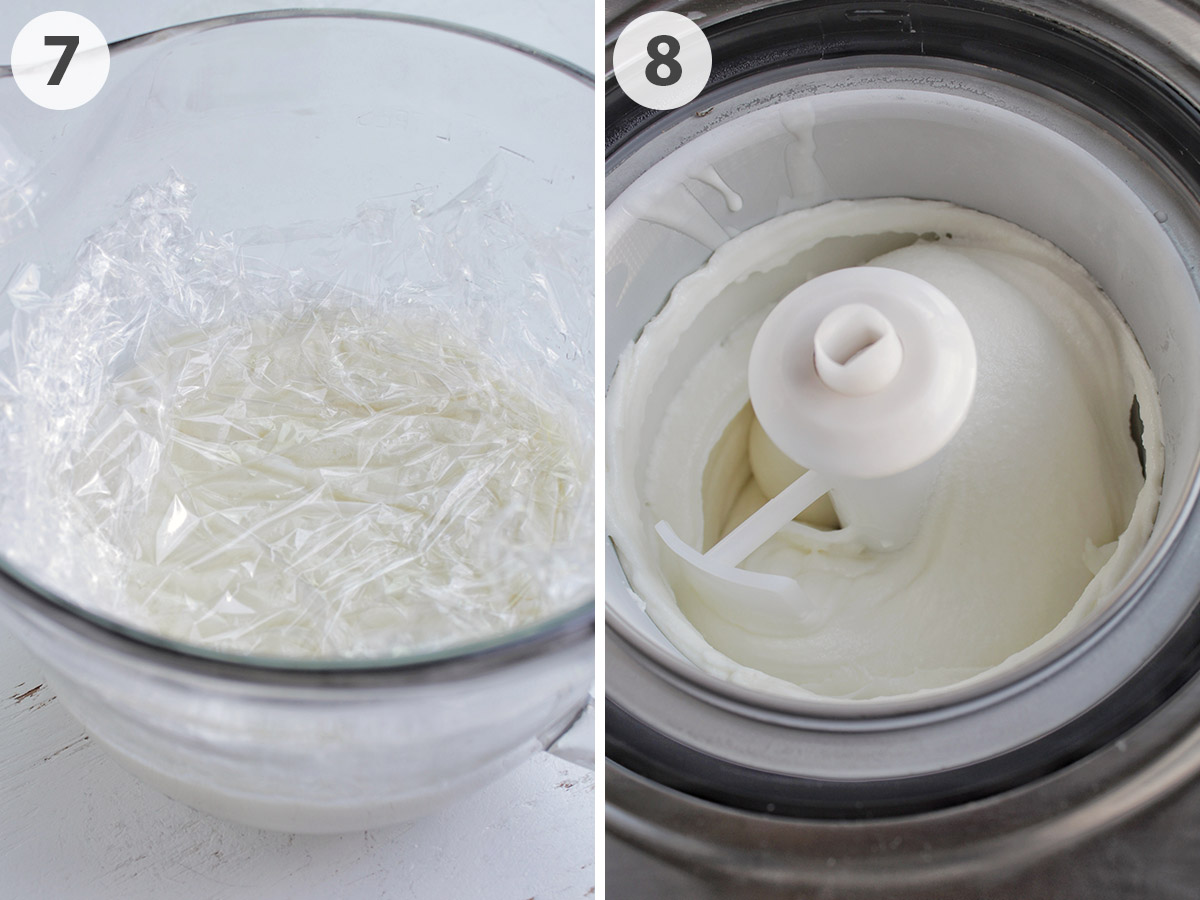
Step 7: Press a piece of plastic wrap over the mixture to prevent a skin from forming on top. Chill the ice cream base until it reaches around 40 - 42°F (4 - 5°C), or overnight.
Step 8: Pour the chilled base into the ice cream maker and allow it to churn for about 20 - 25 minutes. Each ice cream machine is slightly different, so churn according to the manufacturer's directions. You're looking for a soft serve consistency.
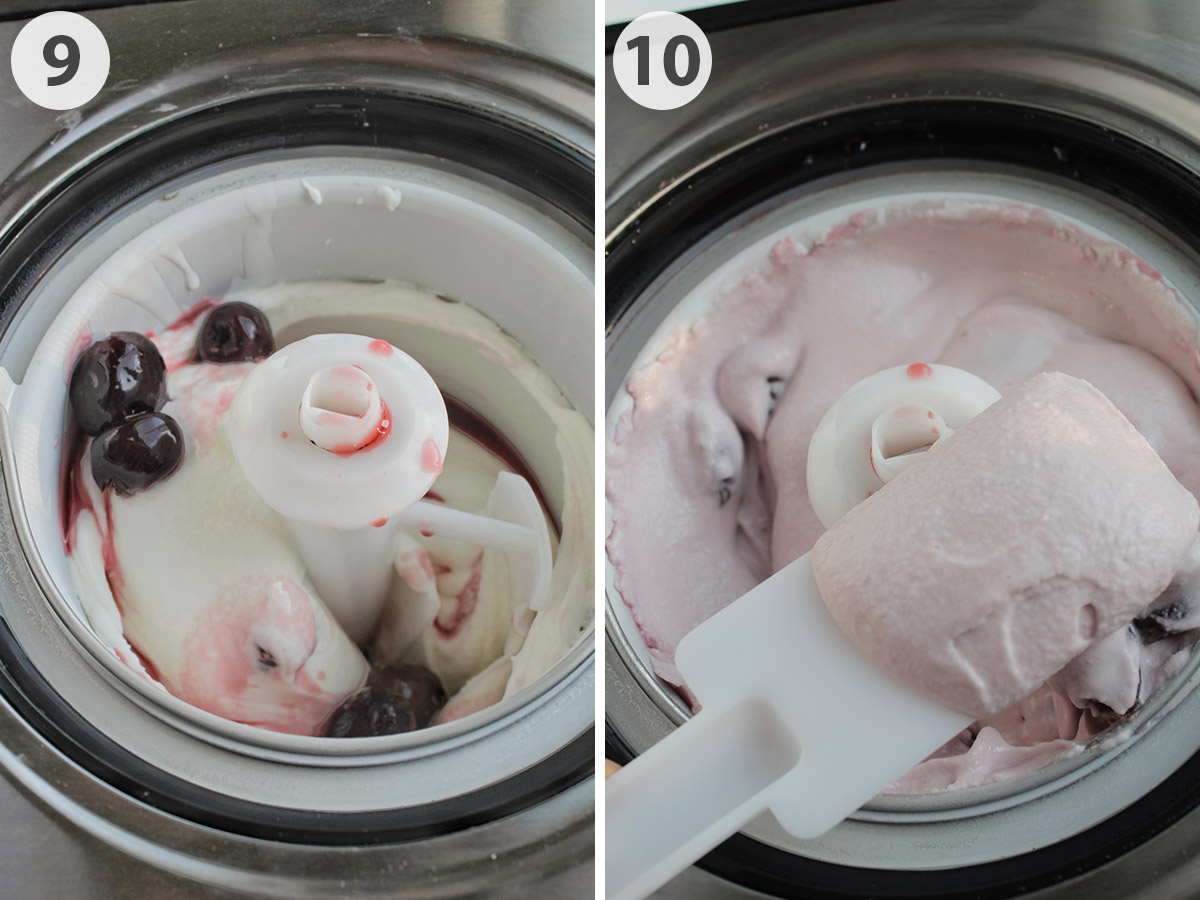
Step 9: About 5 minutes before the ice cream is done churning, add the cooked cherries and syrup a tablespoon at a time.
Step 10: The ice cream will be on the soft side, so I'd recommend placing it in the freezer to "cure" or harden up.
Recipe FAQs
Yes! Since they're not frozen, fresh cherries will cook down slightly faster. Just keep an eye on them! And make sure to remove any pits.
No, that won't work! If you change up the percentage of fat in the recipe, you will not get the desired creamy texture after the ice cream base has churned.
Corn starch must reach about 203°F in order to gelatinize. If your heat isn't high enough, it might not be reaching the temperature it needs to thicken the mixture. You can always double-check the temperature of the ice cream base with an instant read thermometer.
Preferably in a shallow/long plastic storage container. Also, make sure to place the storage container in the back of the freezer (not the door) to help the ice cream freeze quickly and prevent ice crystals from forming.
Yes, it's really important that the ice cream base reaches around 40 - 42°F (4 - 5°C), so it will properly freeze in your ice cream maker. When the ice cream base is cold, it will encourage the growth of small ice crystals. Ice crystals play a huge role in achieving a smooth, creamy ice cream texture.
More Ice Cream Recipes
Looking for other homemade ice cream recipes to try? Check these out or learn more about the different types of ice cream and frozen desserts.
Love this recipe? Please leave a 5-star ⭐⭐⭐⭐⭐ rating in the recipe card below. Have questions as you're cooking? Leave a comment below, and I'll help!
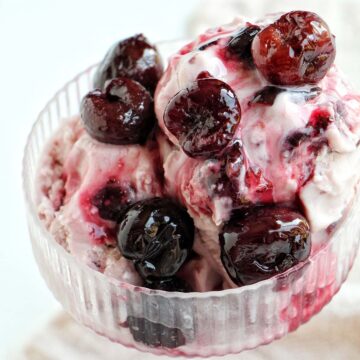
Black Cherry Ice Cream
Equipment
Ingredients
- 2 cups frozen black sweet cherries pitted
- 1 ¼ cup granulated sugar divided
- ¼ cup water
- 3 tablespoons cornstarch
- ¾ teaspoon Morton kosher salt
- 2 cups whole milk
- 1 cup heavy cream
- ½ tablespoon vanilla extract
Instructions
- Add cherries, ¼ cup (50 grams) granulated sugar, and water to a medium saucepan. Cook over medium heat, stirring occasionally until cherries are softened and a thickened syrup has formed in the bottom of the pan, about 10 - 15 minutes. Remove from heat, and allow cherries to cool to room temperature. Transfer to a small bowl, cover, and refrigerate for later.
- Fill a large bowl with ice to use later as an ice bath. Place an empty bowl on top of the ice. Set aside.
- Mix the remaining 1 cup sugar (200 grams), cornstarch, and salt with a fork until no lumps remain and everything is well incorporated.
- Add milk, heavy cream, and vanilla to a heavy bottom pot. Cook over medium heat, stirring occasionally until it begins to steam around 160°F (71°C).
- Once the cream and milk begin to steam, slowly add in sugar mixture in small batches, whisking continuously. Continue to cook over medium heat, whisking constantly, for an additional 2 - 4 minutes until the mixture has slightly thickened. You can check this by scooping a bit of the liquid up with a spoon and testing the thickness. Make sure the ice cream base does not boil at any point.
- Place a fine mesh strainer over the empty bowl on top of the ice bath. Strain ice cream base. Chill until it has stopped steaming. Press a piece of plastic wrap over the mixture to prevent a skin from forming on top. Chill the ice cream base until it reaches around 40 - 42°F (4 - 5°C), or up to overnight.
- Pour the mixture into an ice cream maker and process according to the manufacturer's directions, about 25 - 30 minutes. During the last 5 minutes, add cooked cherries and syrup a tablespoon at a time, then allow the machine to continue churning until thickened.
- The ice cream will be on the soft side. Transfer to an airtight container and place in the freezer to "cure" or harden up for 8 - 12 hours. Store in the freezer for up to two weeks.

Mary
Great recipe! I actually bought an ice cream maker just to try this recipe and it was SO worth it!
Jessica Mode
No way! I'm obsessed with my ice cream maker! Can't wait to see all the other recipes you try with it 🙂
Cory P Chop
I find the recipe a bit better if you use half as much starch and a little more cream in place of milk. And add 1 tsp of almond extract.