Learn how to make cake popsicles with this step by step tutorial.
Whether you're looking for a way on how to use leftover cake, or you need a fun birthday treat, cakesicles (cake popsicles) are a fun and customizable treat! This tutorial (complete with a video) will walk you through how to make cakesicles. All you need is a cake popsicle mold, along with a few other ingredients, and you'll be on your way to baking up cute and creative cakesicles.
Want To Save This Article?
Enter your email below and we'll send it straight to your inbox. Plus, you'll receive new weekly recipe inspiration.
If you're looking for a fun sweet treat to make for a birthday, a party, or just because you need a pick-me-up, you have to try out these cake popsicles. They're an easier version of the cake pops we all know and love. The best part? There's lot of blank space on the cakesicles to decorate!
This was a really special baking project because I got to test out the recipe with my sister. She's going to be writing recipes for Homebody Eats one day...I just know it. I hope you enjoy making these popsicle cake pops just as much as we did!
If you love baking as much as we do, make sure to check out my 10 secrets to instantly become a better baker. It's a free guide (over 13 pages) full of tips to level up your baking game. Whether you're a new baker, or a seasoned pro, you'll learn something new!
What supplies do I need for cakesicles?
To make cake popsicles, there are a few supplies you'll need. Once you purchase these supplies, you'll be able to make a multitude of cakesicles and decorate them any way you want (there are so many fun ideas out there).
Cake Popsicle Mold: You'll need a cake popsicle mold to help form the shape of these cakesicles. They help ensure an even product every single time. If your cakesicle mold doesn't come with popsicle sticks, make sure to grab some of those too!

Food-Safe Brushes: In order to get an even layer of chocolate on the outside of the cake popsicles, you'll need these food-safe brushes. They help ensure the chocolate doesn't pool up at the bottom of the mold.
Good Quality Melting Wafers: This is one of the most important pieces to making sure the cakesicles taste good! Not all candy melts are created equal, so make sure you purchase high-quality ones like Merckens (either white or milk).
As a note, if you chose to use real chocolate instead of melting wafers or candy melts, you'll need to temper the chocolate before working with it. I've chosen to use melting wafers for the ease and simplicity of this recipe.
Food-Safe Gloves: Since we'll be touching the cake mixture with our hands and pressing it into the mold, you'll want to use food safe gloves to keep everything clean. Make sure they are latex free!
Food Coloring: If you'd like to dye the candy melts a certain color, be sure to purchase a powdered or oil-based food coloring. Liquid or gel food coloring will ruin the candy melts.
RELATED POST: Tie Dye Macarons
How do I make cakesicles from scratch?
To make cake popsicles from scratch, you first need one 9 inch cake layer. This is a great project to do if you're looking for ways on how to use leftover cake. You're welcome to make a cake from scratch (I love Cake by Courtney's recipes) or just use leftover cake you have laying around.
To make the caksicles, there are a few steps:
- Make ganache - This will help the cake form together so it's easy to fit into the mold.
- Crumble the cake - We're looking for a playdough-like consistency once the ganache has been added in.
- Bottom layer of candy wafers- This is the most important layer! Make sure to take your time and get a nice thick, yet even layer.
- Add cake to the mold - Gently press the cake into the mold. We'll also add the popsicle sticks at this point.
- Top layer of candy wafers- To finish things off, add the top layer of candy wafters and scrape off any excess.
- Decorate as desired - Now's the fun part! Decorate with whatever design you'd like. Feel free to use additional candy wafers, sprinkles, or food-safe gold leaf.
RELATED POST: Birthday Cake Ice Cream
Cakesicles not turning correctly? Here's what to do!
The chocolate is too thin: It's possible your chocolate layer is too thin. Pay special attention to the bottom layer of chocolate that you paint on the mold. I like to paint 2-3 layers to ensure a thick enough layer that won't crack. If you find cracks in the chocolate after they've been removed from the cake popsicle mold, you can always dip the whole cakesicle into additional melted candy wafers to fix the cracks.
The chocolate isn't at the correct temperature: Be sure to freeze the cakesicle mold in between each layer of candy wafers to allow enough time for them to set. At the same time, don't keep the molds in the freezer too long. When the chocolate gets too cold, it can make cracking easier.
You're being too rough: Be sure to handle the cakesicles carefully, especially when you're pressing the cake layer into the mold.
The cakesicles were in the freezer too long: A drastic temperature difference in the cakesicle mold and candy wafers can cause the chocolate to appear like it's leaking. Make sure not to rest the cakesicles in the freezer too long - just long enough for everything to set up and harden slightly.
The cake mixture is too oily: If you used a cake recipe that called for a lot of oil, or you added too much ganache into the cake crumbles, it can cause the cake mixture to become too oily.
The chocolate is too thin: Pay special attention to the bottom layer of chocolate that you paint on the mold. I like to paint 2-3 layers to ensure it's thick enough.
Use different colored candy wafers or cake: Sometimes the cake will show through if the cake is really dark and the candy wafers are light. Try using either a lighter colored cake if you're using white candy wafers or darker colored candy wafers for a dark colored cake.
You're using the wrong food coloring: Be sure to use a powder or oil-based food coloring with candy melts. Liquid or gel food coloring will make the candy wafers seize up.
You've overworked the candy wafers: I suggest only heating up the candy wafers a little bit at a time since the more times you have to reheat and work with the candy wafers, the more they seem to seize up. Try not to reheat them over and over again. Just commit to working in small batches.
Other Recipes You May Enjoy

Love this recipe? Please leave a 5-star ⭐⭐⭐⭐⭐ rating in the recipe card below. Have questions as you're cooking? Leave a comment below, and I'll help!
Cakesicles (Cake Popsicles)
Ingredients
For the Ganache
- ¼ cup semi-sweet chocolate chips
- 2 tablespooons heavy whipping cream
For the Cakesicles
- 1 nine inch cake layer flavor of choice
- 3.5 pounds high quality candy wafers (like Merckens) divided
Instructions
For the Ganache
- Place chocolate chips in a heatproof bowl. Heat cream in the microwave for 30 seconds. Pour hot cream (about 190°F) over the chocolate. Let stand for 3 minutes without touching.
- Whisk chocolate and cream together until the mixture is smooth. Set aside.
For the Cakesicles
- Break apart cake into large chunks. Add to the bowl of a stand mixer fitted with a paddle attachment.
- Mix on medium speed for 15 seconds to slightly break down the cake. Add in 1.5 tablespoons of ganache. Continue to mix until the cake forms into a soft, playdough-like consistency. Using food-safe gloves, press it together with your fingers to test as it will still appear crumbly in the mixer. If the cake is still crumbly, add in an additional one teaspoon of ganache at a time until the correct consistency is reached. Don’t be tempted to add in too much ganache, as this can make the cakesicles too greasy. Set aside.
- Place half a pound of candy wafers in a large heatproof bowl. In a microwave set to 50% power level (or power level 5), heat for 30 seconds. Stir candy wafers around, and heat for an additional 30 seconds. Repeat as needed until candy wafers are almost melted (but not fully melted). After each round, be sure to fully stir the candy wafers- it will help melt the rest of the candy wafers.
- Using a food-safe paintbrush, paint an even layer of candy wafers on the base of the cakesicle mold. Be sure to keep the popsicle stick opening clear. You can do this by inserting the stick into the mold. Scrap off any excess candy wafers that go above the mold. Chill the mold in the freezer for 2 minutes, or until candy wafers have firmed up. Repeat this process one to two additional times until your candy wafer layer is thick enough.
- Wearing a pair of food-safe gloves, grab 1 - 1.5 tablespoons of the cake filling. Carefully fill the cakesicle mold with the cake mixture, leaving about 1/32 inch at the top. It’s better to underfill the molds rather than overfill. Insert the popsicle sticks in the mold. If any of the cake mixture got messed up, press it down back into the mold. Place in the freezer for 2 minutes.
- Add about 1 tablespoon of candy wafers to the top of each cakesicle. Smooth out the candy wafers with a bench scraper or offset spatula. Chill the mold in the freezer for 2 minutes, or until candy wafers have firmed up. Remove from the mold and set aside.
- Repeat steps 3-6 until all the cake has been used up. Be sure to heat the candy wafers in batches or it will harden up.
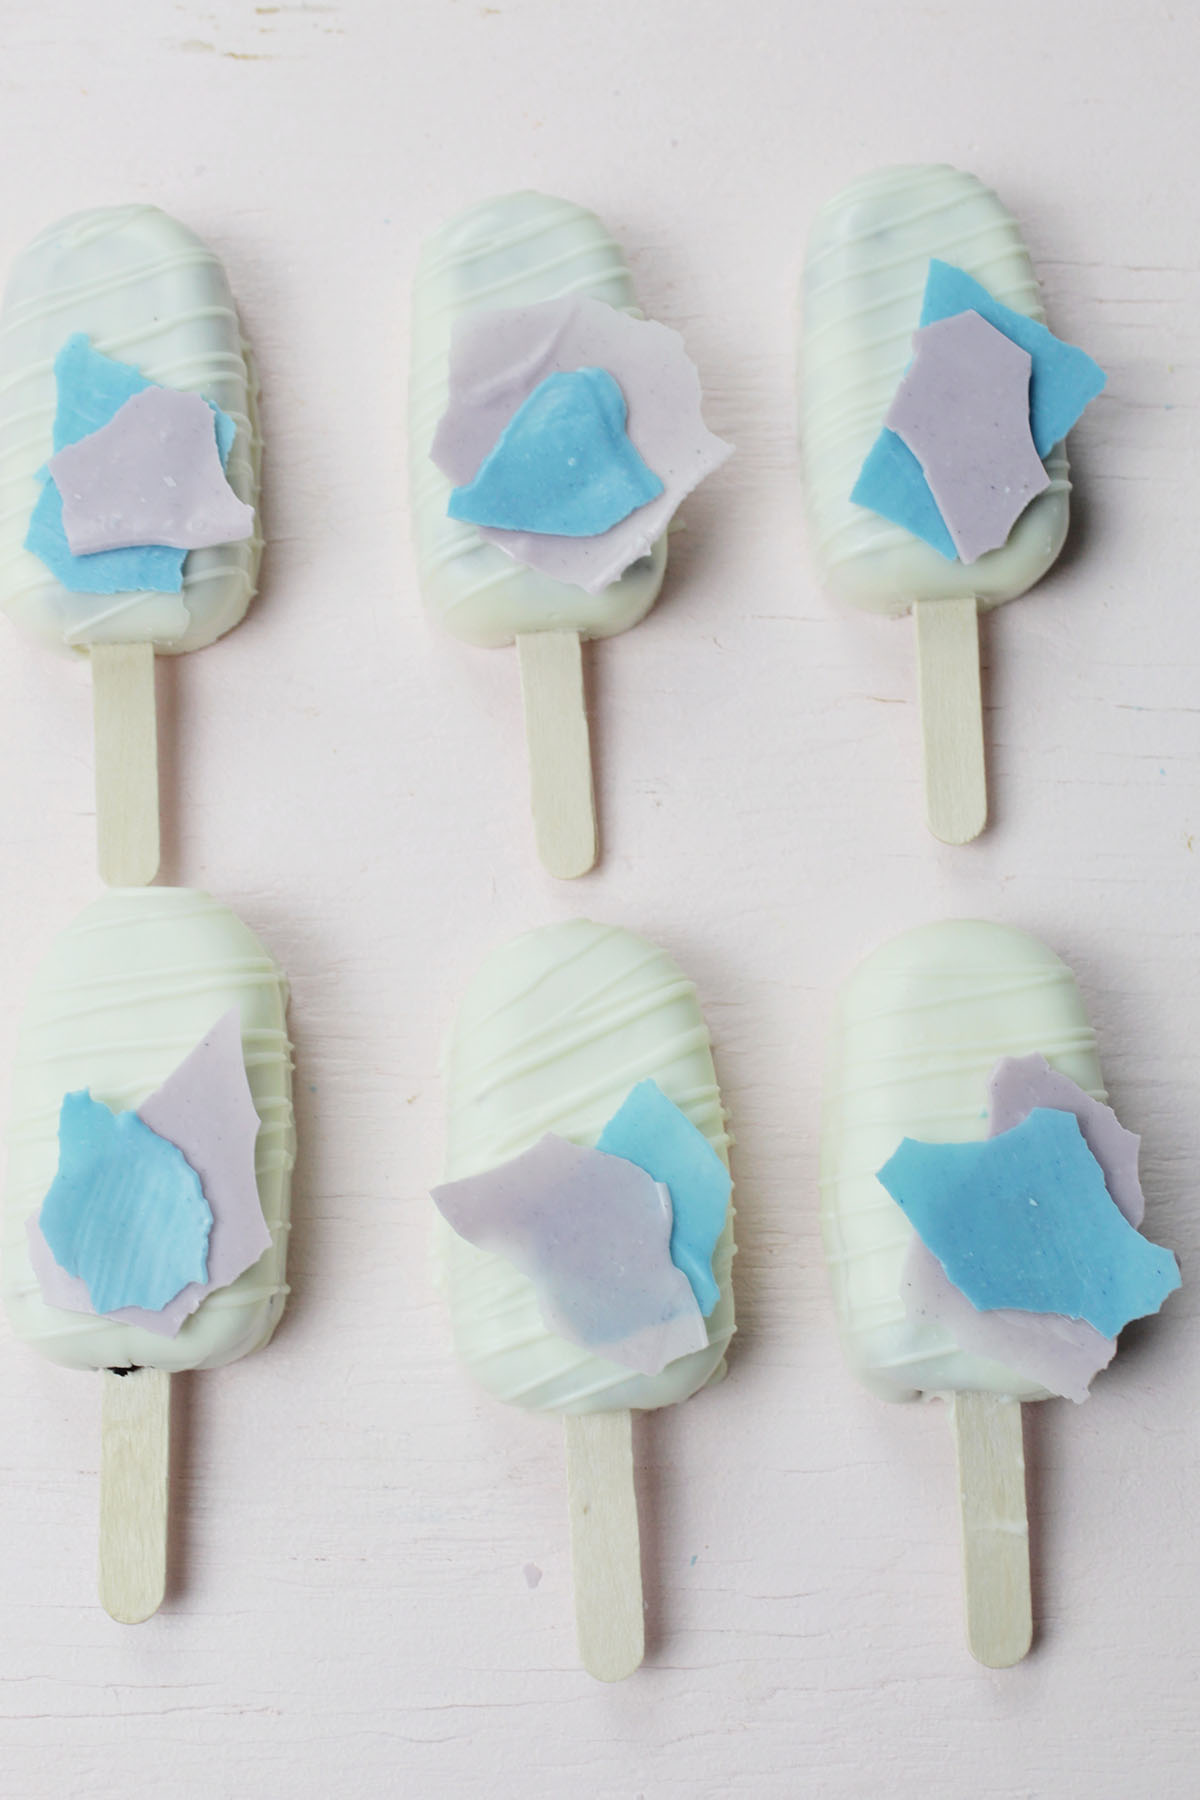
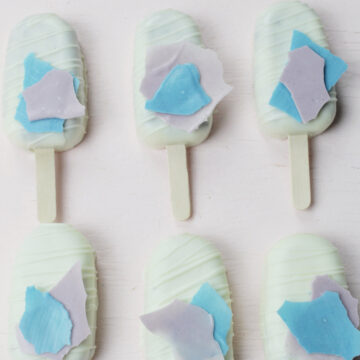
- For the decorations, divide ½ pound of candy wafers into two heatproof bowls. Microwave as instructed above. Using a powered or oil-based food coloring, color as desired.
- Place one tablespoon of the candy wafers on a piece of parchment paper. Using a bench scraper, slowly pull the candy wafers so a thin layer is created. Repeat with both colors until no candy wafers remain. Allow to dry.
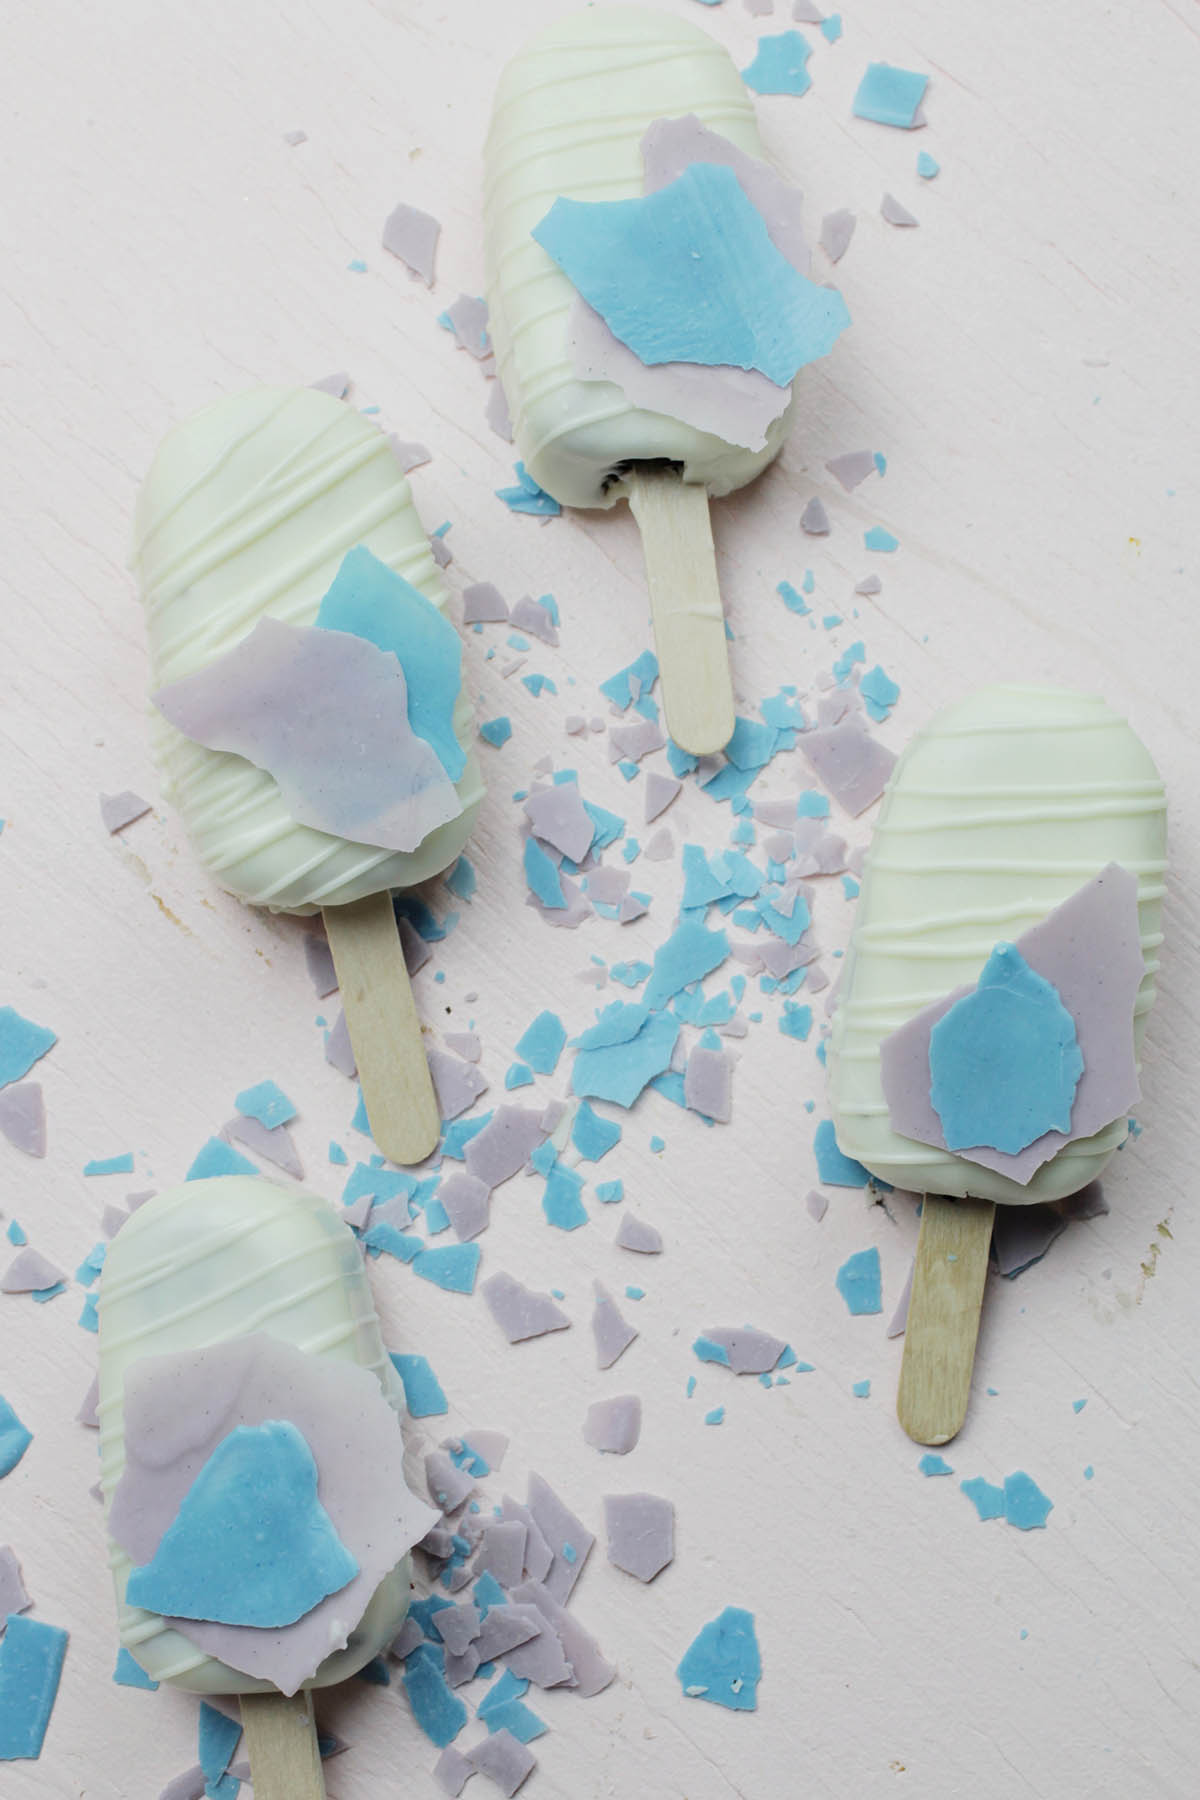
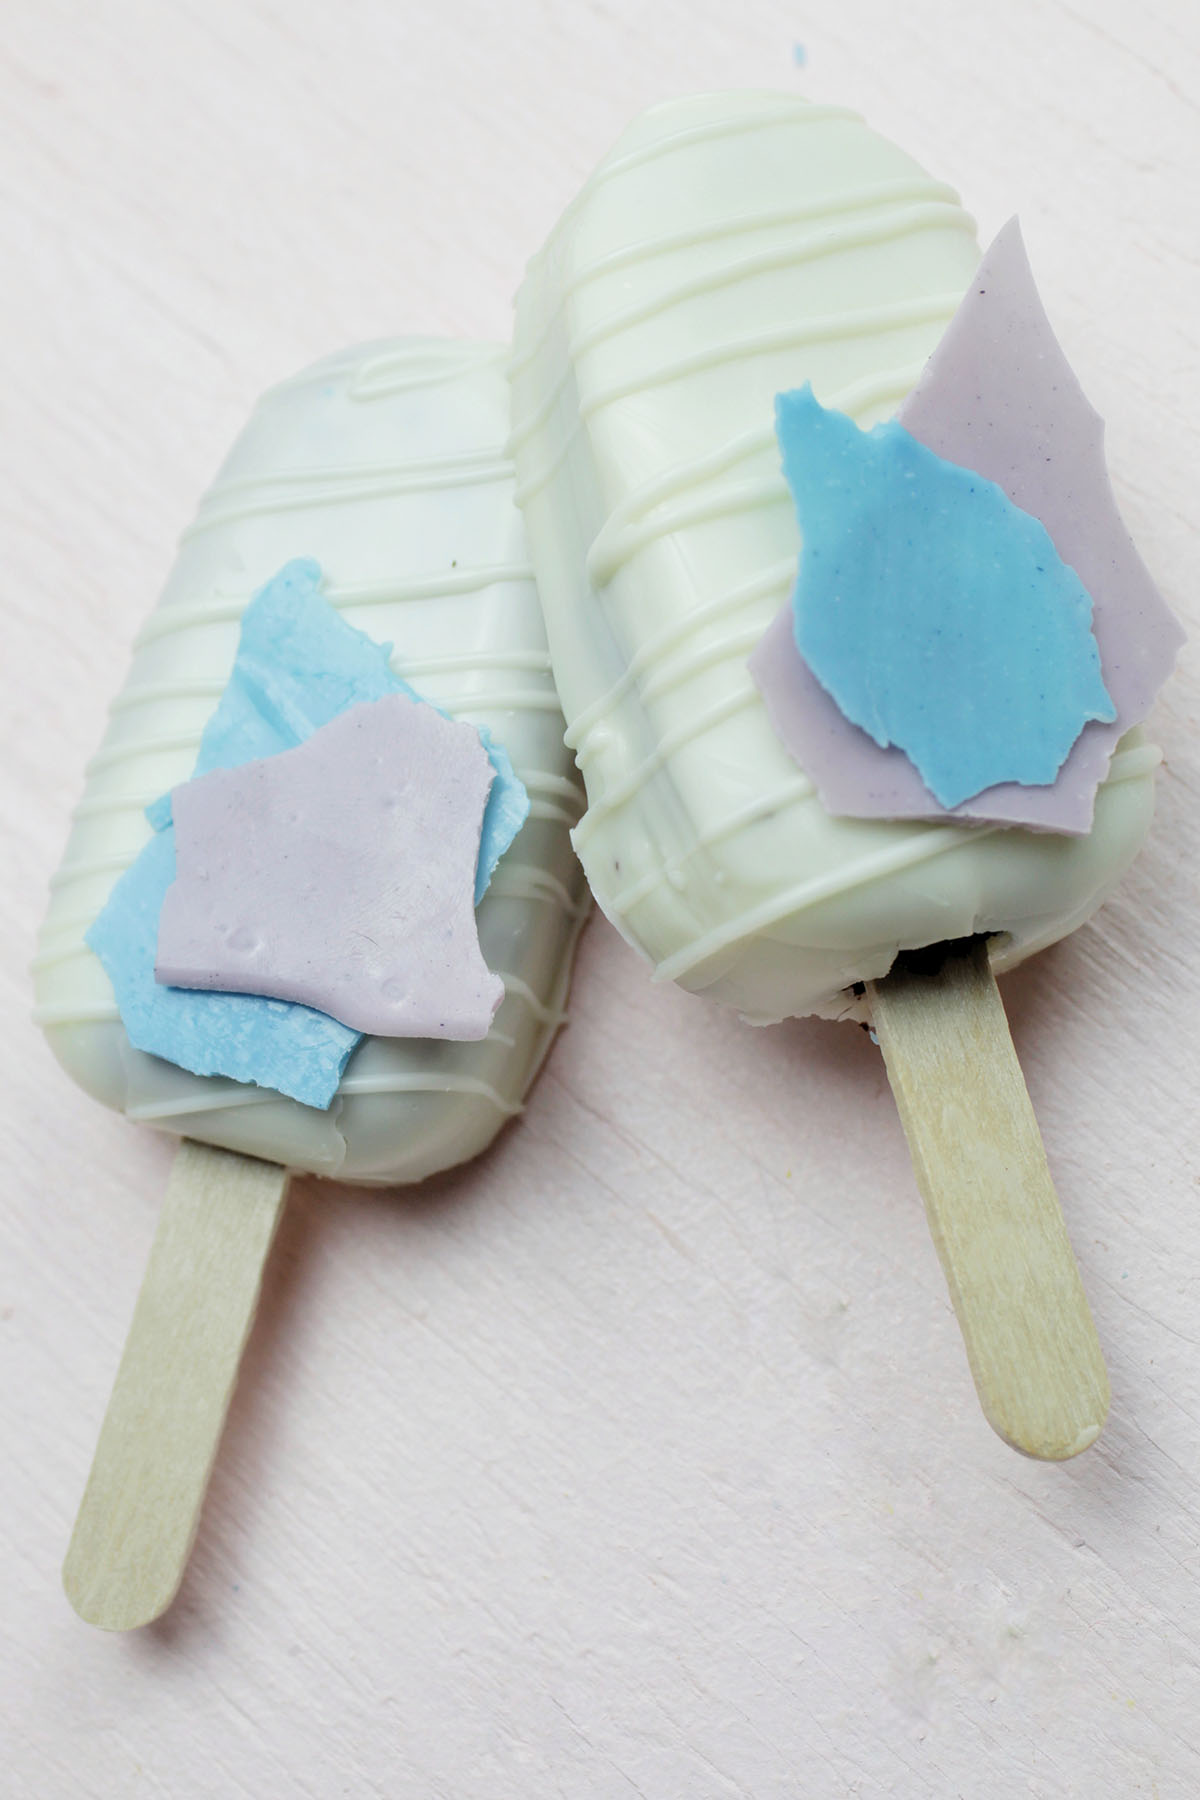
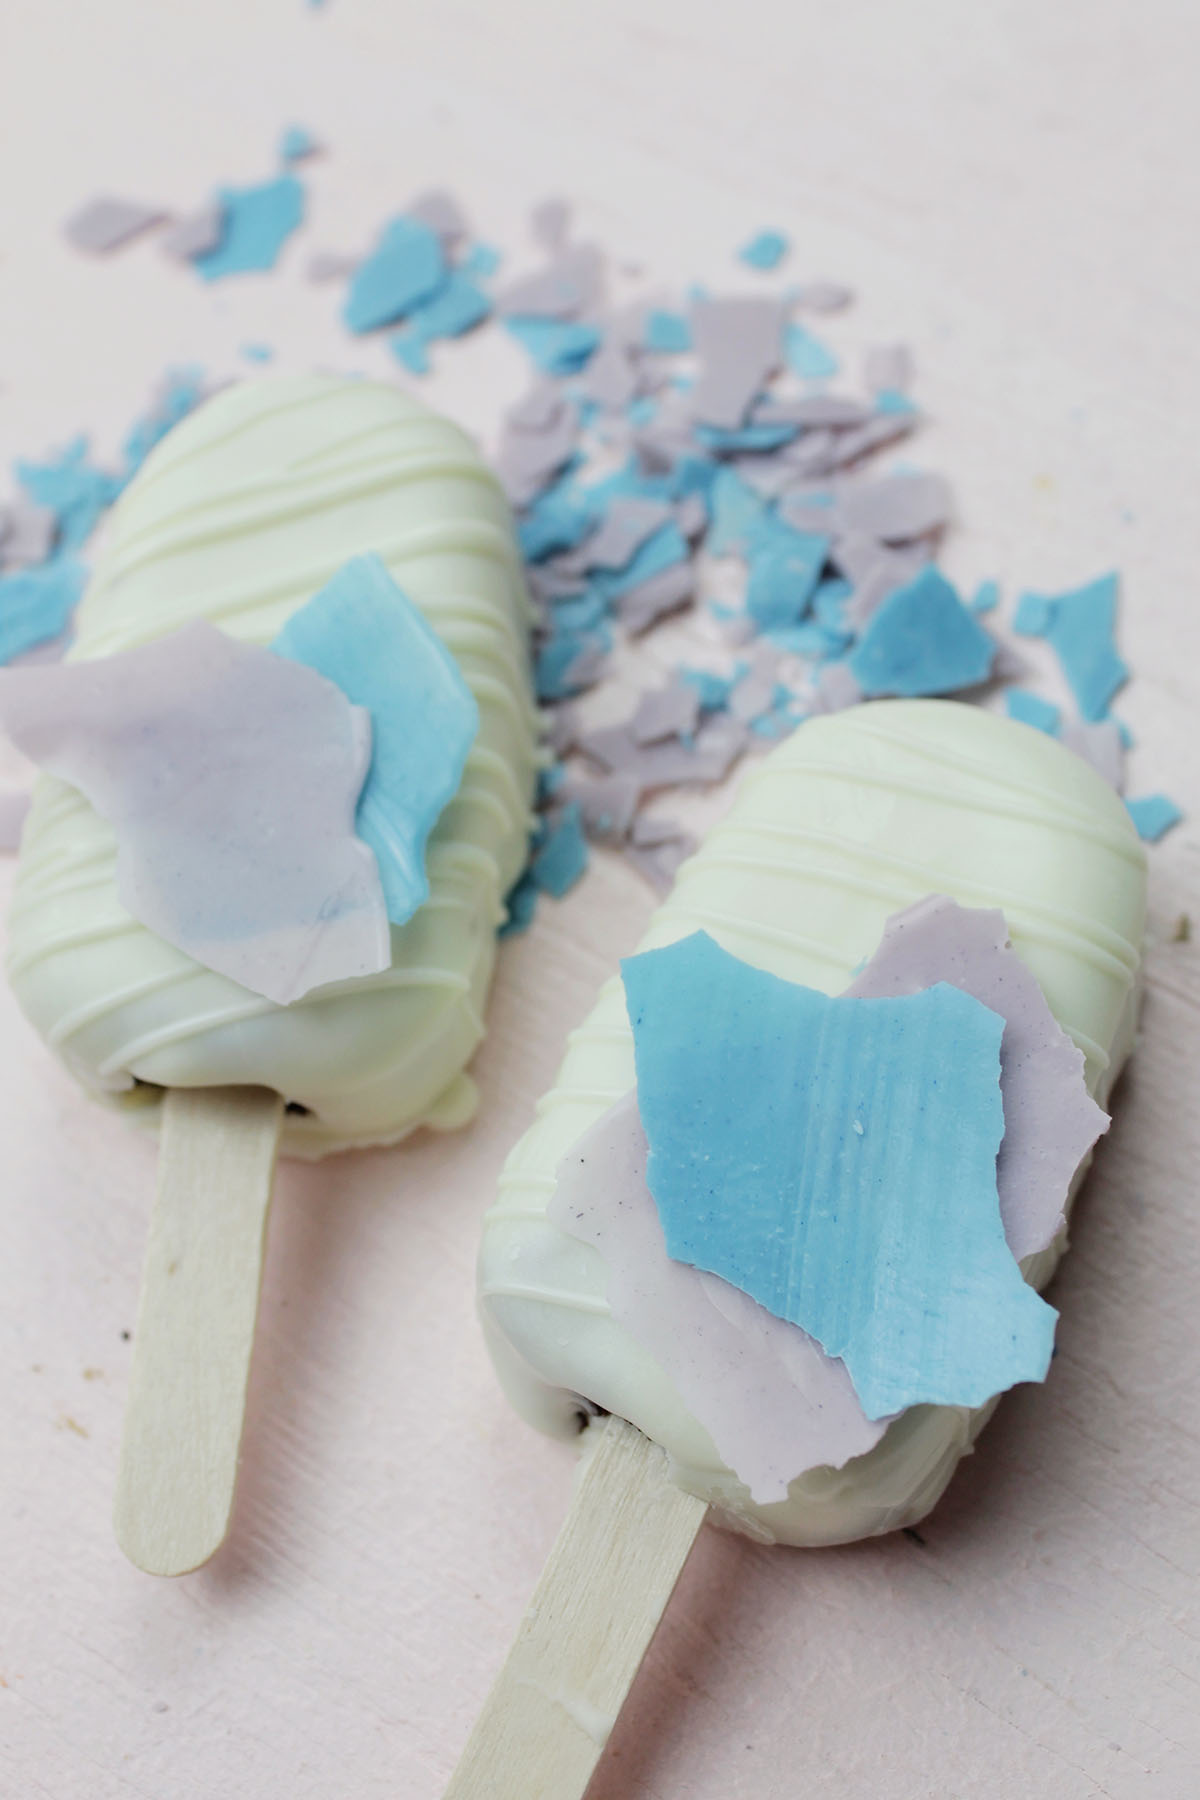
- Break apart the dried candy wafers into small, geometric shapes. Using some extra melted candy wafers, glue the geometric shapes in any design of choice on the top, smooth side of the cakesicles.
Notes
Nutrition
LET’S SHARE RECIPES
I love trying new recipes! Let’s discover new recipes together on Pinterest!
P.S. If you made these cake popsicles, share a picture with me on Instagram using #HomebodyEats. I love seeing your creations!!

Michelle
Wow! I just made these for my daughter's birthday and they were a hit! So much more fun than a traditional birthday cake.