Learn everything you need to know about making Italian BIGA for homemade bread. After attending culinary school in Italy, I'll share many helpful insider tips.

Want To Save This Article?
Enter your email below and we'll send it straight to your inbox. Plus, you'll receive new weekly recipe inspiration.
I've baked a lot of bread using BIGA, a pre-fermented dough, especially after going to culinary school in Italy. Today, I'm going to teach all about this magical dough, including what it is, how it's made, and why it's beneficial to your homemade bread.
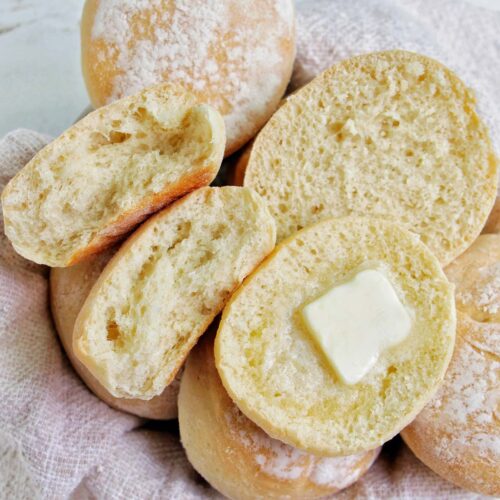
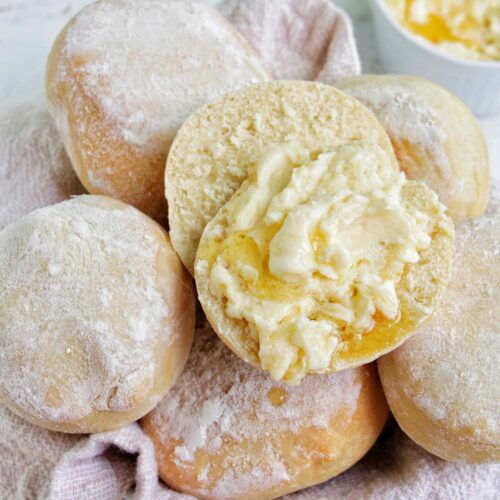
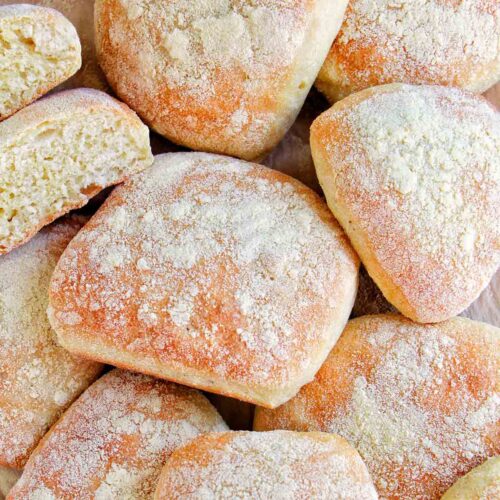
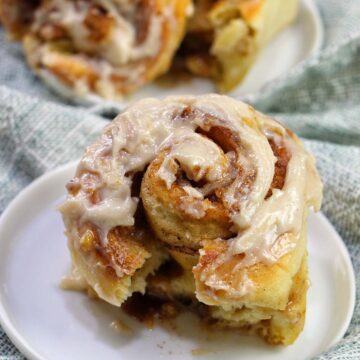
BIGA can be used in many types of bread like ciabatta, rolls, or even this honey BIGA bread.
If you enjoy baking Italian bread, don't forget to check out my Italian focaccia digital cookbook.
Jump to:
What Is BIGA
BIGA is the Italian version of a pre-fermented dough, meaning that it's a dough that's made before baking bread that's included in the bread dough recipe.
This may seem like a weird concept if you're new to baking bread, but there are many different types of preferments including sourdough starter (levain), poolish, pâte fermentée, and sponge. We'll get into the benefits of using a preferment more in a minute.
BIGA is typically stiffer than the other pre-ferments and takes 8–16 hours to fully develop. Most often you'll use BIGA for Italian bread such as ciabatta. However, there are other bread recipes that can benefit from BIGA.
Benefits Of Using BIGA In Bread
At this point, you may be wondering why you should use BIGA in your homemade bread. Well, using this type of pre-ferment has many benefits, including:
- It adds delicious flavor to your bread. While the BIGA sits and ferments overnight, it creates an amazing flavor that's then passed along to the bread.
- BIGA adds predictability to the bread making process. It's easier to maintain consistent rise and proofing times.
- It allows you to use less yeast or no yeast in the bread recipe.
- And finally, it helps with the structure and texture of the bread.

BIGA vs. Sourdough Starter
Should you use BIGA or a sourdough starter? Well, it depends on what type of bread you're looking to bake and how much time/maintenance you want to devote to the process.
BIGA is a great option for someone who doesn't want to constantly feed/maintain a sourdough starter. The BIGA is made once and used in the bread recipe, so there are no leftovers.
Sourdough starter, on the other hand, needs to be replenished with new flour and water every 12–24 hours.
While I personally think that sourdough starter provides a more prominent "sour" flavor in the bread, BIGA can be a great option if you want a more subtle but delicious flavor for your bread.
Ingredients You Need

The classic BIGA formula in baker's percentages (ratio) is:
- 100%: flour
- 50%: water
- 1%: yeast
You can check out the recipe card below for actual measurements.
If you're using European flour, here's a helpful guide on what flour to use depending on when you need the BIGA to be ready. If you're using it in...
- 6–8 hours, use W180 flour
- 8–12 hours, use W200 flour
- 12–16 hours, use W240 flour
- 16–20 hours, use W280 flour
- 20–24 hours, use W300 flour
- 24–28 hours, use W320 flour
- 36+ hours, use W400 flour
If you're used to using the flour available in the U.S., just stick to bread flour, and follow the recipe timing below.
We also learned a cool trick in culinary school to ensure our BIGA was at the proper temperature. We called this technique formula 55.
The idea is that all of the ingredients used to make the BIGA must equal 55°C. If you typically work with Fahrenheit temperature measurements, you'll have to switch to Celcius to use this formula 55 technique.
You'll want to check the following temperatures:
- Temperature of the environment you'll store the BIGA
- Temperature of the flour
- Temperature of the water
Here's an example of how it works:
First, I'll check the temperature of the room I'm storing the BIGA in, which today reads 25°C. Next, I'll check the temperature of the flour. Today my flour reads 20°C.
Next, I'll need to add these two numbers (25 + 20 = 45).
From here, we will adjust the temperature of the water, so our total is 55. To do this, subtract 55 from the total you just came up with (55 - 45 = 10). So today our water needs to be 10°C.
You may need to add ice to your water (be sure to strain it out before making the BIGA) or heat your water, depending on the temperatures you come up with after using this formula.
How To Make BIGA Dough
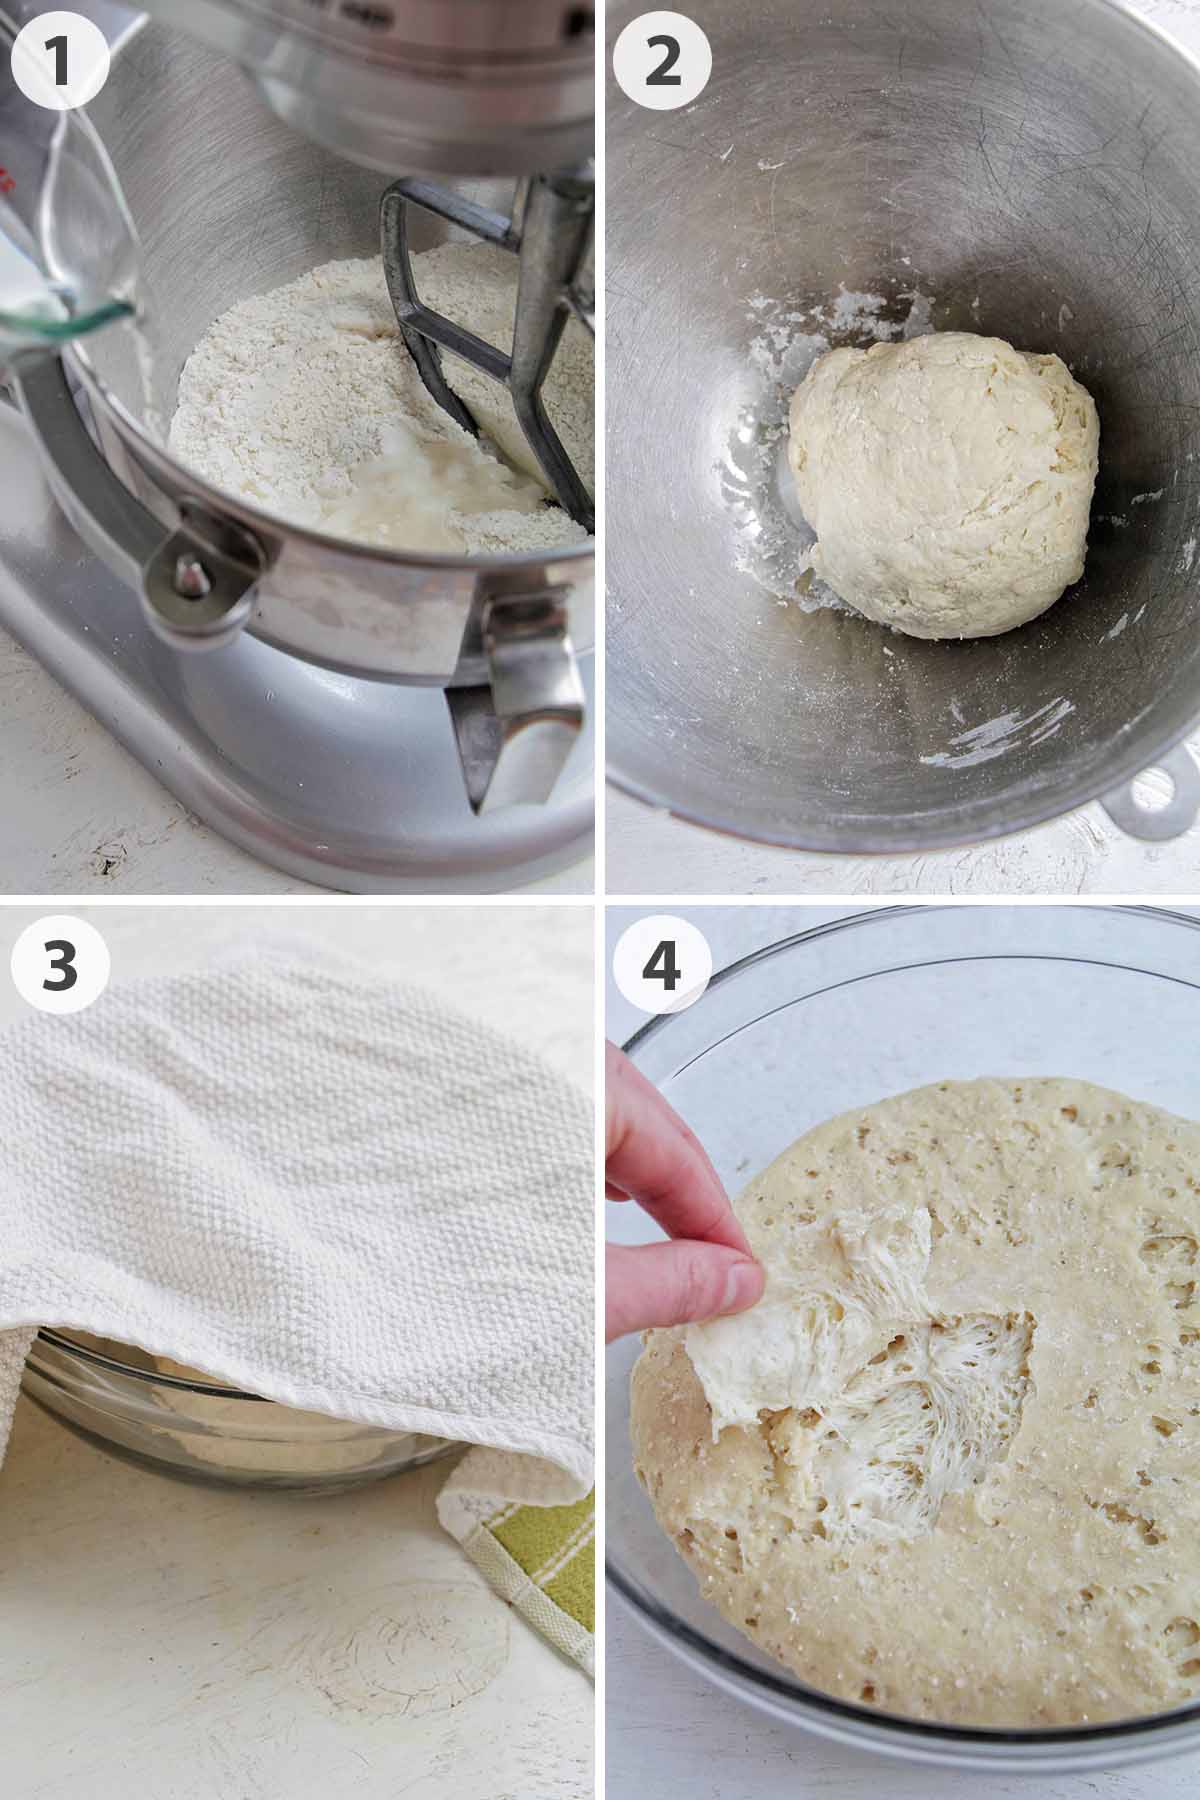
1. Mix the flour and yeast in a stand mixer fitted with a paddle attachment on medium-low speed. Slowly, add in water.
2. Once a shaggy dough forms, bump the mixer speed up to high, and continue mixing until the dough forms into one solid mass, which takes about 1–2 minutes. If your mixer is having trouble mixing the dough, switch to the dough hook.
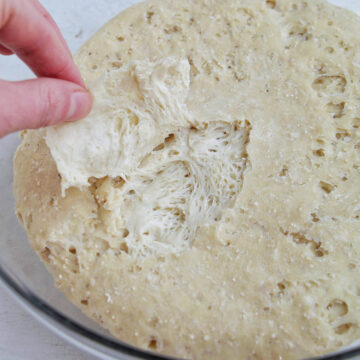
3. Transfer the dough to a large mixing bowl, and cover with a tea towel. Allow the dough to rise at room temperature for 8–16 hours until the top of the dough has crusted over and is flat (if it’s rounded/domed, it needs to sit for a longer time).
4. Once the BIGA is ready, you must use it immediately. Cut off and discard a very thin layer of the crusty top, then measure the BIGA dough. This can be used in bread recipes such as my honey bread or butter bread recipe.
FAQs
If you're using bread flour, it typically takes 12–16 hours for the BIGA to fully ferment. You'll know it's ready when the top of the dough has crusted over and is flat (if it’s rounded/domed, it needs to sit for a longer time).
You'll know the BIGA is ready when the top of the dough has crusted over and is flat. If it’s rounded/domed, it needs to sit for a longer time. If it's sunken down in the middle, you've waited too long to use it, and you'll need to remake a new batch before baking bread.
No, you don't want to add salt in BIGA because it has the potential to kill the yeast since there's not much yeast in the BIGA.
BIGA Bread Recipes
Need some bread recipes that use BIGA? Check out some of my favorite options!
Love this recipe? Please leave a 5-star ⭐⭐⭐⭐⭐ rating in the recipe card below. Have questions as you're cooking? Leave a comment below, and I'll help!
Italian BIGA
Equipment
- tea towel
Ingredients
- 4 ½ cups bread flour
- 1 ½ teaspoons active dry yeast
- 1 cup plus 1 tablespoon water 60°F or 15°C
Instructions
- Mix flour and yeast in a stand mixer fitted with a paddle attachment on medium low speed. Slowly, add in water.
- Once a shaggy dough forms, bump the mixer speed up to high, and continue mixing until the dough forms into one solid mass, about 1–2 minutes. If your mixer is having trouble mixing the dough, switch to the dough hook.
- Transfer the dough to a large mixing bowl and cover with a tea towel. Allow the dough to rise at room temperature for 12–16 hours until the top of the dough has crusted over and is flat (if it’s rounded/domed, it needs to sit for a longer time).
- Once ready, you must use it immediately. Cut off and discard a very thin layer of the crusty top then measure the BIGA dough.


Bernie Janse van Rensburg
Fabulous
Jessica Mode
Bernie - Glad it was helpful! Do you have a favorite type of bread to make with BIGA?