Have you ever wondered what it's like attending culinary school in Italy? I'm here to share my personal experience of learning to cook authentic regional Italian cuisine.
Want To Save This Article?
Enter your email below and we'll send it straight to your inbox. Plus, you'll receive new weekly recipe inspiration.
Rewind back to the beginning of 2022 when I scrolled across this magical TikTok showcasing the beauty of Southern Italy.
Cucina Melissa, the creator of this TikTok, immediately grabbed my attention as views of homemade pizza, pasta, Italian pastries, and the Ionian sea danced across my screen.
Attending culinary school had been at the top of my bucket list for a few years now. I knew I wanted to continue to grow in the kitchen, and culinary school was my way to do this.
Seeing that TikTok made me realize that attending culinary school in Italy was the exact dream I had been waiting for.
In case you've also been dreaming of attending culinary school in Italy, here's my journey and a little bit of what I learned throughout this experience.
If you'd rather watch a video of my journey, check out my culinary school in Italy video on YouTube.
Jump to:
Applying To Culinary School In Italy
While all schools in Italy have a different application process, the process to attend the Italian Culinary Institute was relatively straightforward.
First, I took a look at their course list and determined I was most interested in their Master's program, a three-month long all-inclusive program.
This program showcased a little bit of everything from Italian regional cuisine including pasta, gelato, charcuterie, cheesemaking, pastry, wine pairings, and more.
Next, I filled out the school's enrollment form (it took less than 5 minutes) and waited for them to respond back to me with additional information.
If you're intimidated to attend a culinary program just because you think the enrollment process will be difficult, just know that not all schools require a lengthy or complicated application.
Italian Culinary School Classes
Foundation of Italian Cuisine
We started off the entire program in the best way possible: A taste test.
Before we jumped into any cooking, we had to first learn about some of the raw ingredients Italians use on a day-to-day basis including tasting extra virgin olive oil, balsamic vinegar, truffles, and various kinds of cheese.
After becoming familiar with Italian ingredients, we got to cooking starting with the basics. We worked on many different types of stocks, demi-glace, basic sauces, and infused oils (like garlic infused oil, rosemary oil, and Calabrian chili oil).
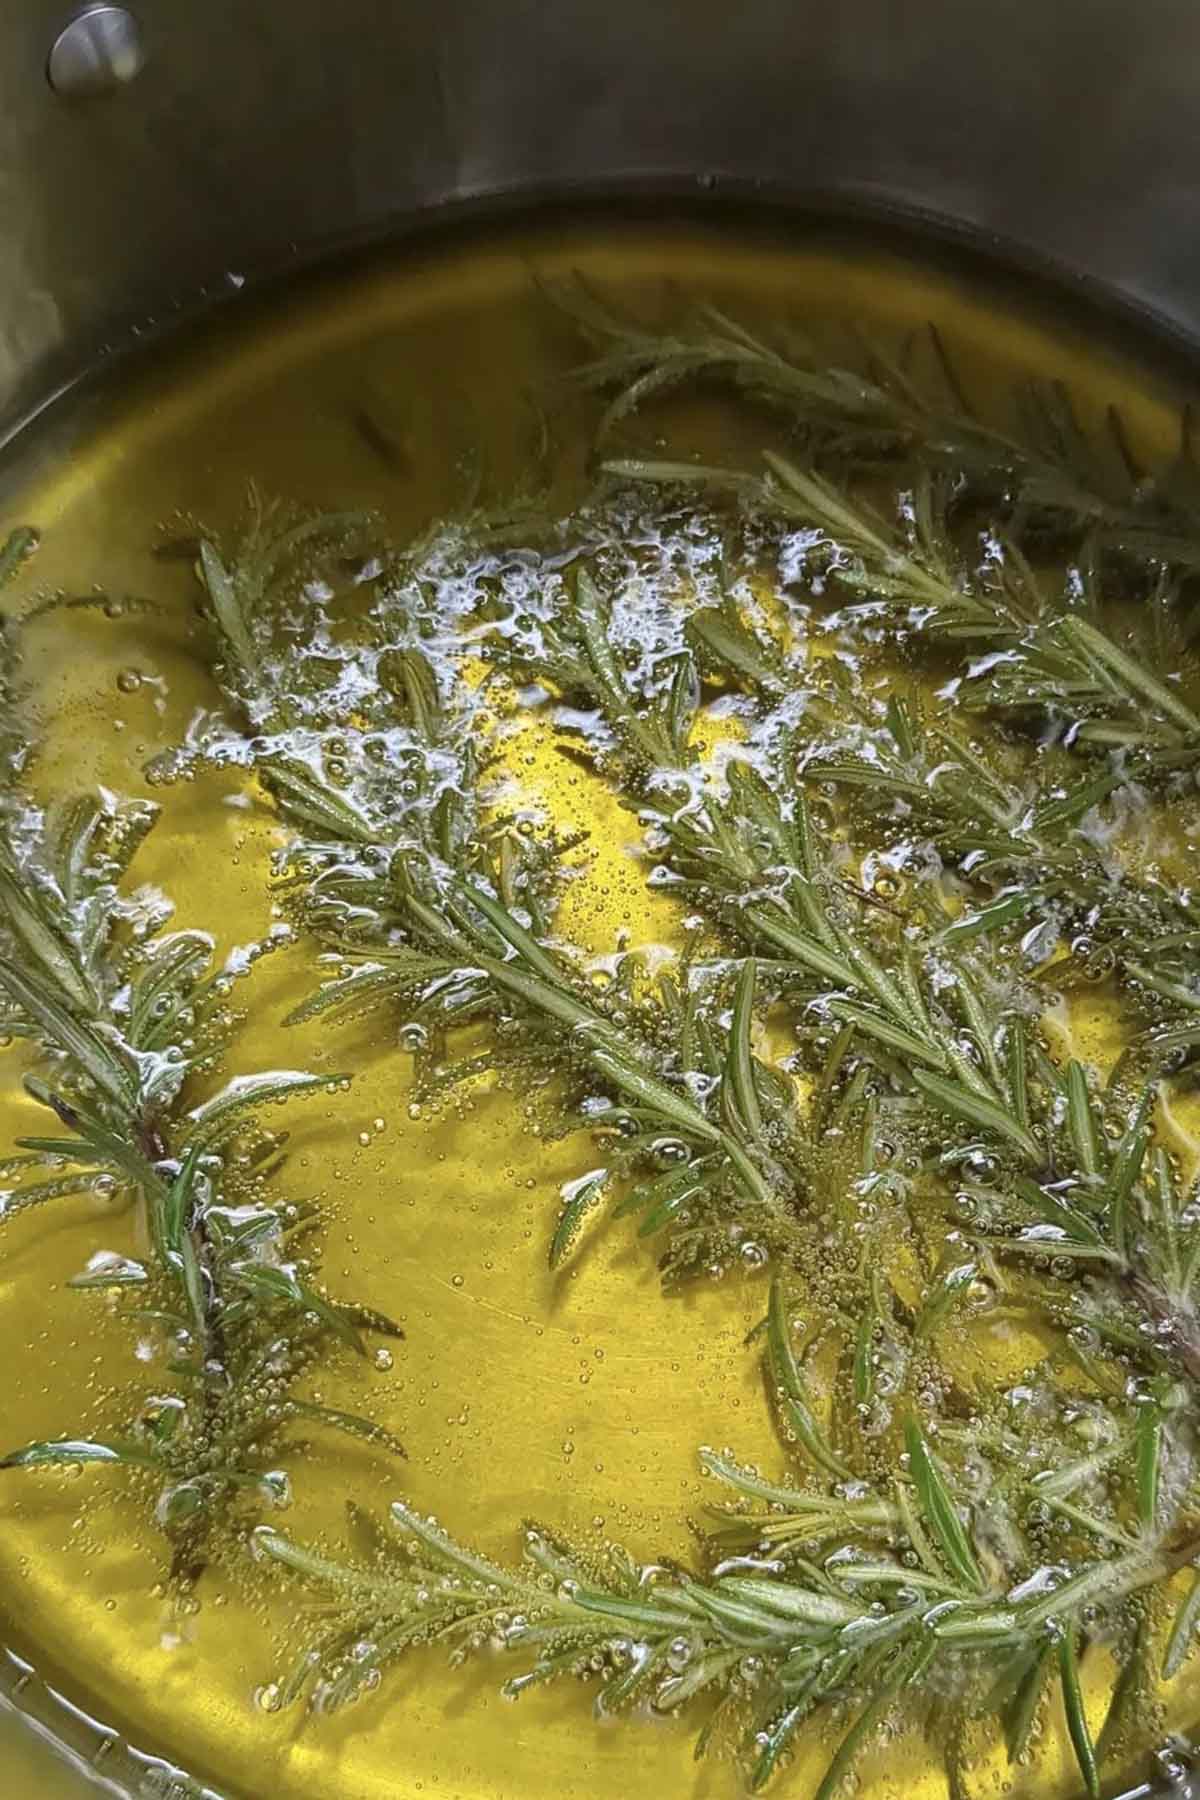
These base ingredients became very essential when we started making risotto, pasta sauces, and various pasta dishes.
Since the first two weeks of the program were an introduction to the basics of Italian cuisine, we learned how to make both Northern and Southern Italian pasta dough from scratch.
Fun fact: Northern Italian pasta dough uses egg, while Southern dough is made only using water.
Learning to cook pasta had to be one of my favorite things throughout the program. We learned how to make so many classic Italian pasta dishes, like aglio olio (pasta with garlic), orecchiette with broccoli and sausage (a classic dish from the Puglia region), carbonara (made with guanciale), and pasta with 'Nduja sausage (pork sausage from the Calabria region).
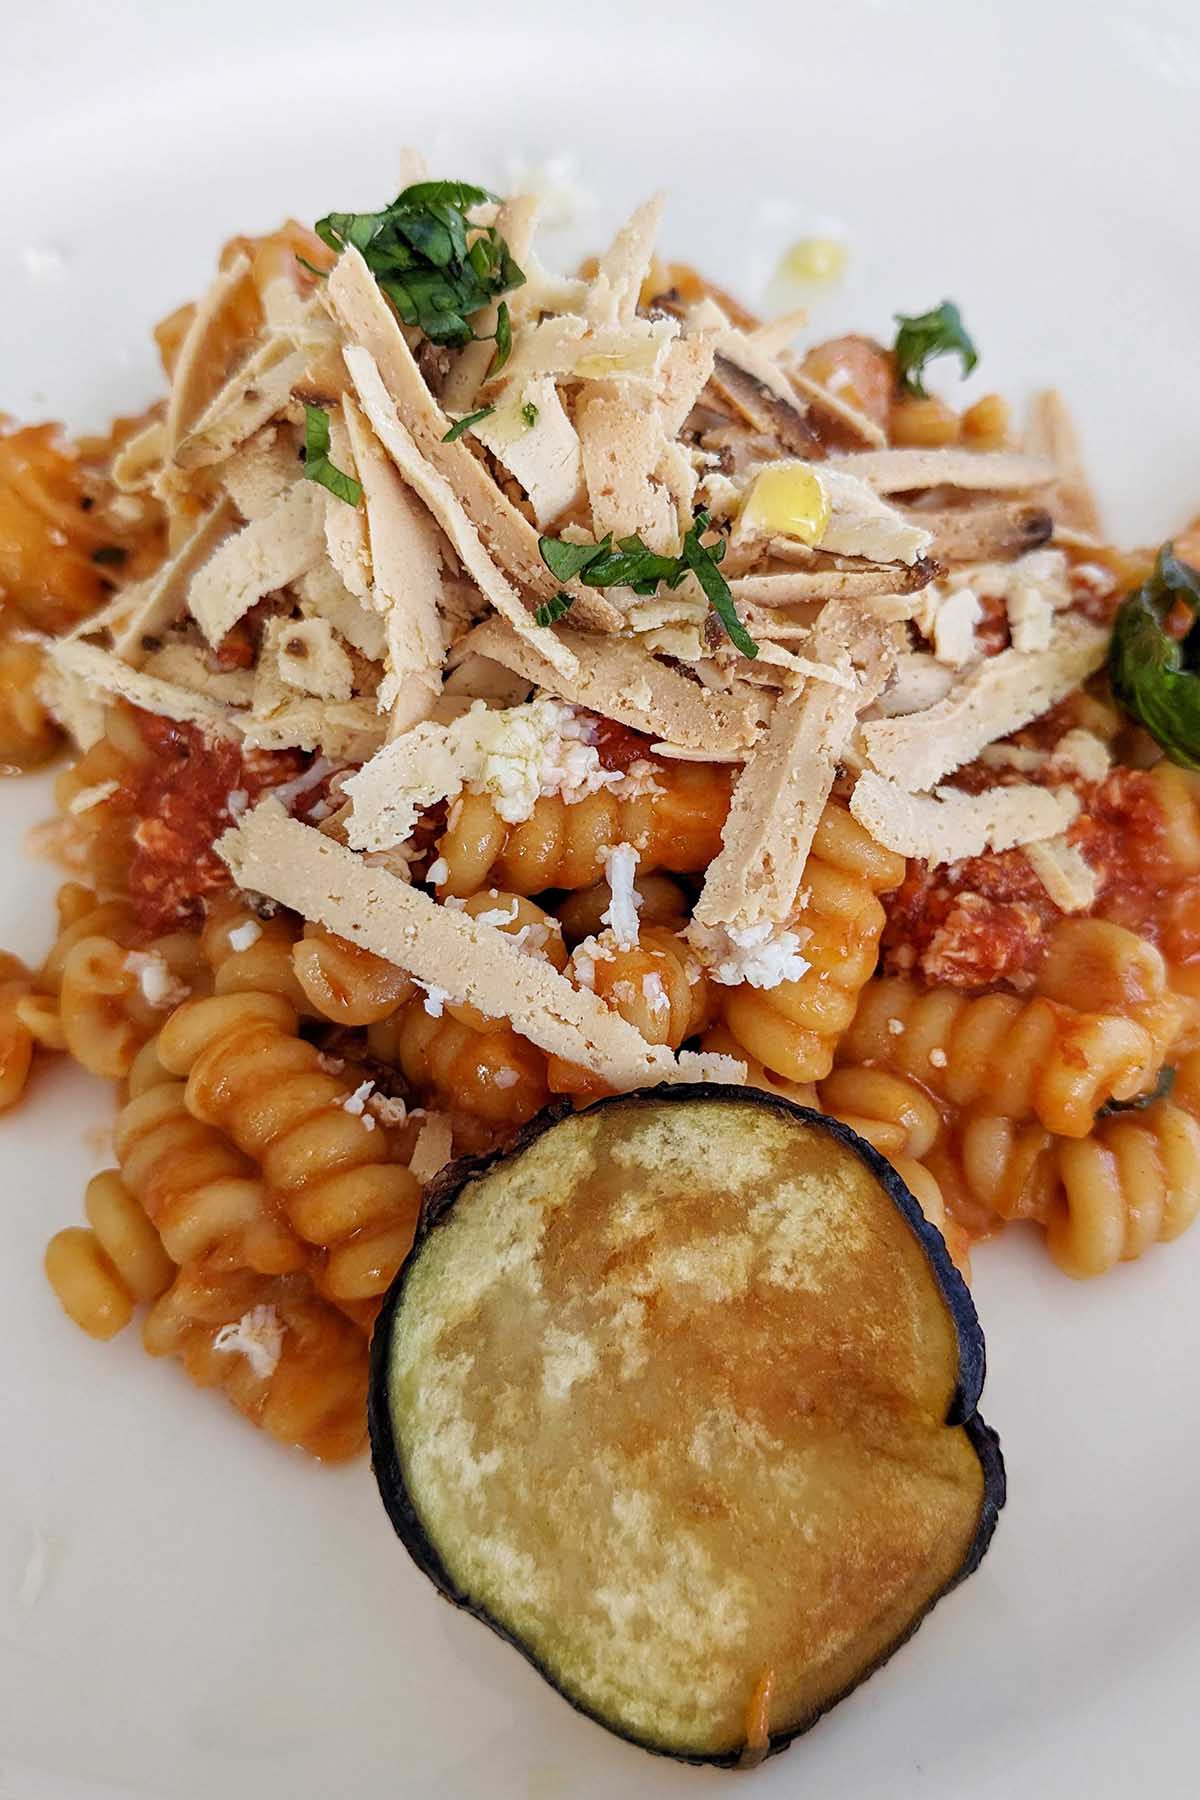
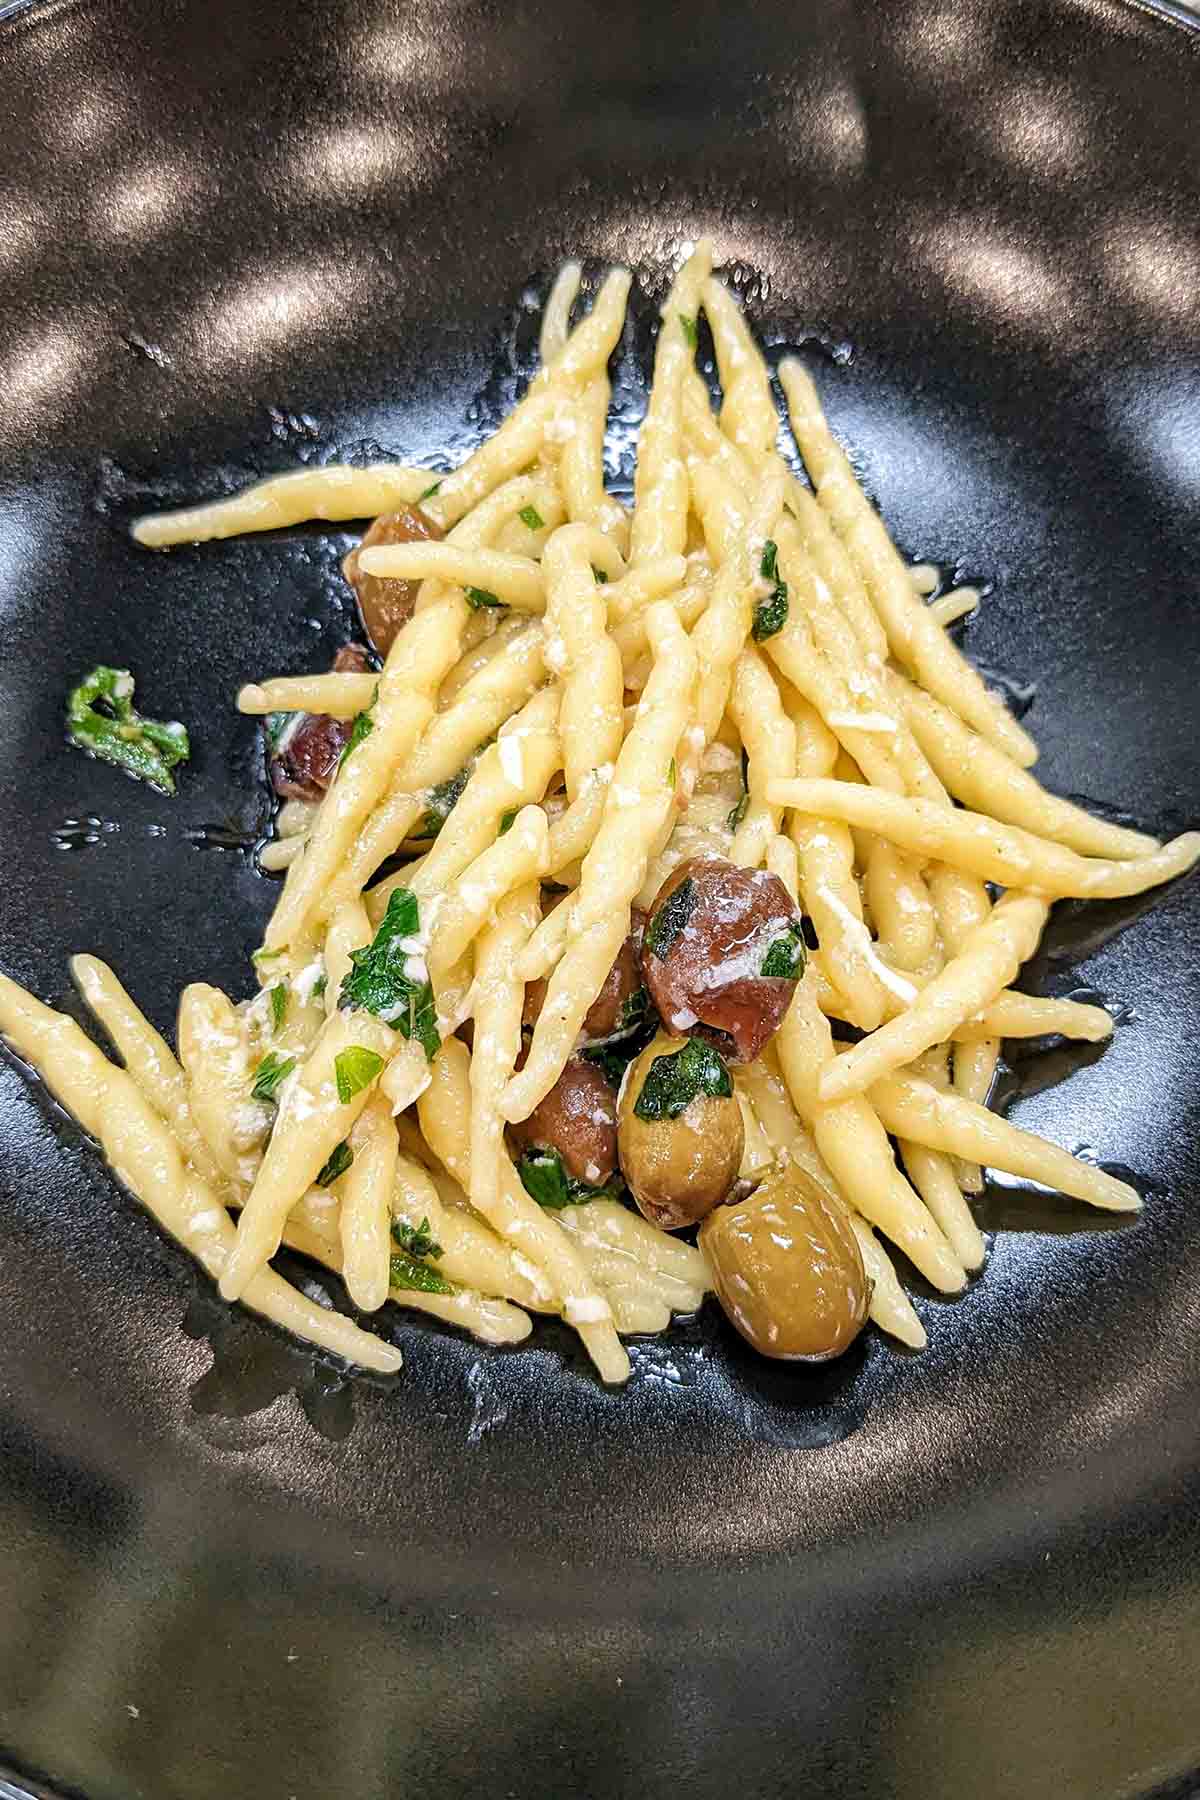
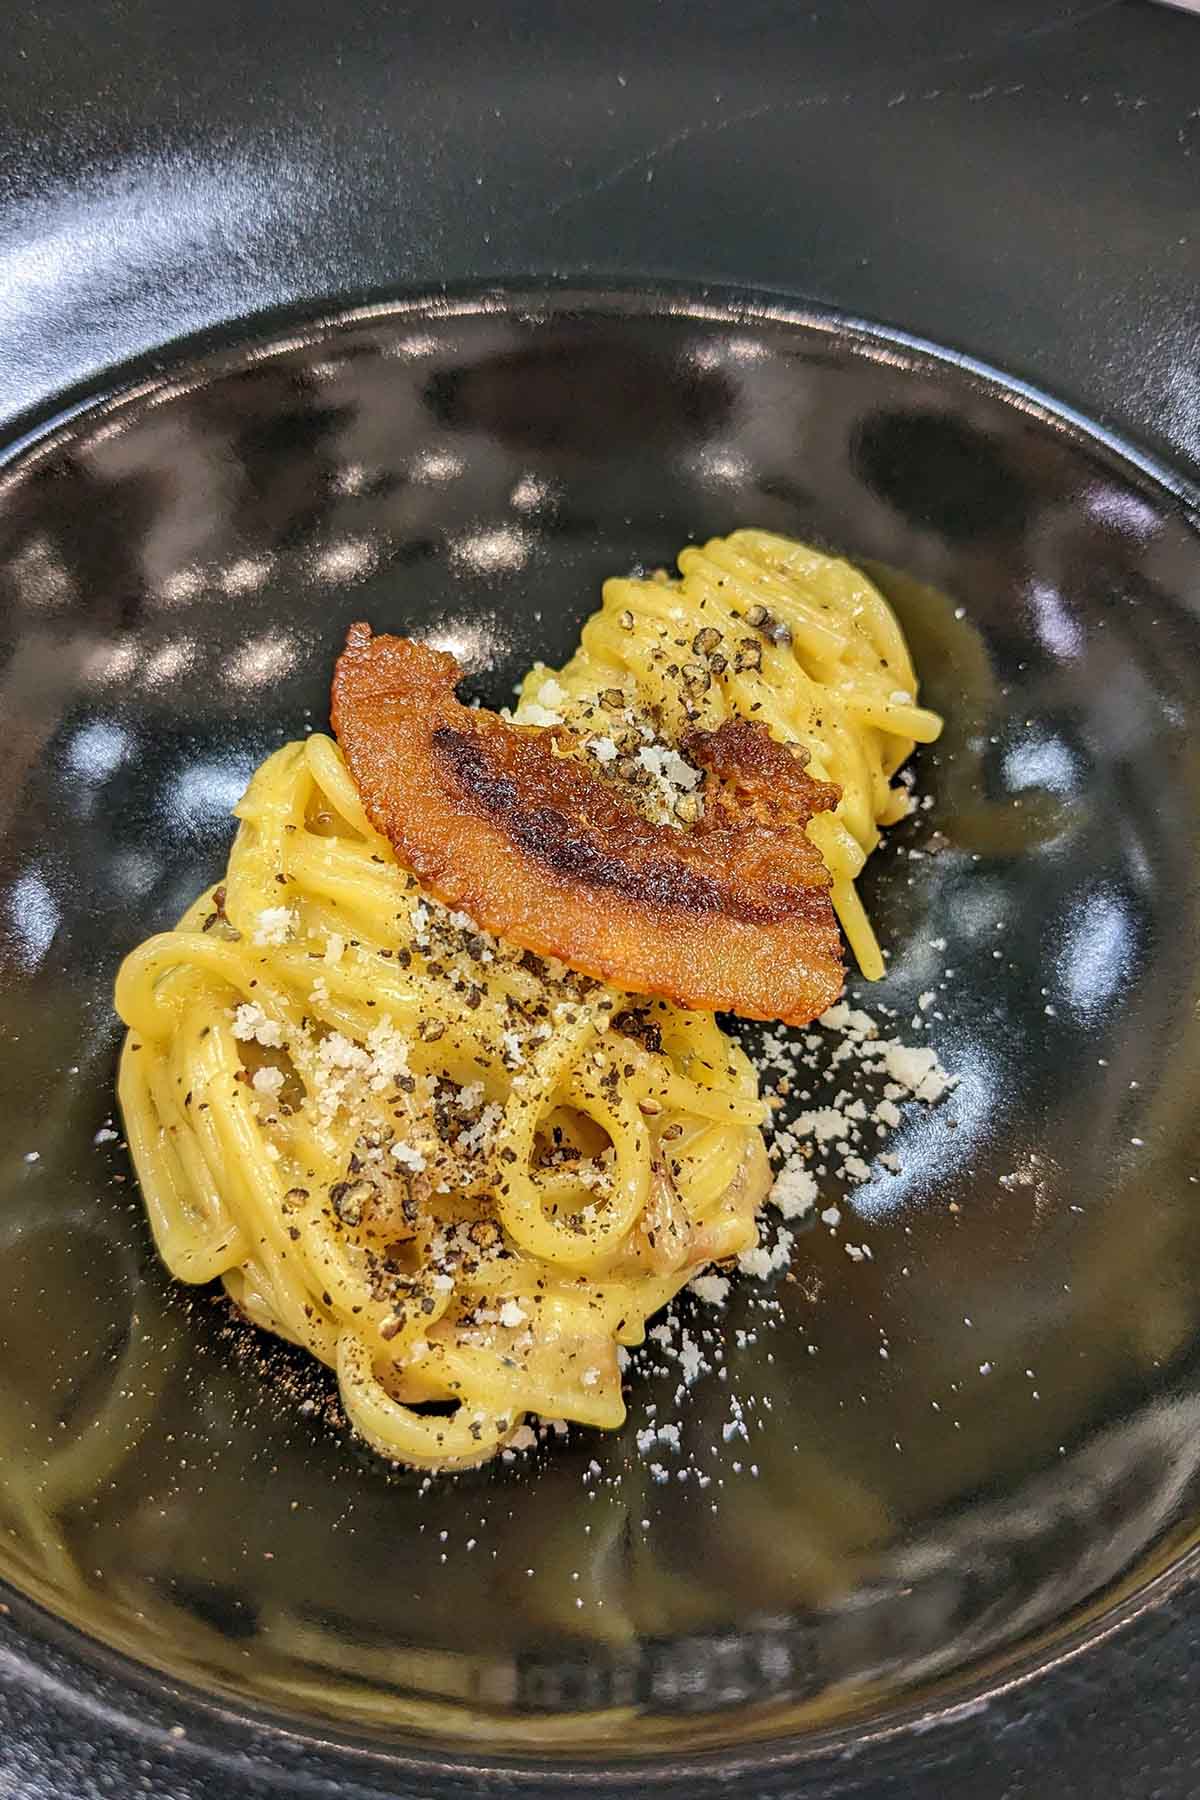
From cooking so many pasta dishes, we quickly learned the proper cooking techniques that Italians use to cook their pasta:
- Always cook the pasta until it's al dente. Most people cook their pasta for way too long.
- Make a sauce for the pasta while the pasta is cooking. Then, transfer your al dente pasta to the pan to finish cooking and combine it with your sauce.
- The pasta water added during the final cooking stage will help make creamy pasta.
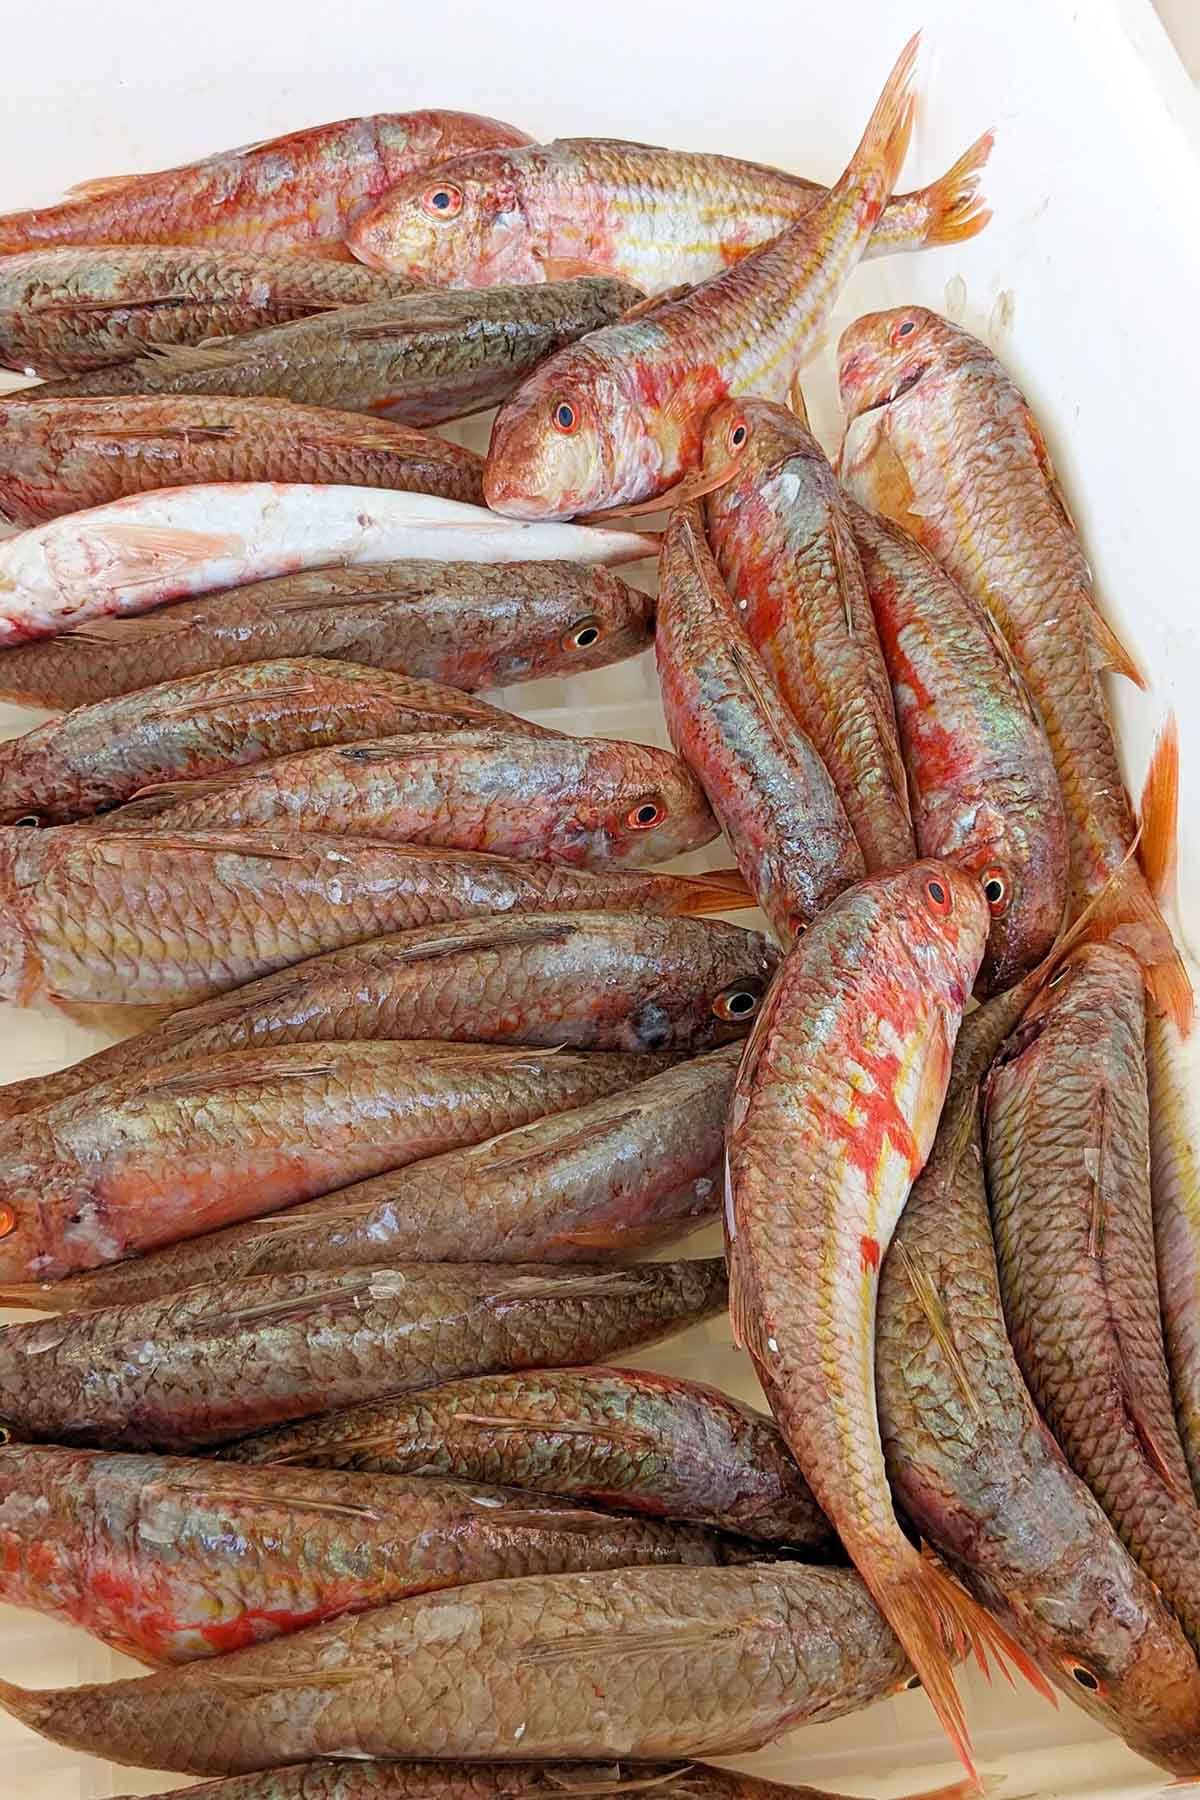
In addition to so many pasta dishes, we also worked with a variety of seafood including orata, mini squid, octopus, baccalà, and more. Southern Italy has amazing seafood that we got to sample throughout the course.
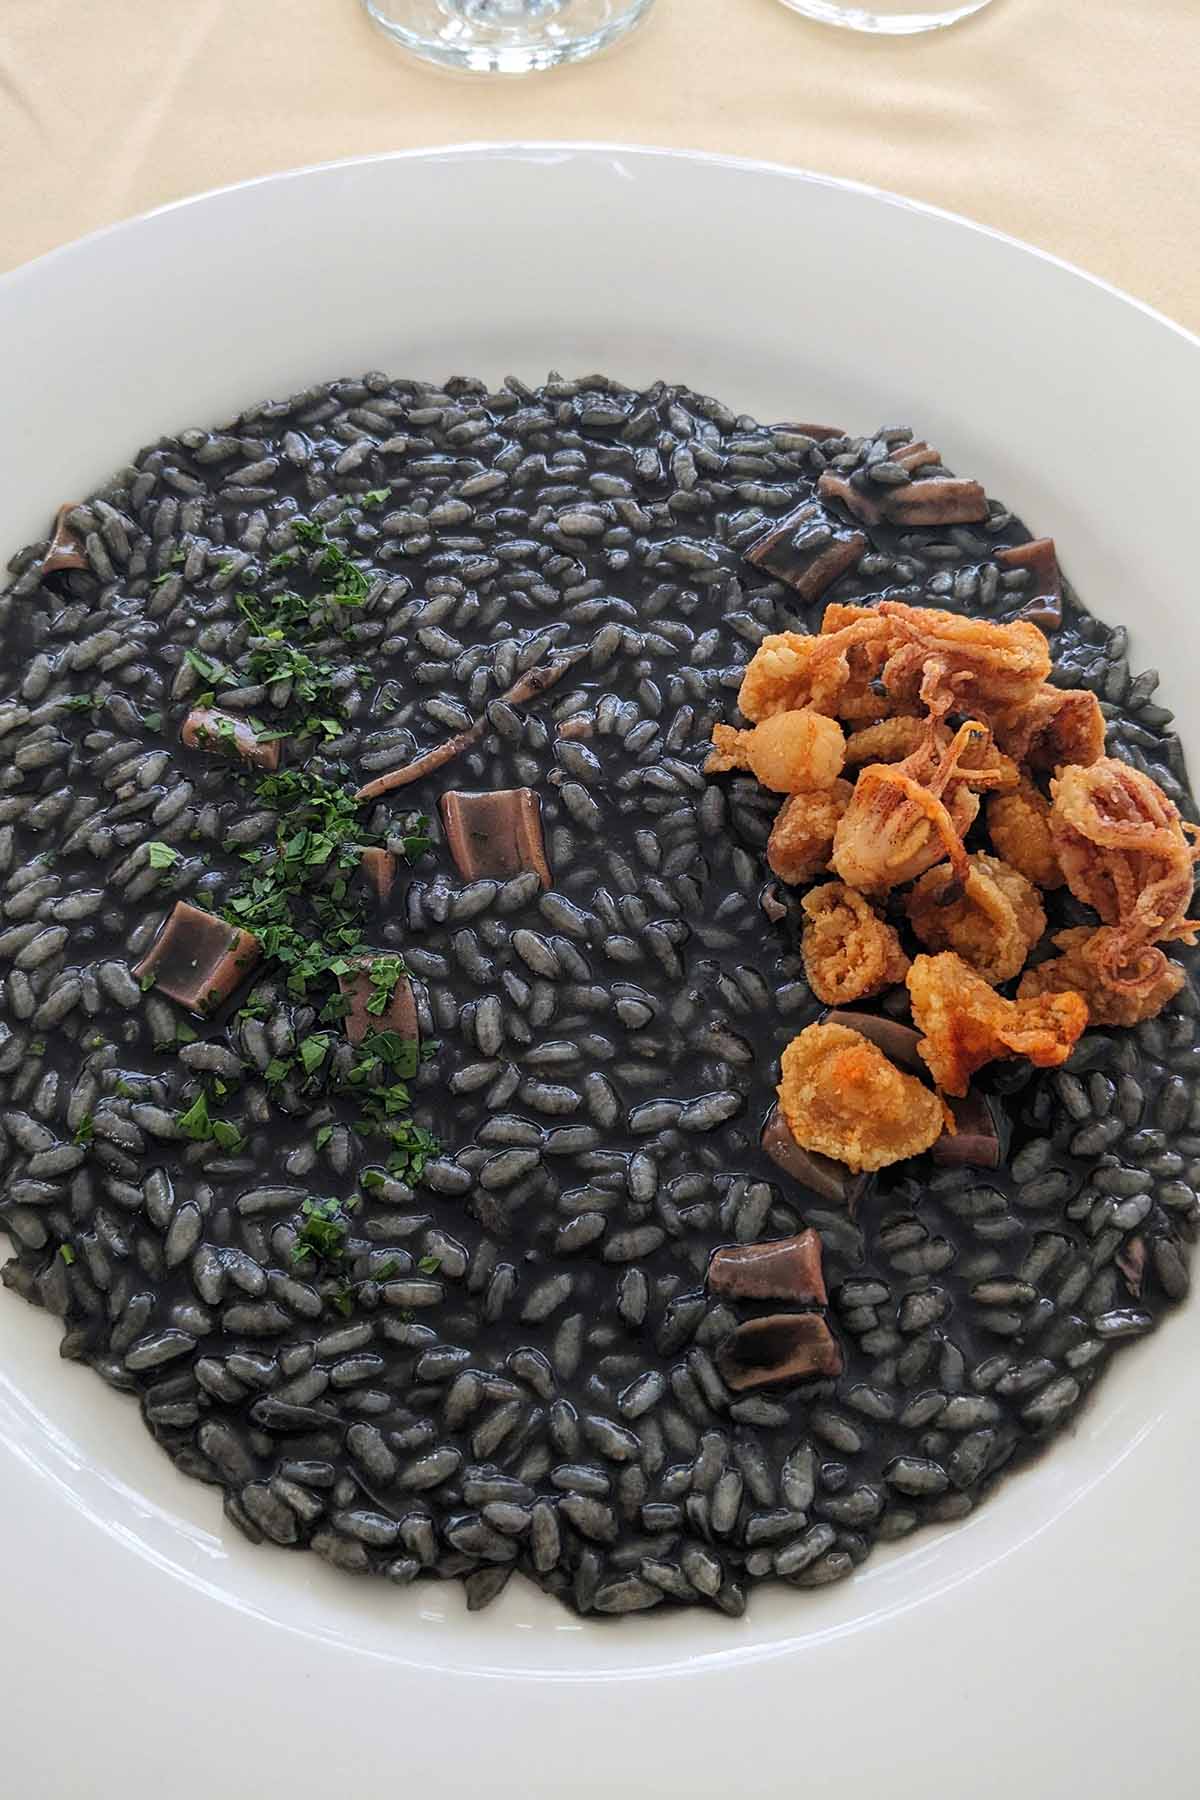
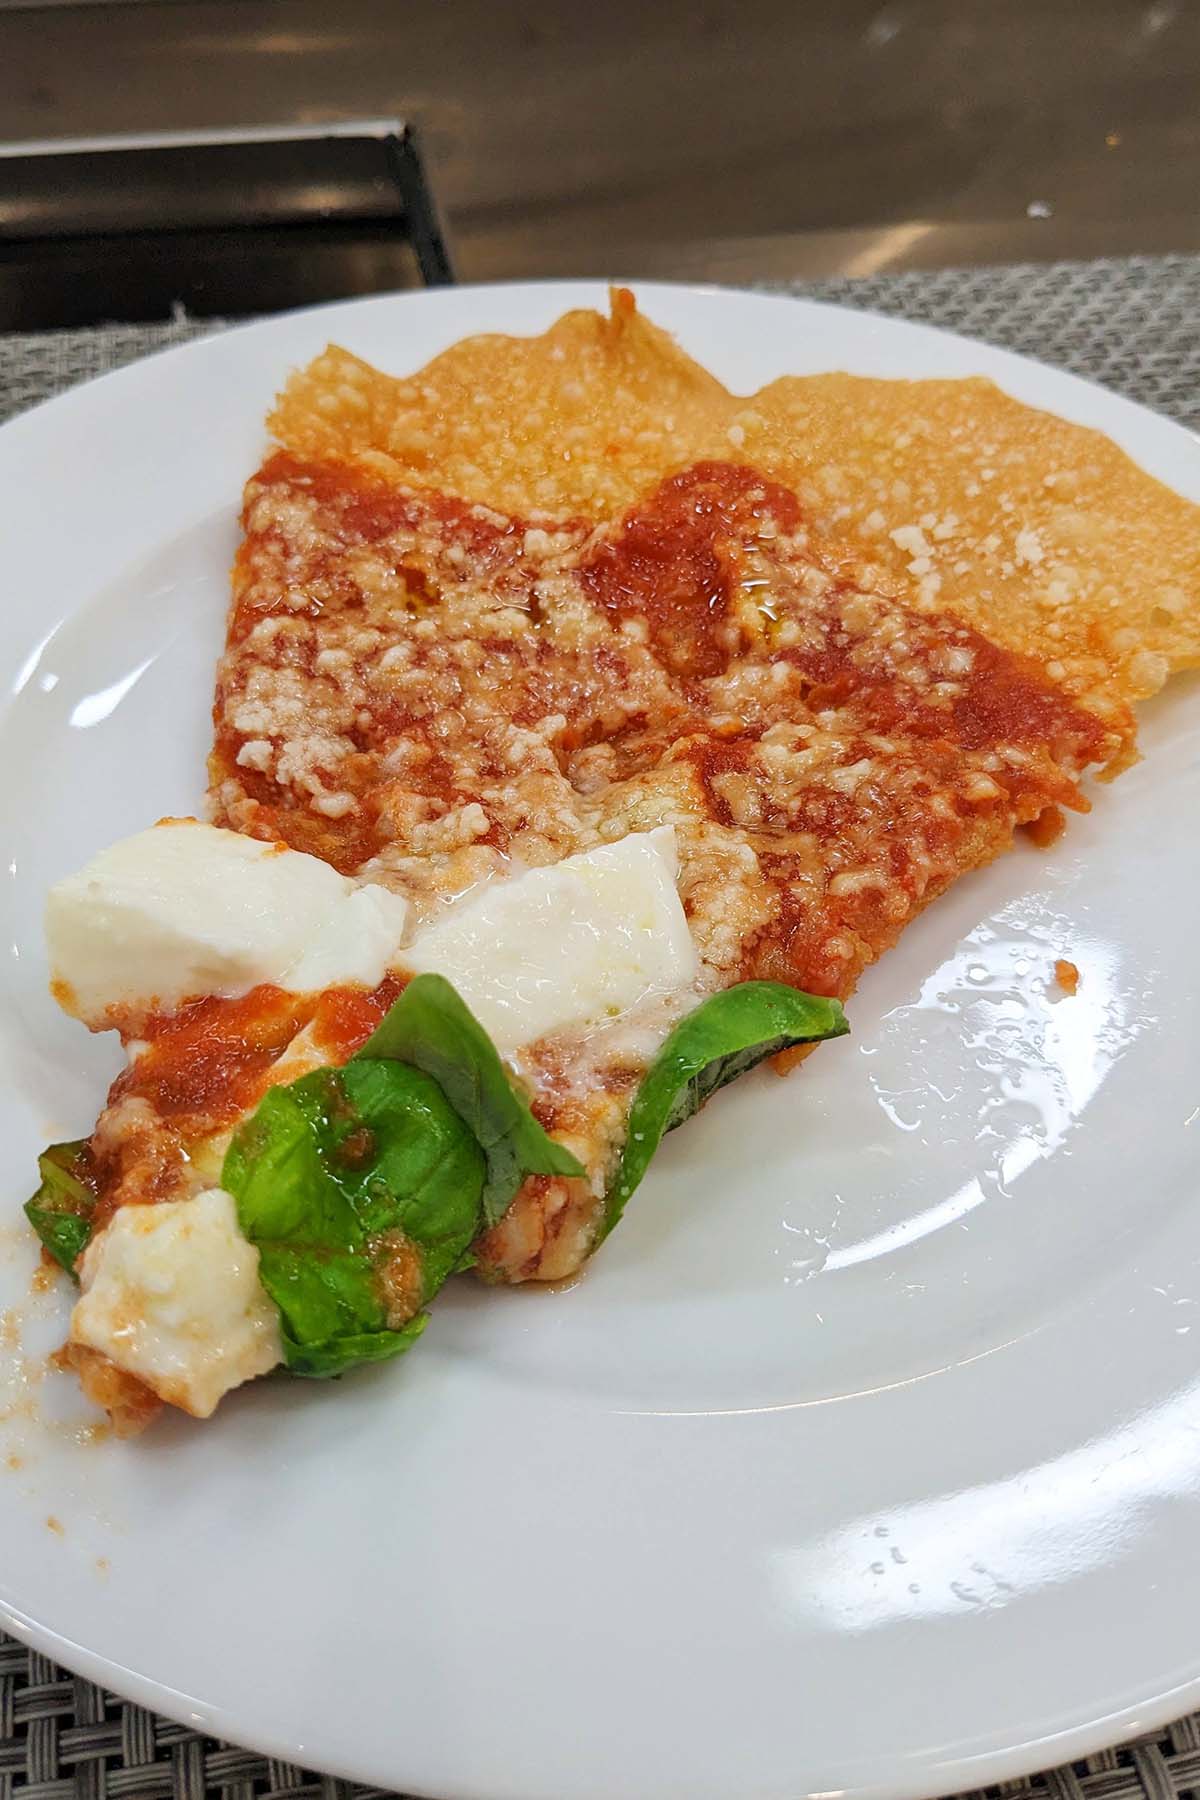
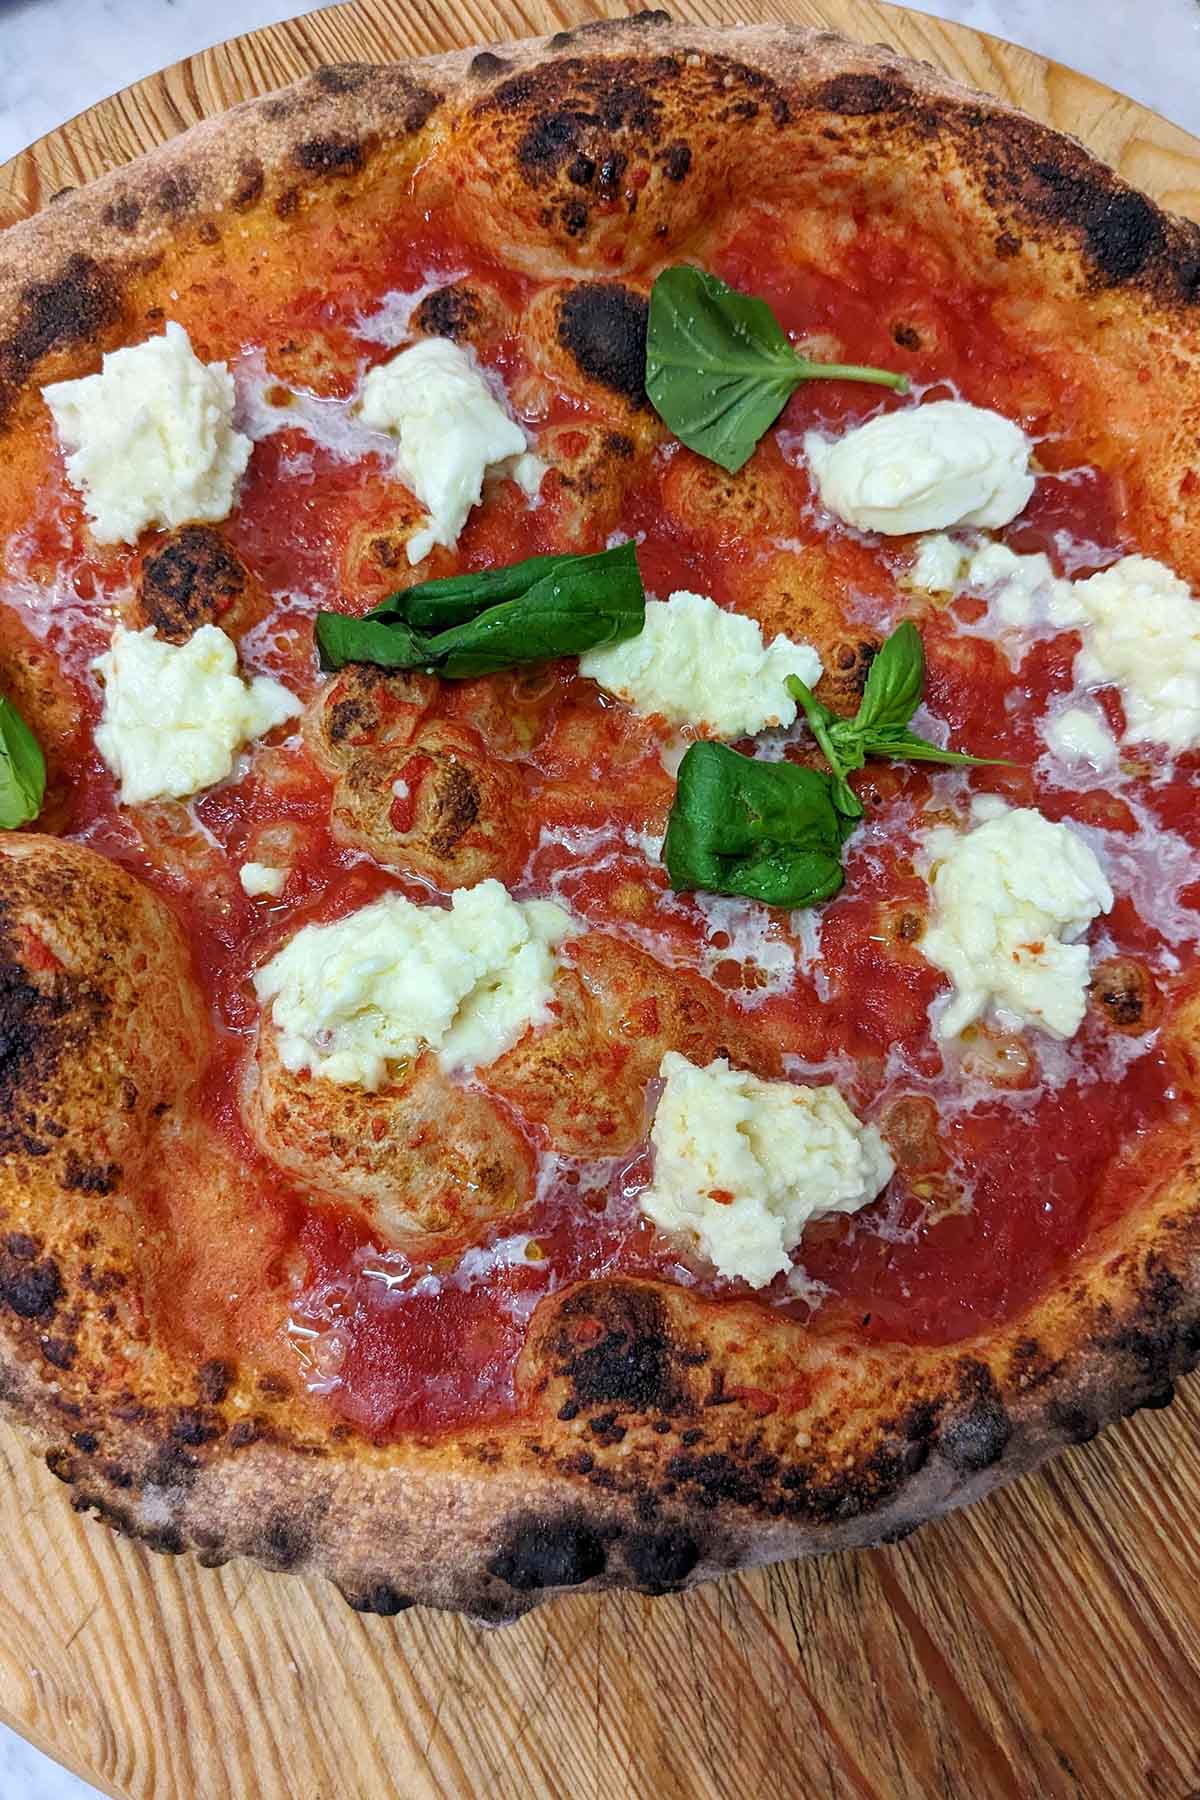
During the first few weeks, we also learned about a few different types of classic bread and dough recipes, including how to make pizza Napoletana (a thicker Italian-style dough) as well as pizza fritta dough (fried pizza).
As for bread, we learned the classics including ciabatta and focaccia. Similar to pasta, there are endless ways to be creative with focaccia including adding garlic oil, crushed tomatoes, or even cheese on top before it bakes.
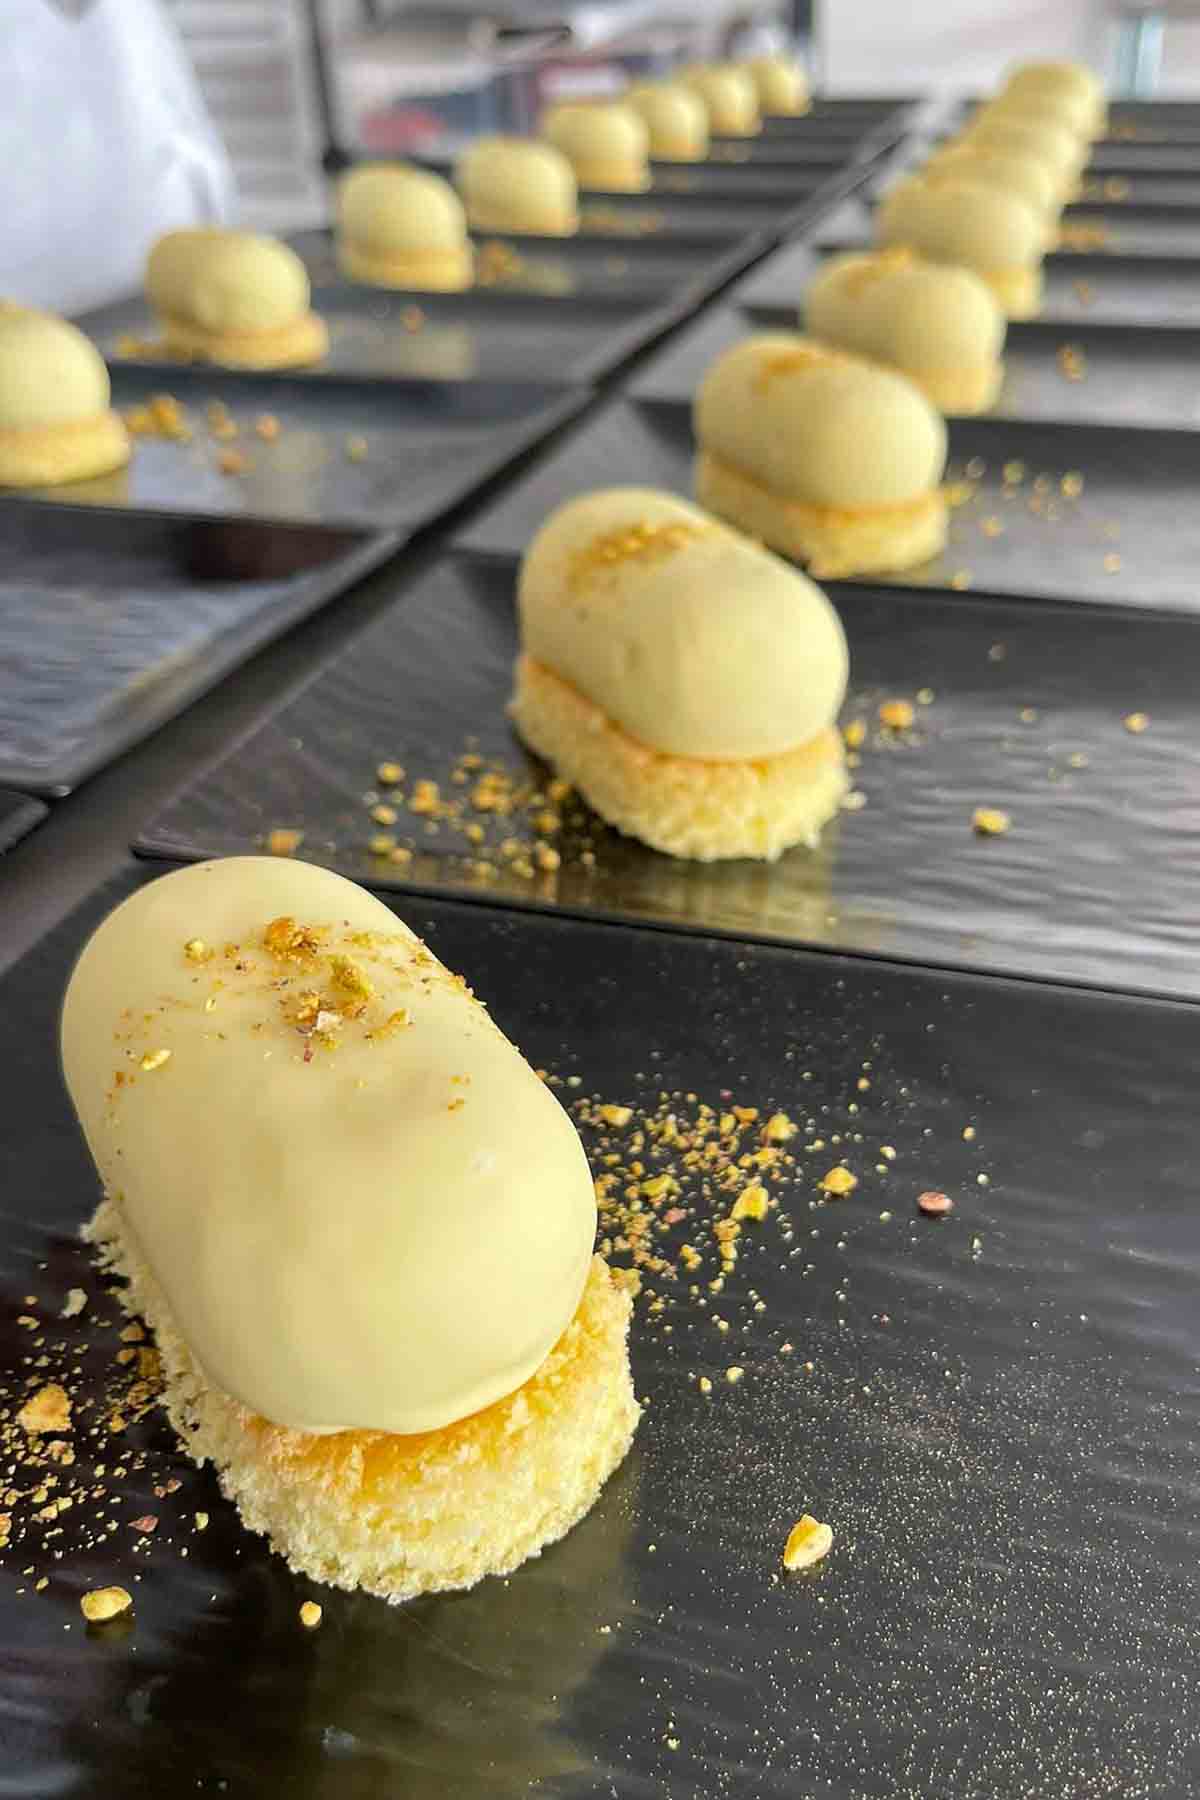
In addition to savory dishes, we also learned a few classic Italian desserts and techniques used for various sweet dishes. We mastered creme anglais, strawberry coulis, Italian merginue, and pâté à bombe before moving on to full desserts.
Some of my favorite desserts we learned how to make include pan di spagna (sponge cake), semifreddo (a frozen dessert), and tiramisu. After learning all of these baking components and dishes, we got to help make dessert for dinner each night.
Charcuterie
Our next culinary adventure included a week of learning about traditional charcuterie, also known as curing and preserving meat.
On the first day of charcuterie week, we learned how to completely break down a pig. After watching our guest Chef break down one half of the pig, our class then got to break down the other half.
This was such a valuable lesson because it taught us where each cut of meat comes from and how it's used in various dishes. Italians care deeply about the animal and how it's treated prior to slaughtering. They also waste nothing, so every single part of the pig was used for dishes throughout the week.
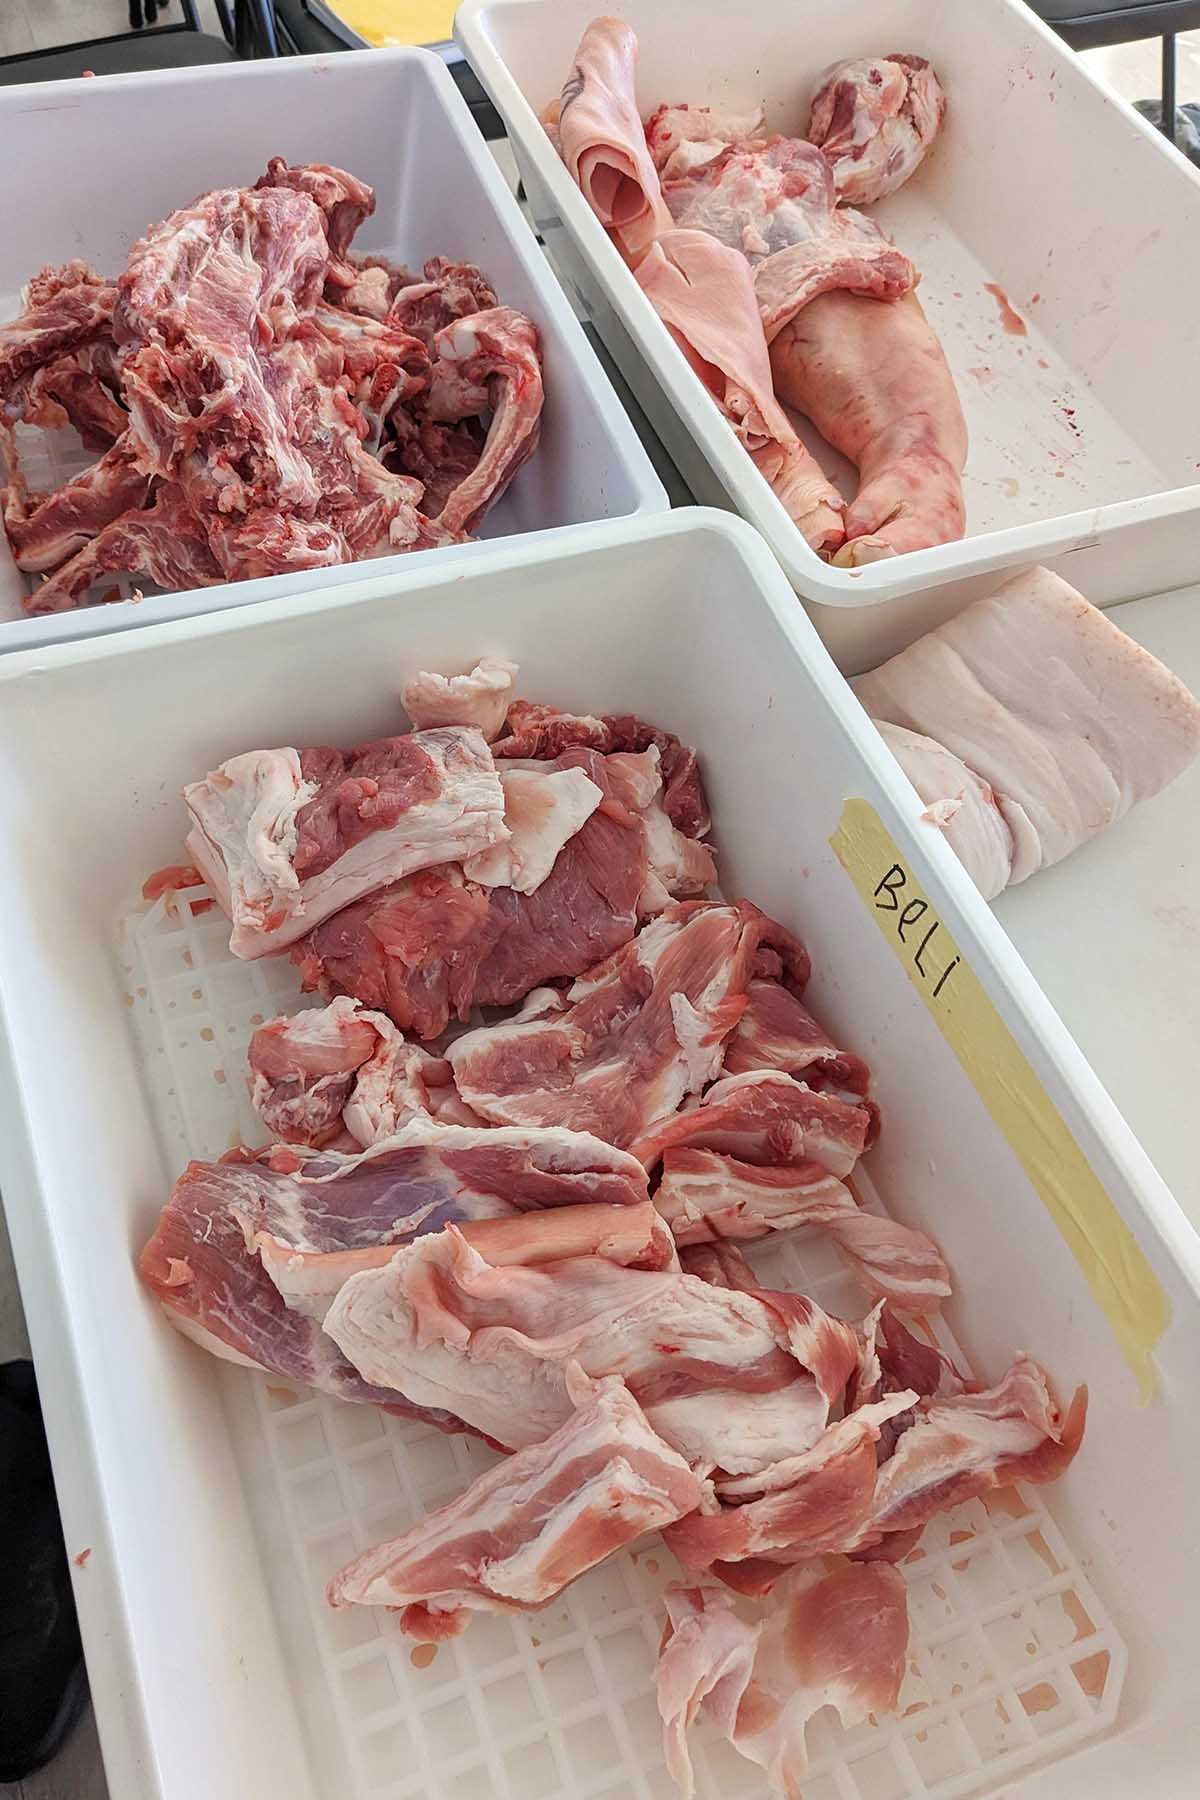
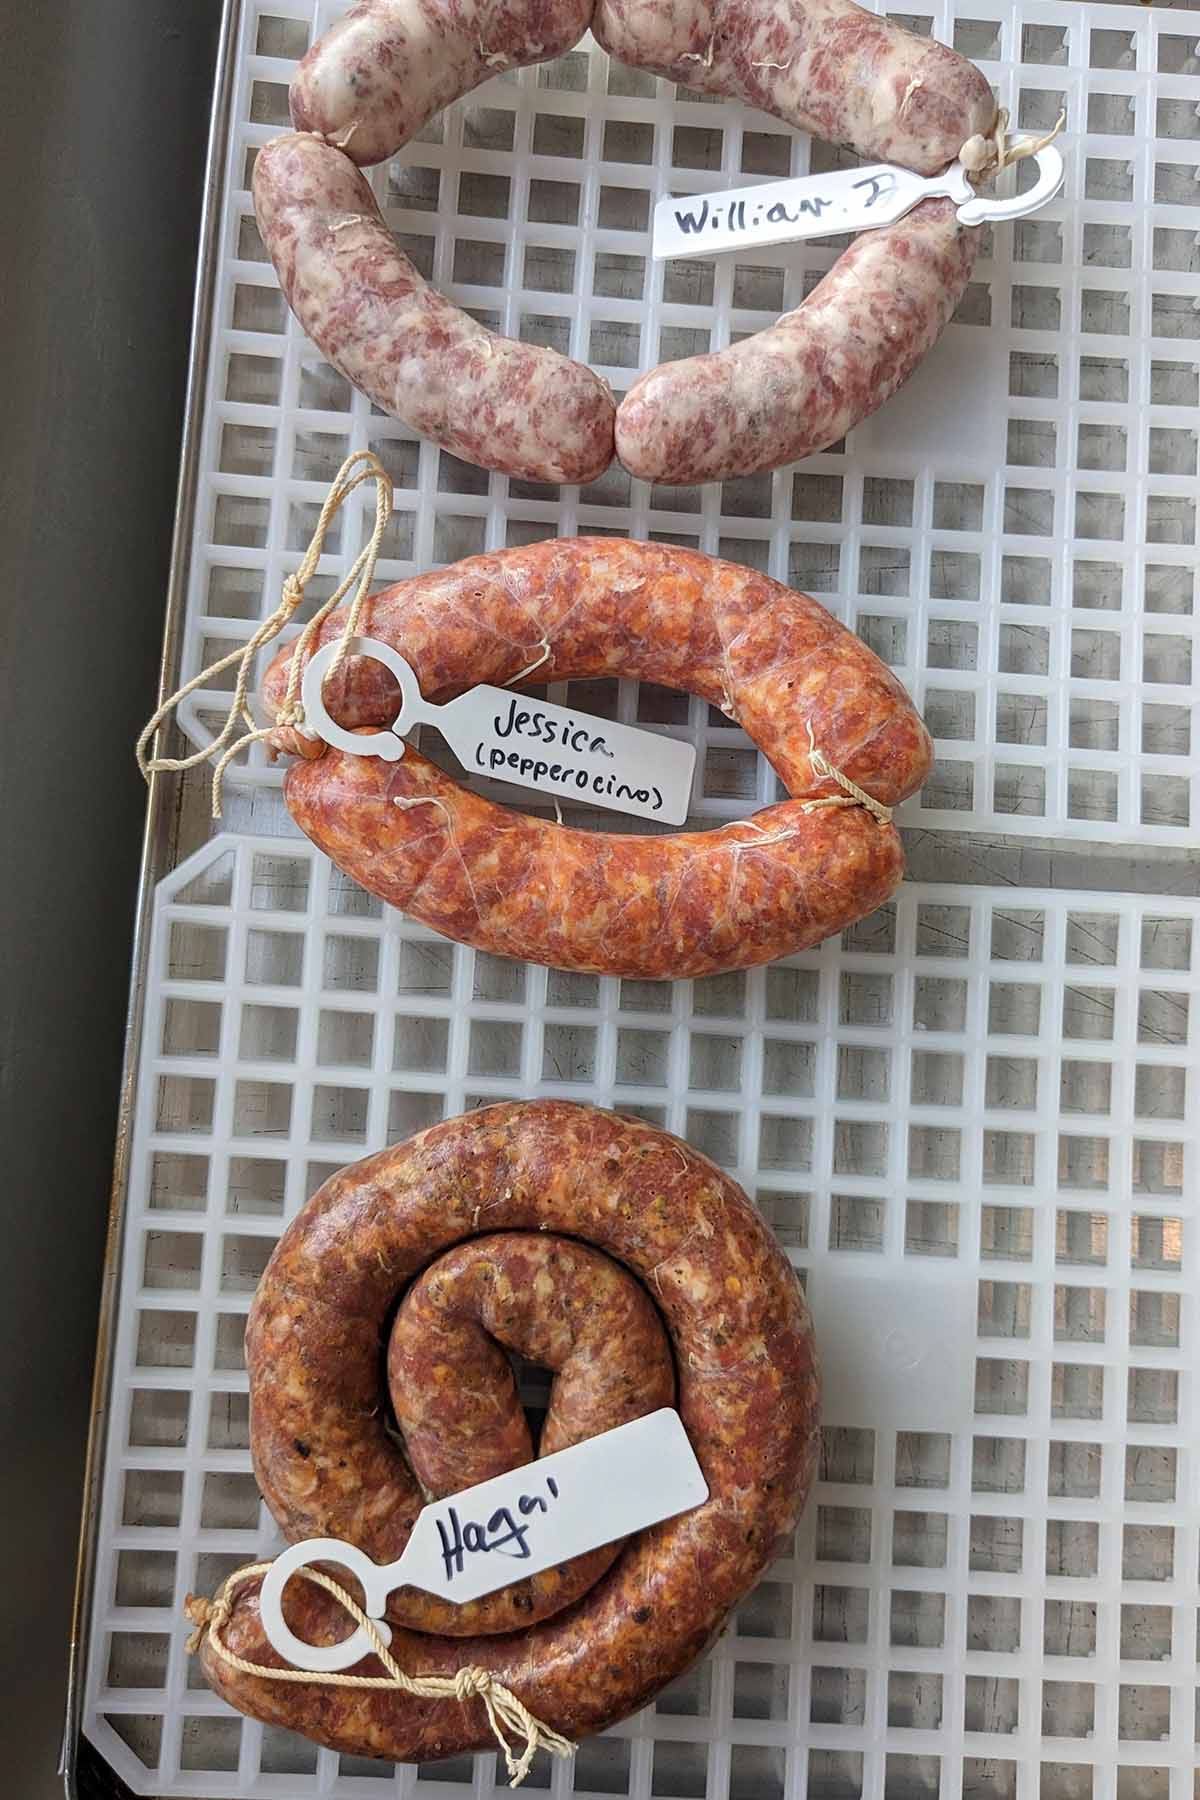
After breaking down the pig, we got to work on using our product. We learned how to create some fresh pork products, like porchetta and 'Nduja, along with cured meat like soppressata and prosciutto.
Some of the highlights from charcuterie week for me personally included learning how to make mortadella and seeing how many ways you can use pork in the kitchen.
We ended this week with a giant 'pig feast', tasting all of the dishes we made throughout the week.
Conserves
Italians have a philosophy of never wasting food. They are great stewards of the food they are given, ensuring all their food is eaten and enjoyed.
One way Italians ensure they don't waste food is through different methods of conserving. This week we learned various ways to conserve food through canning, marmalades, cold smoking, and dehydrating.
The key to conserving first is first figuring out how you are going to preserve the food. There are many preservation methods including curing, salting, using sugar or vinegar, dehydrating, freezing, and freeze-drying.
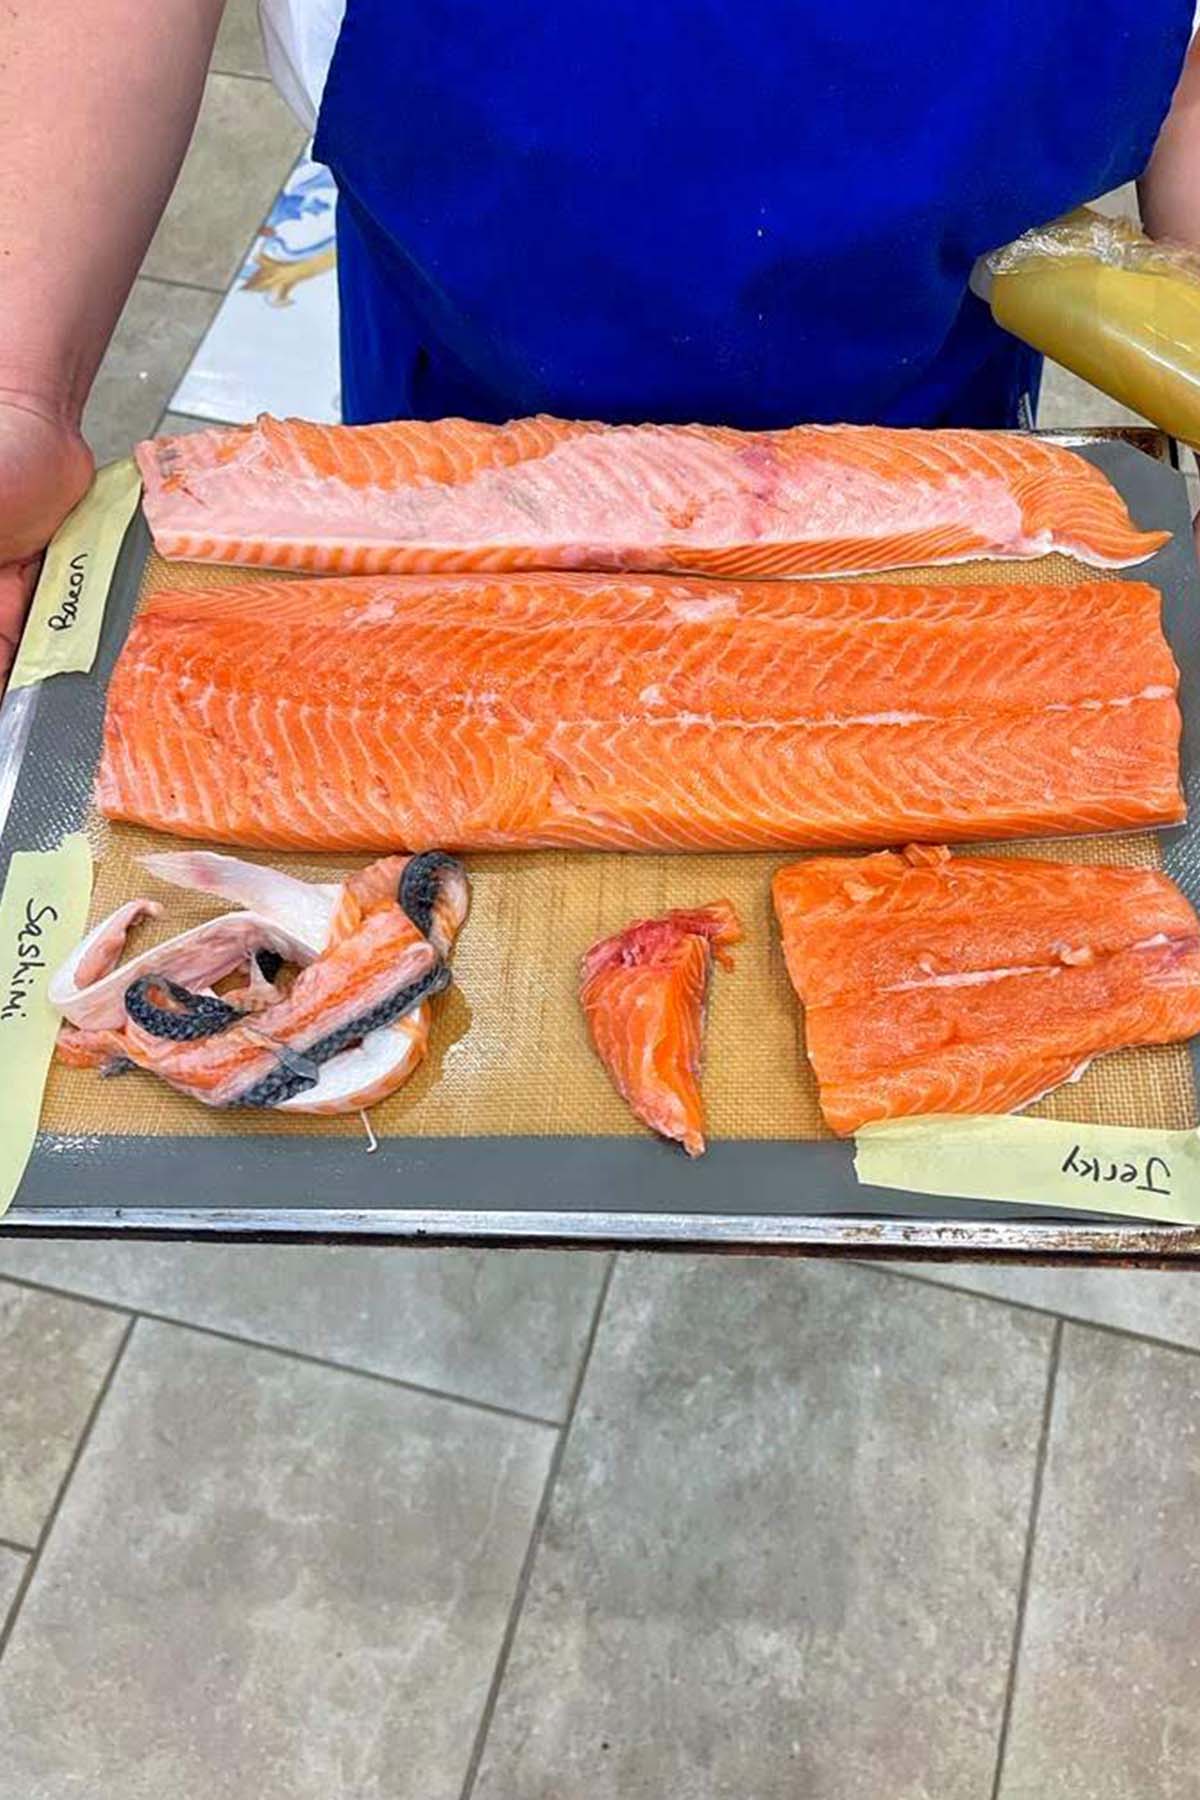
During conserves week, we worked with salmon and learned five common methods for preserving the fish. My favorites were the cold smoked salmon and salmon bacon.
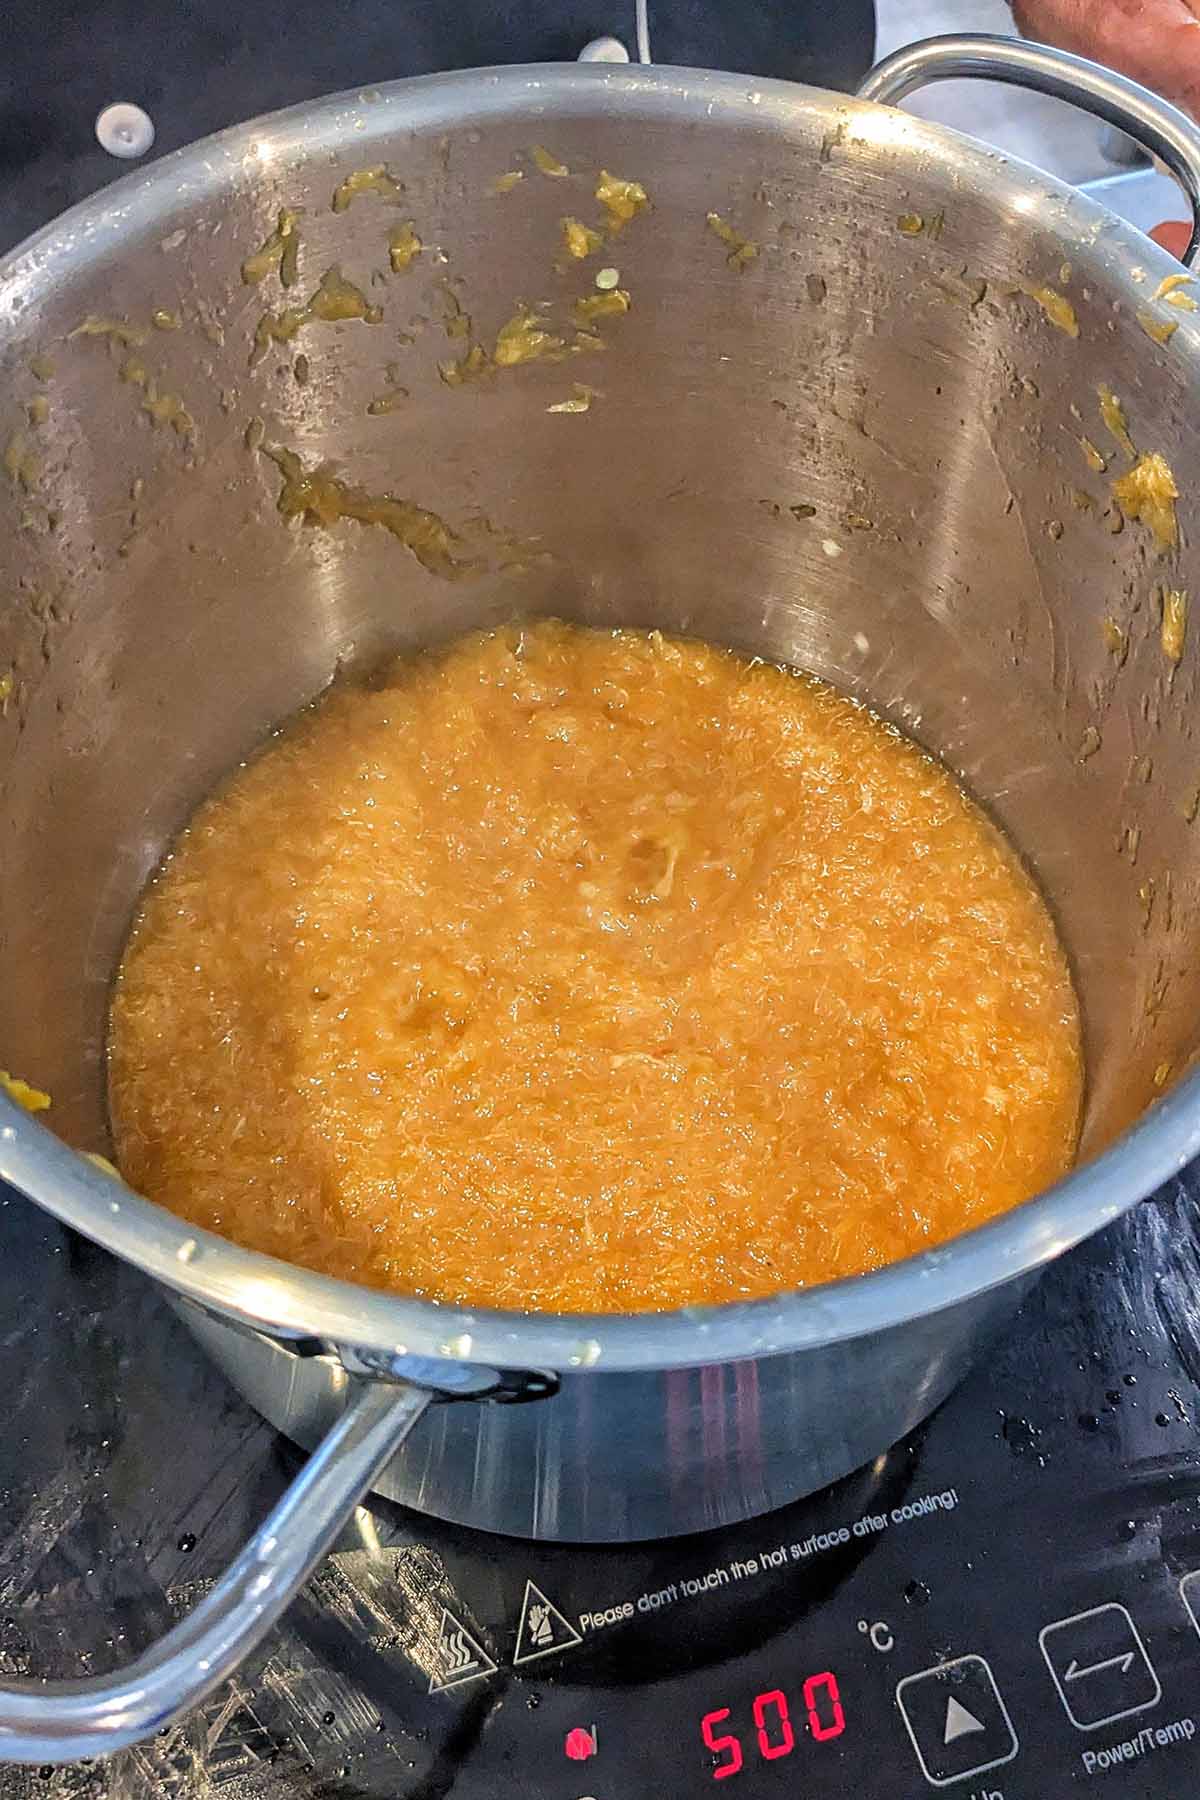
We also learned ways to preserve fruit. Since we were at the peak of citrus season, we made orange marmalade as well as candied orange rinds.
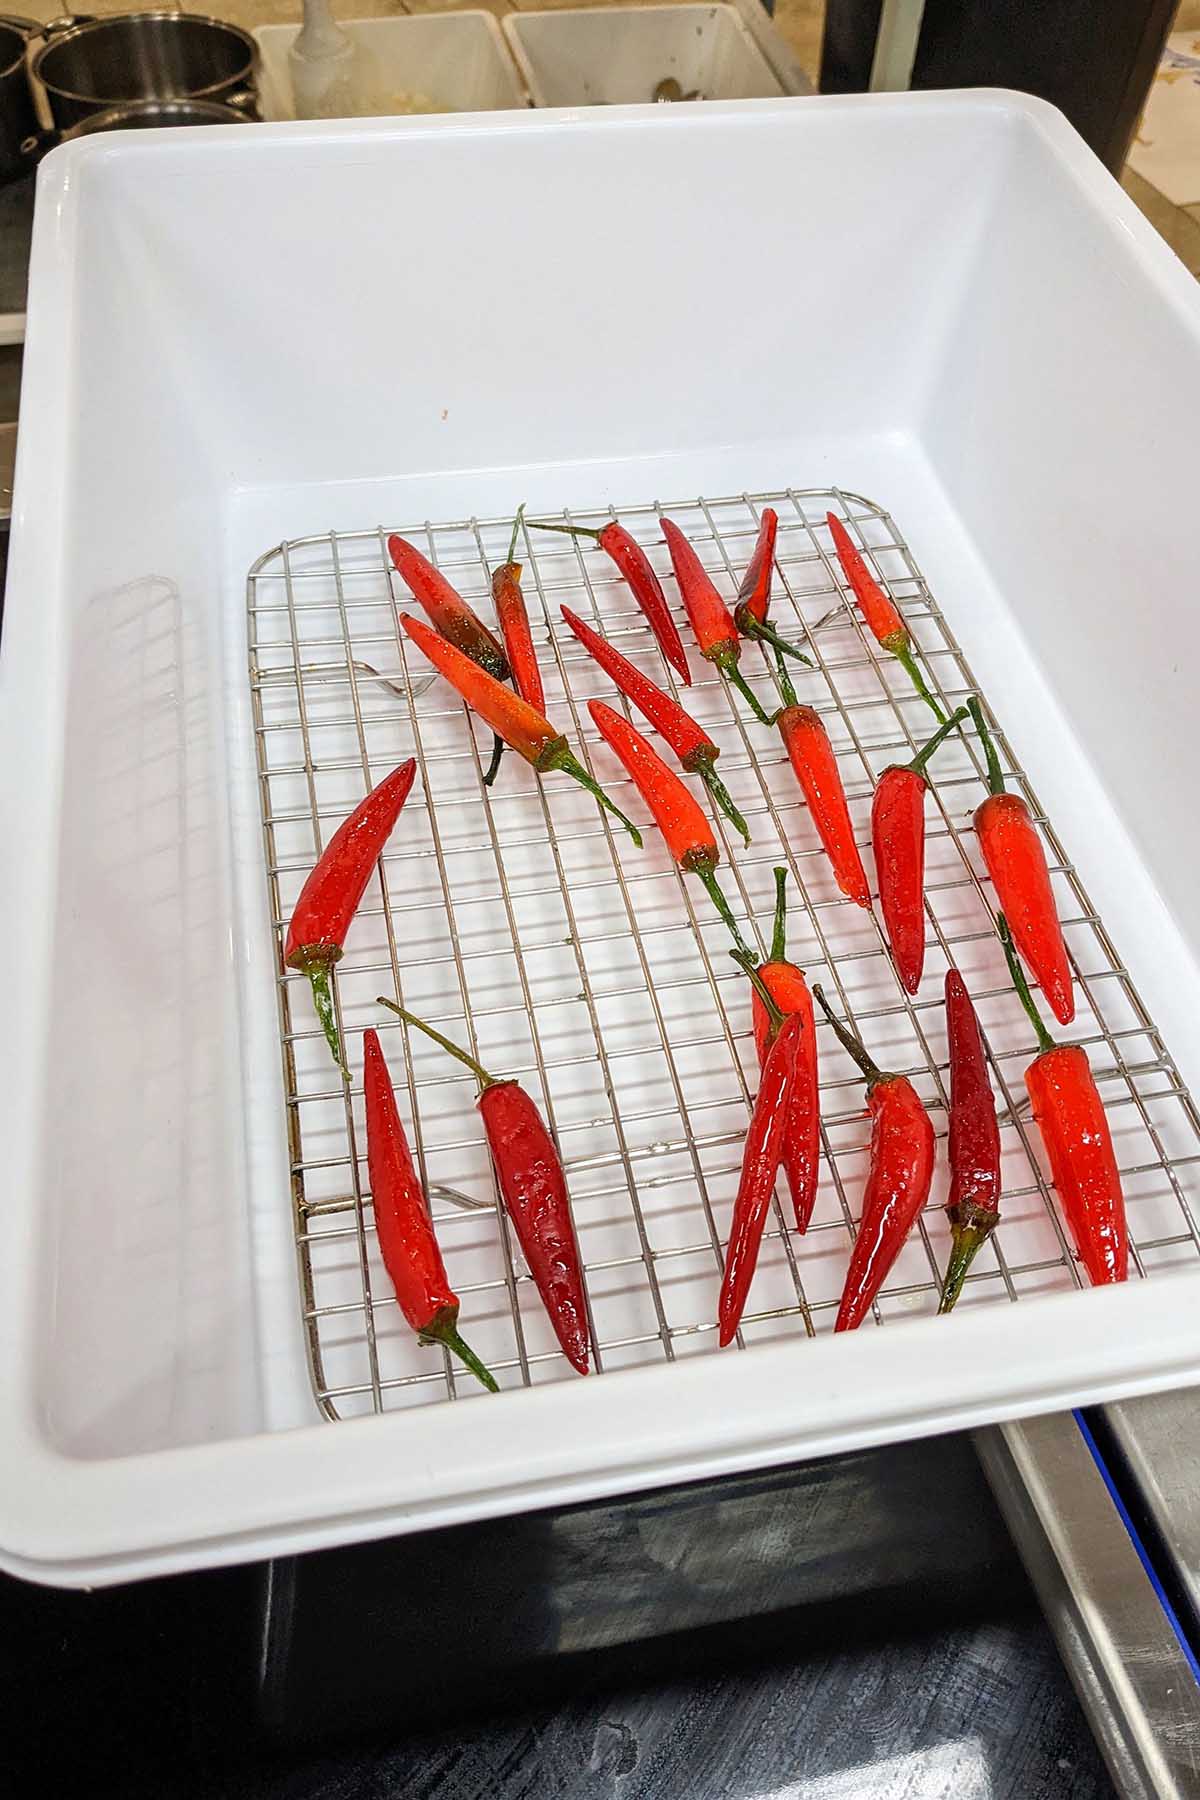
We also worked with peperoncini, a spicy pepper from the region of Calabria (where I studied for this program). With this one ingredient, we made bomba, a popular condiment for many dishes, chili oil, and stuffed peppers.
My biggest takeaway from conserves week is that every type of food can be preserved in one way or another. Most importantly, conserving food is a useful technique for storing in-season produce so you have delicious tasting food all year round.
Mixology
Just like many other cultures around the world, Italians love their cocktails.
Mixology week started with learning how to make various sugar syrups. We made many different flavor varieties including lemon syrup, burnt sugar syrup, and even a spicy pepper syrup.
We also learned techniques for infusing, smoking, and fat-washing liquor to add another depth of flavor to our cocktails.
Before we could get to mixing cocktails, we first had to learn the four basic cocktail mixing techniques:
- Build-up: This is an easy technique where you simply “build” the cocktail directly in the serving glass.
- Stirring: Most spirit-forward cocktails like a martini or negroni are stirred. This technique allows you to dilute a cocktail with water (from the ice) while not incorporating too much air.
- Rolling: For this technique, you’ll use a cocktail shaker and pour the drink back and forth between each shaker cup to mix it. Rolling a cocktail helps to incorporate air without any bubbles or foam.
- Shaking: Probably the most common cocktail mixing technique is shaking. This is done by shaking the cocktail ingredients, oftentimes with ice, in a cocktail shaker.
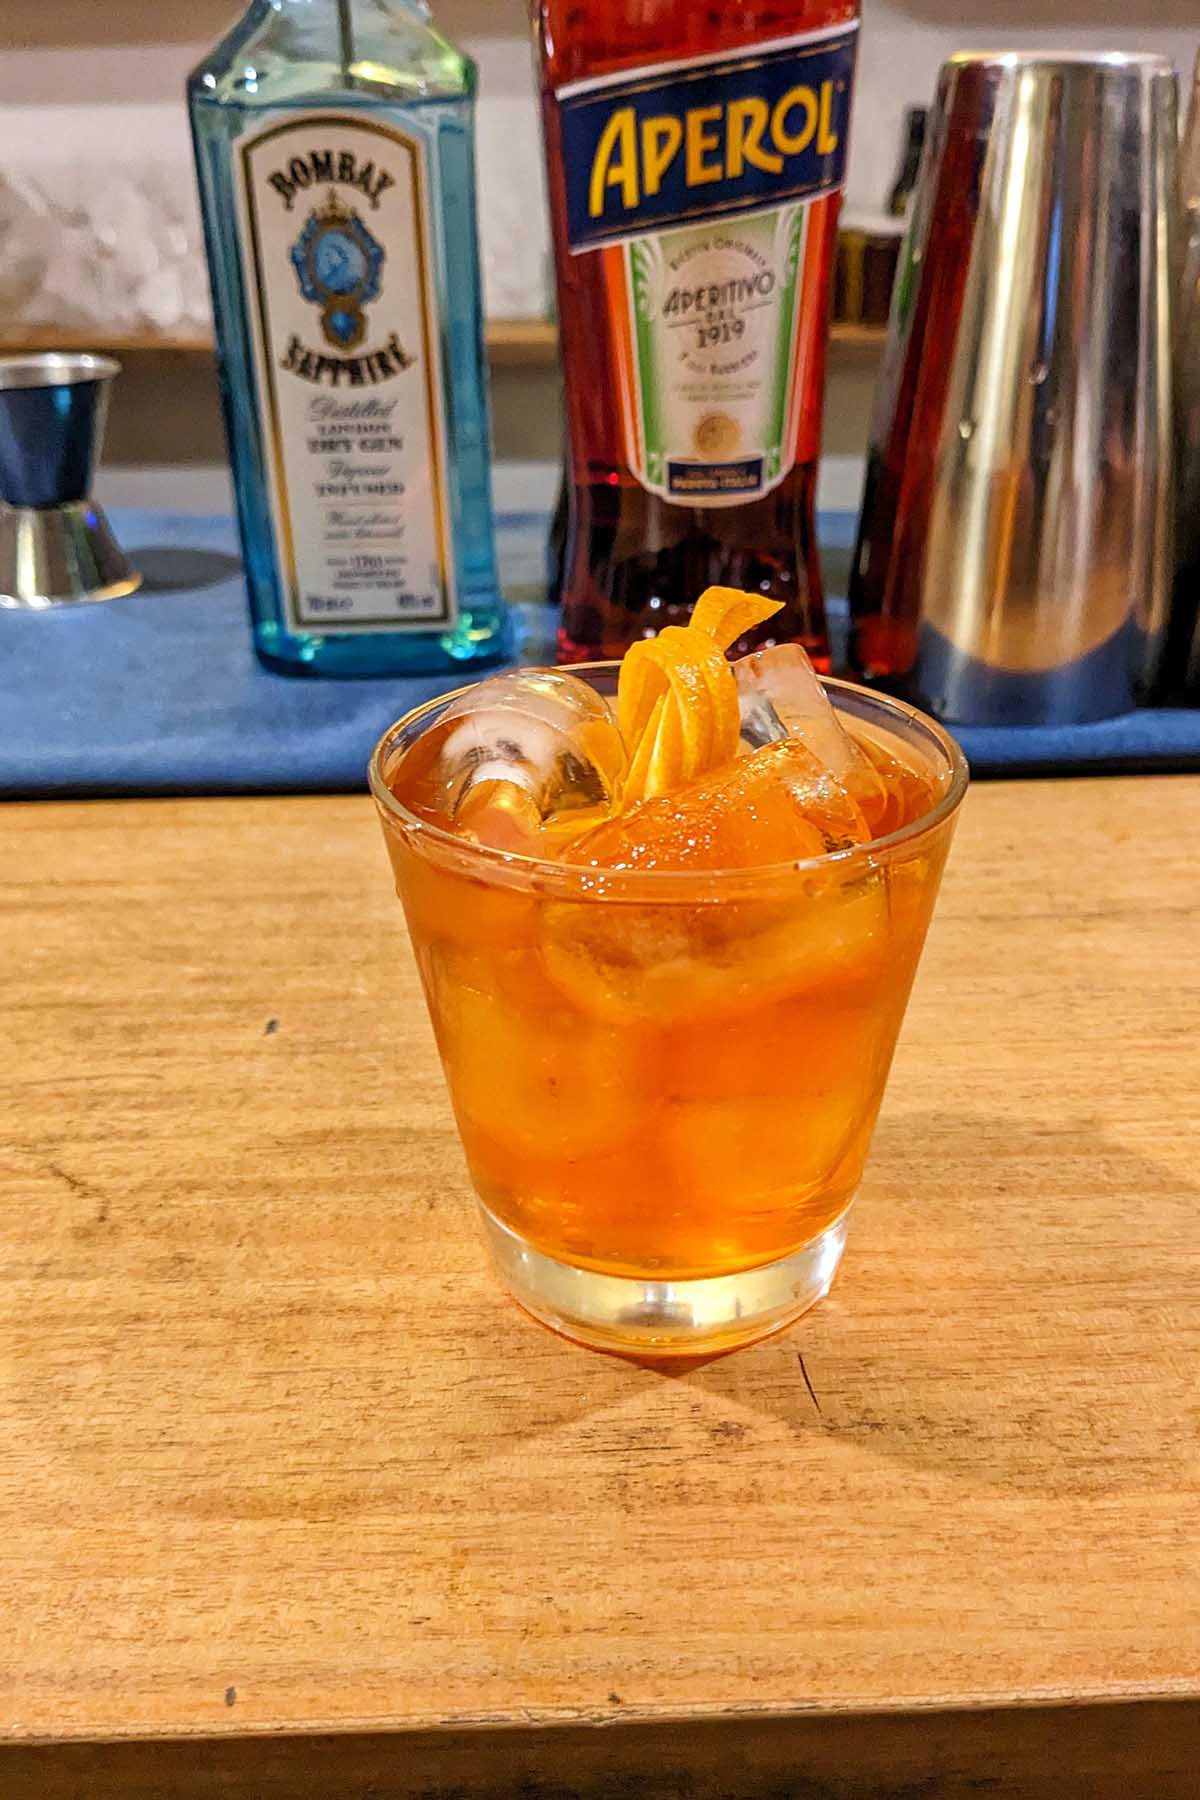
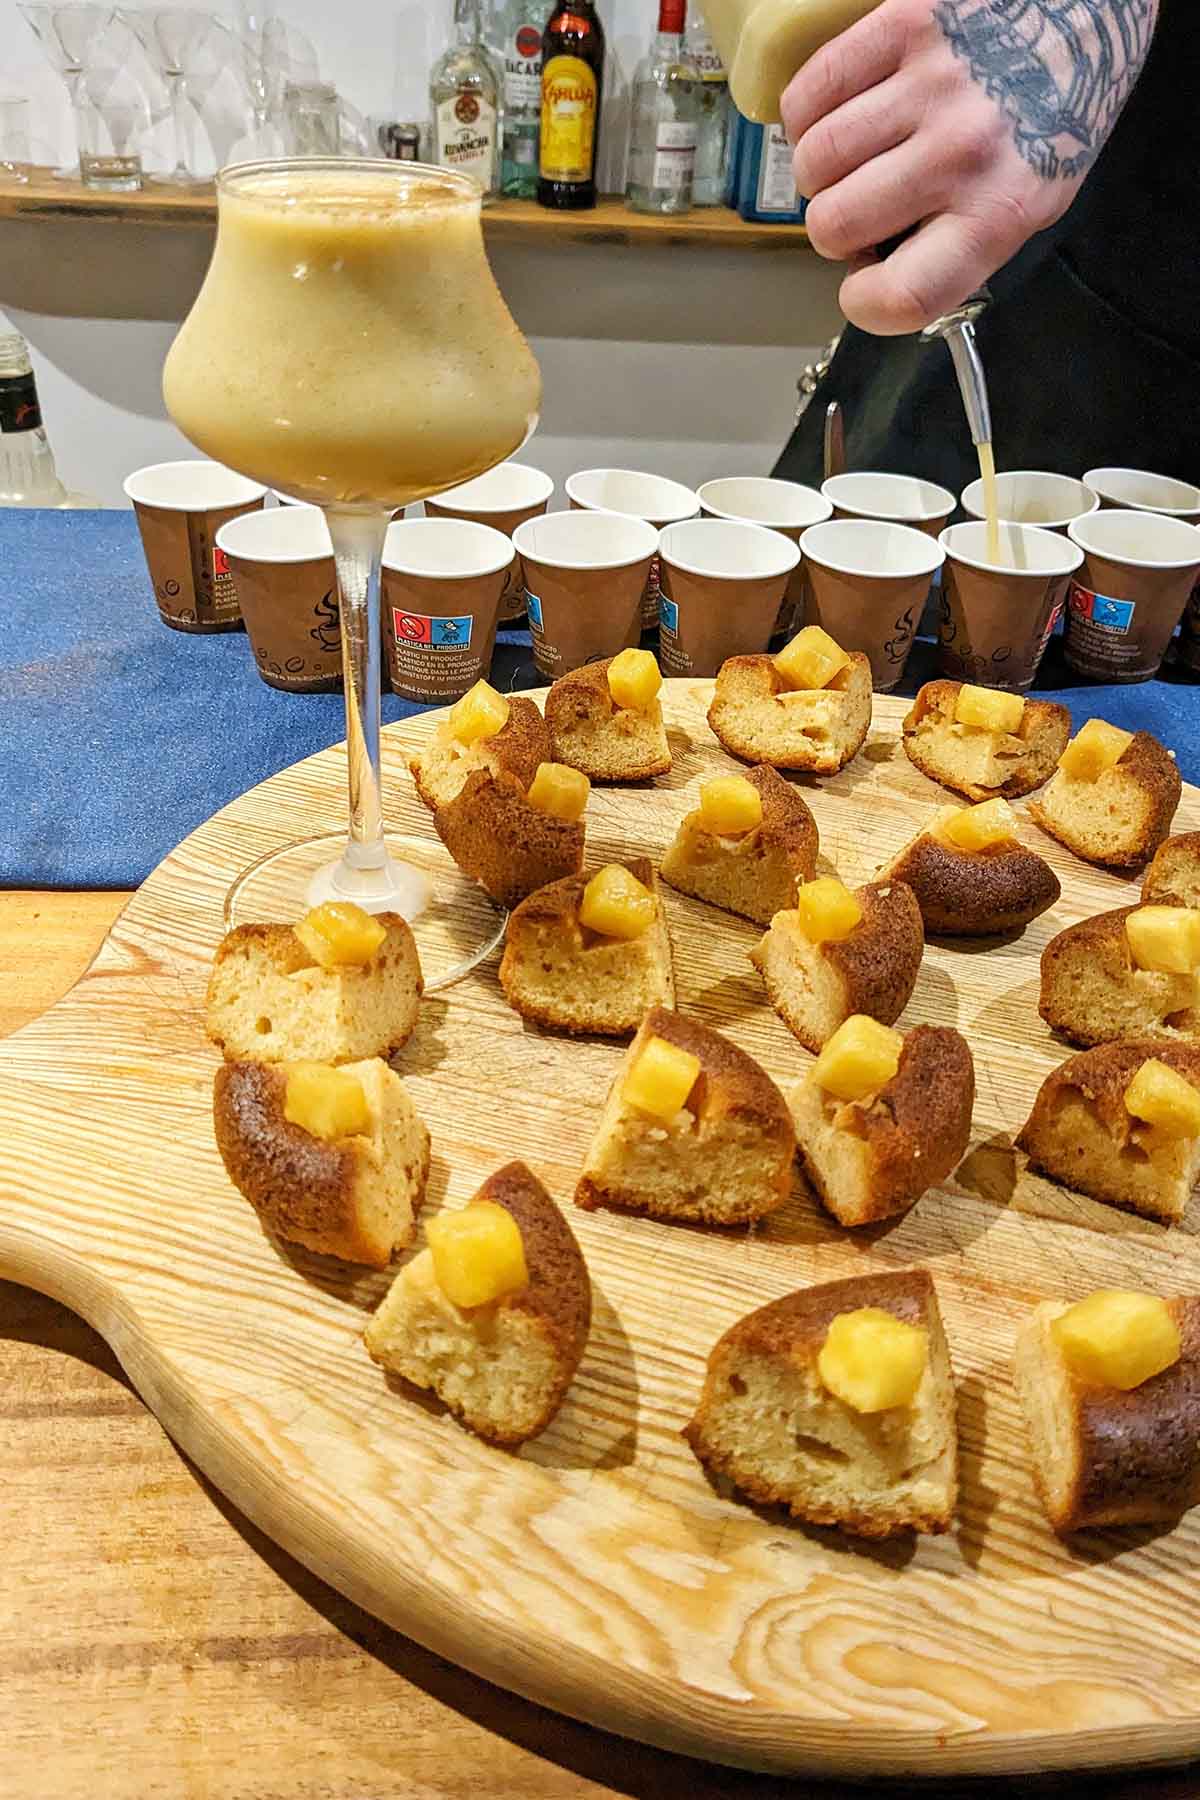
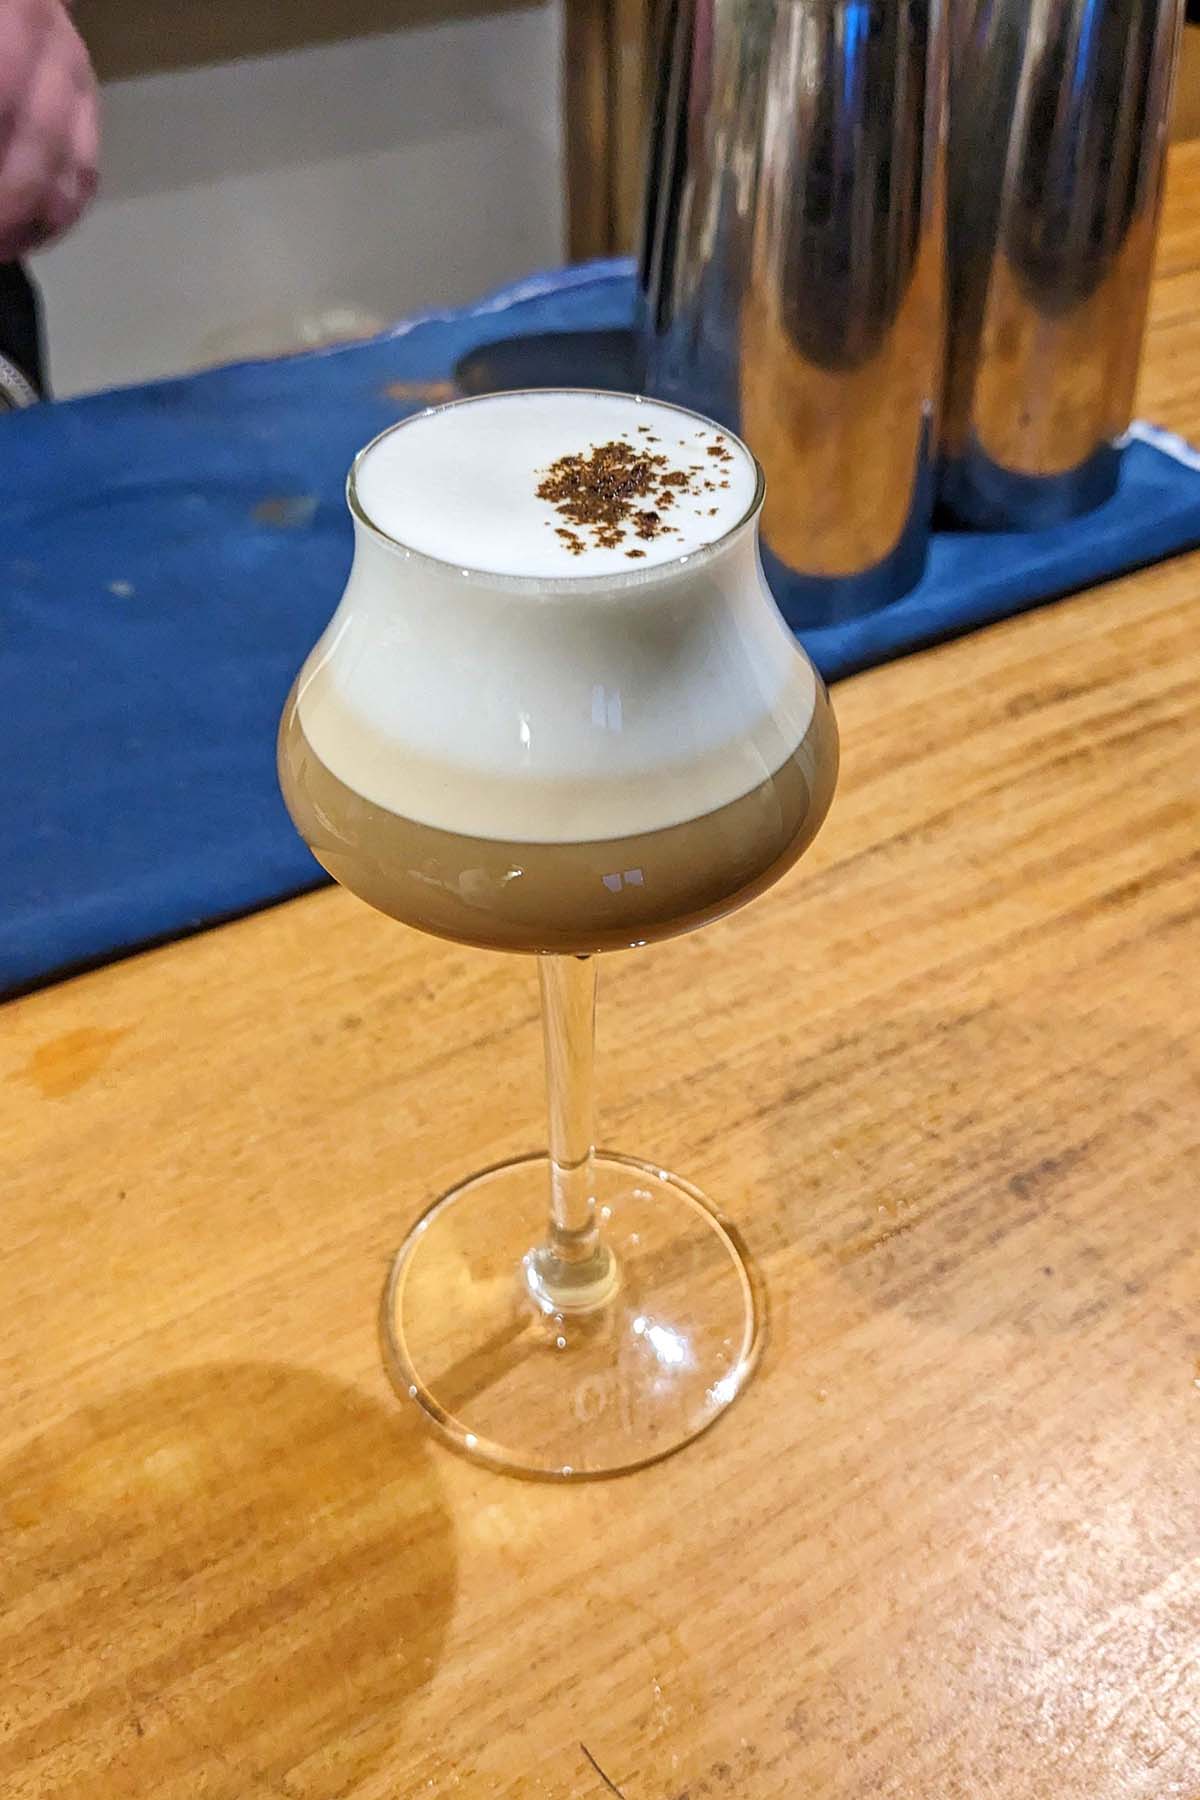
Next, we learned (and tasted) many of the classic cocktails, such as a dirty martini, negroni, mai Tai, fruity martini, and more. Not only did we learn the common ratios for these cocktails, but we also learned how to change out certain ingredients to reinvent the cocktail's taste.
Since pairing a cocktail with food that compliments it is an important lesson in the culinary world, we also taste-tested these cocktails with complimentary food pairings.
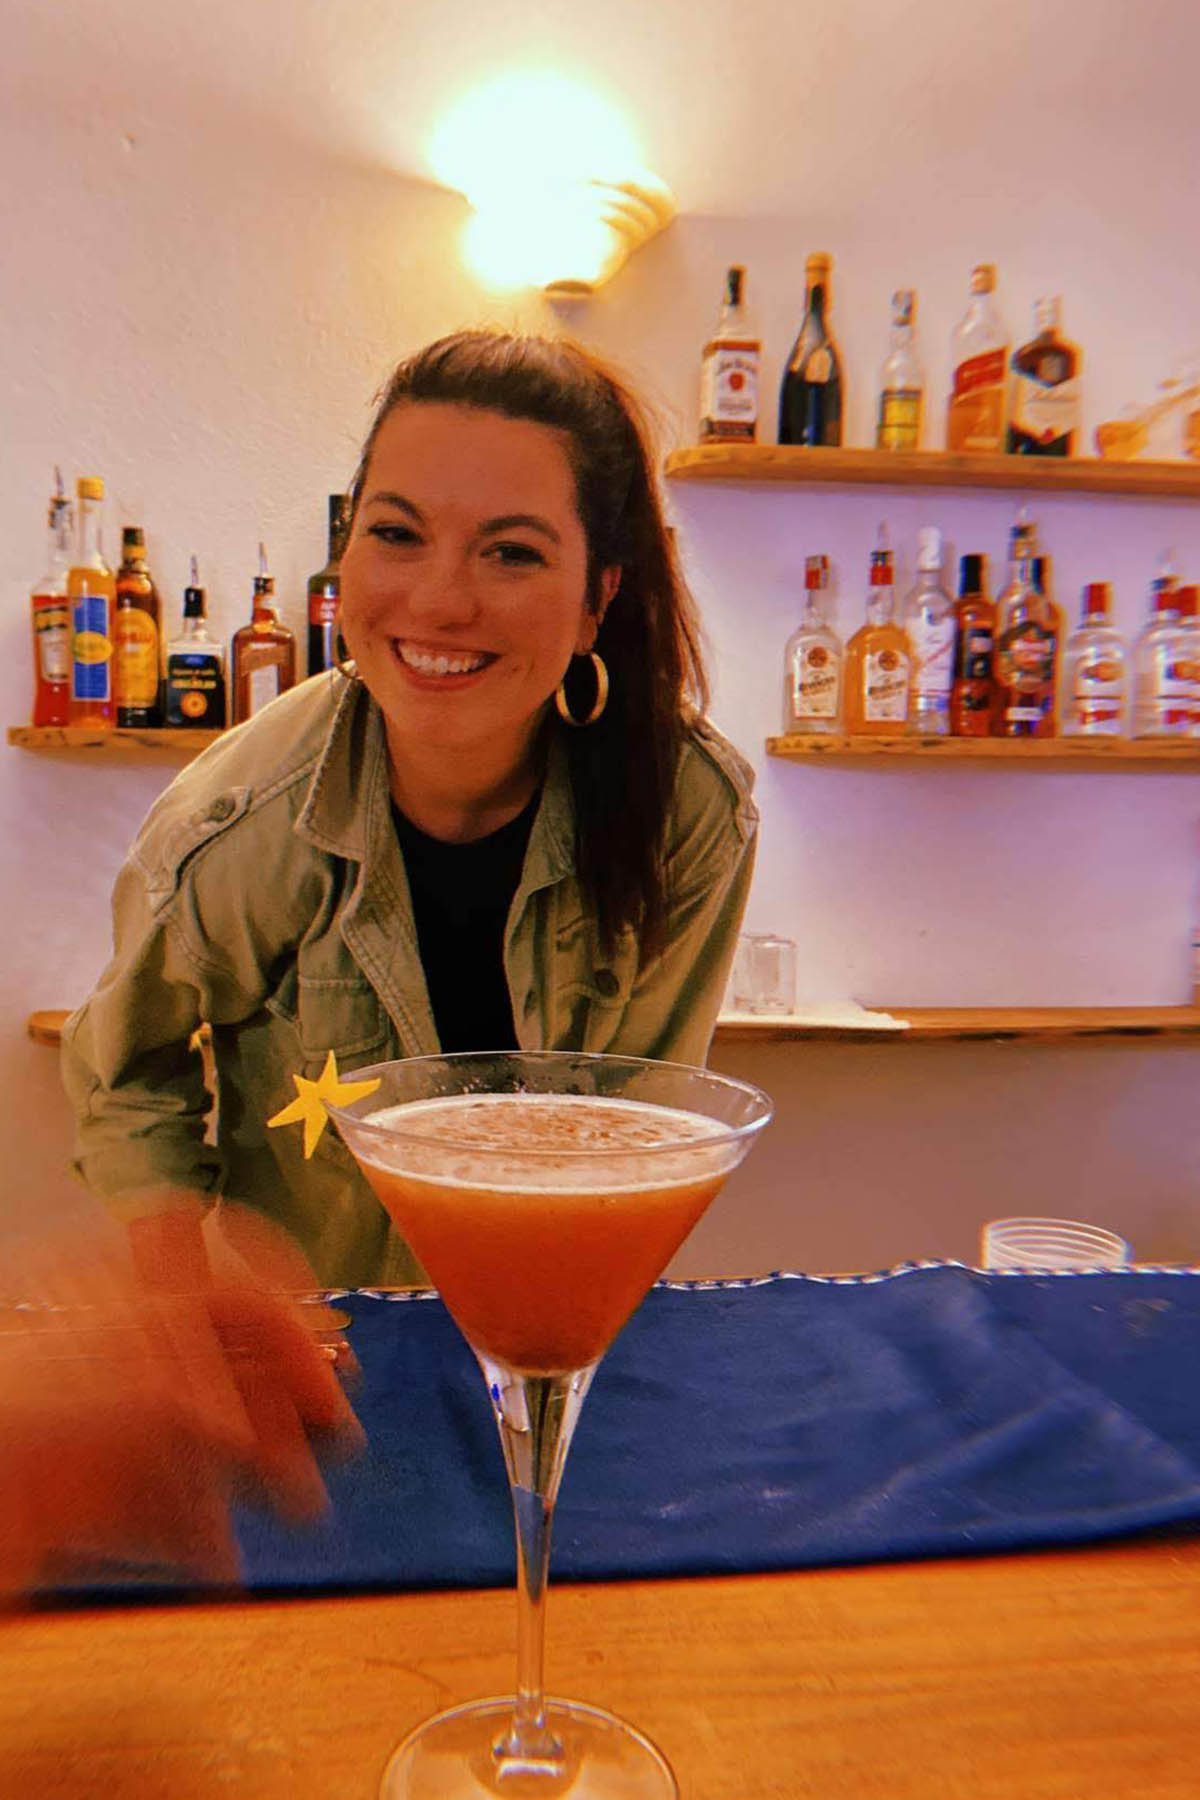
To end mixology week, we had a pizza and cocktail pairing contest. We created our own personalized cocktail and paired it with pizza toppings that complimented the flavors. My partner and I created a strawberry and limoncello martini.
Italian Pastries
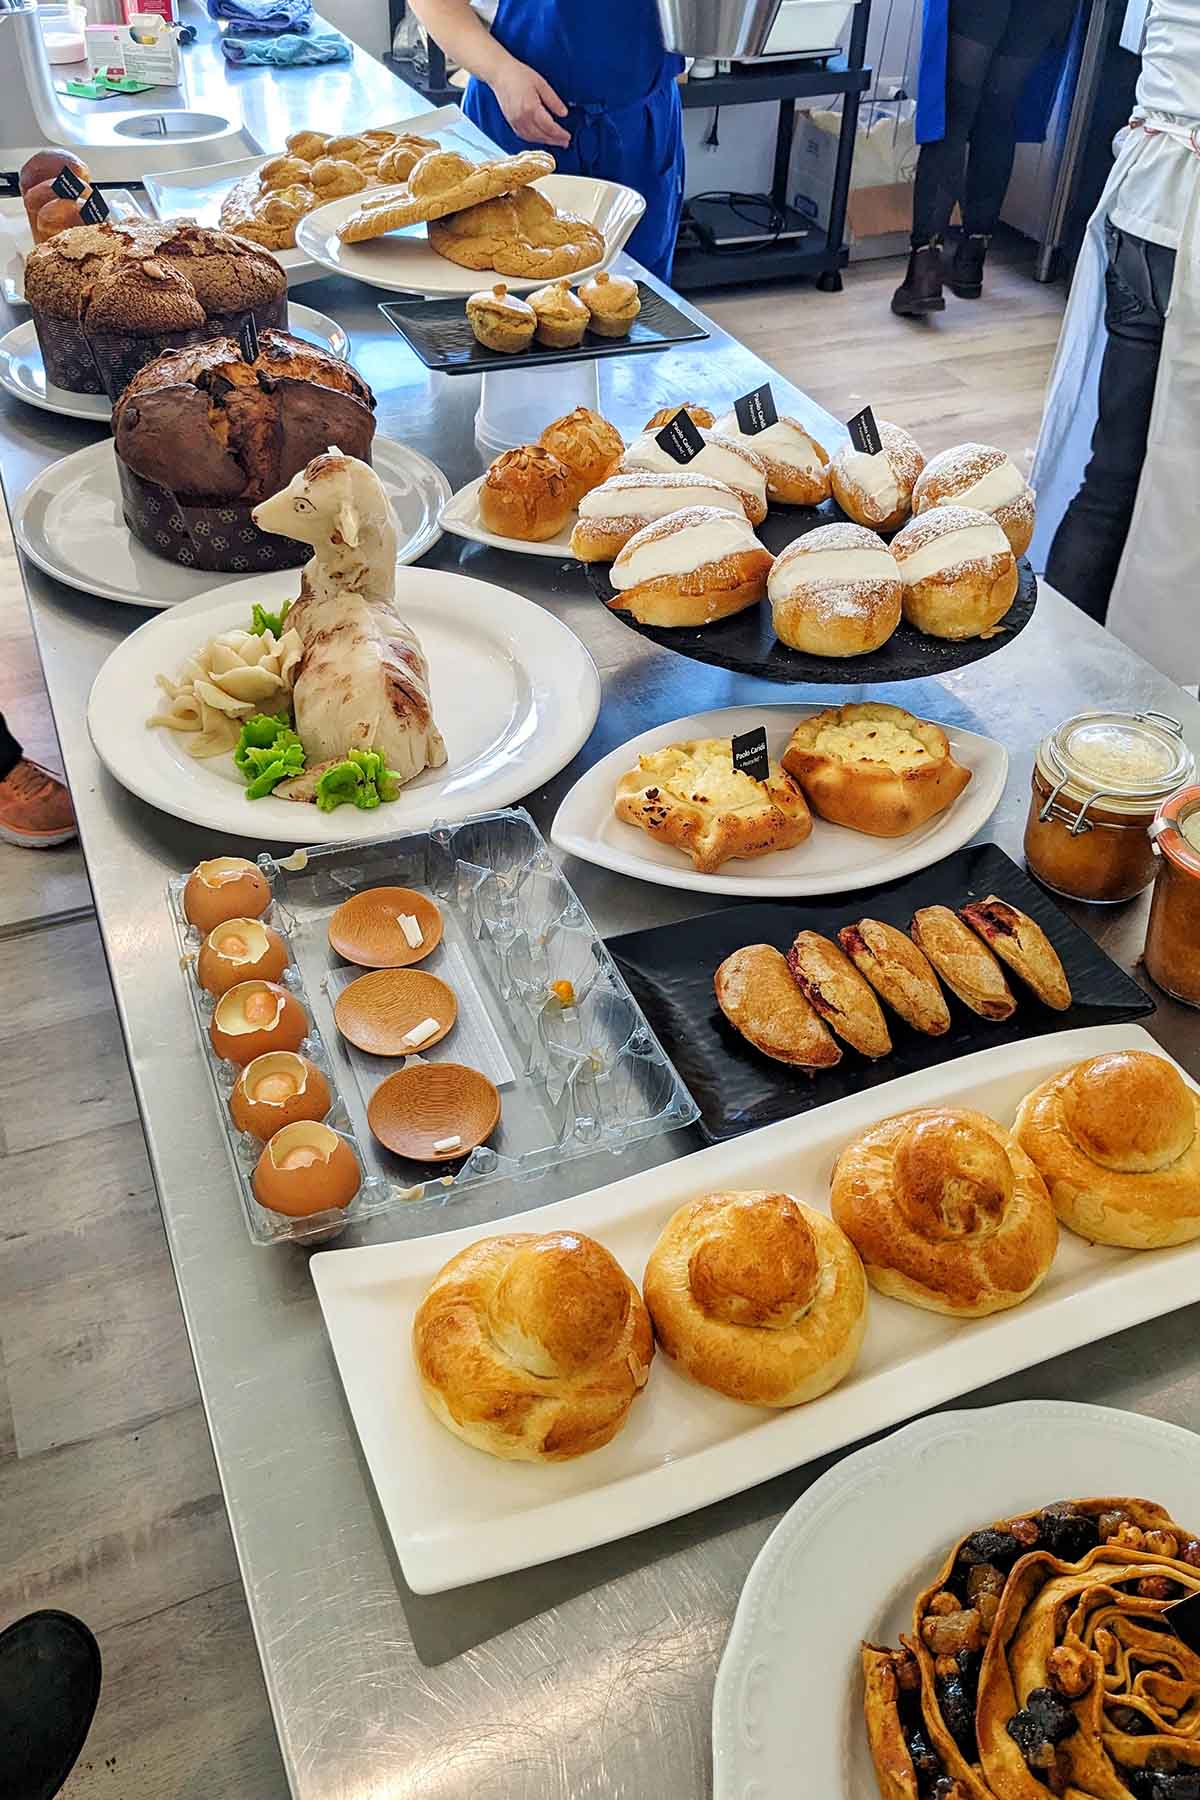
If you've ever traveled to Italy, you know they love their pastries and desserts. We had a guest Chef join our class to teach us all about traditional Italian pastries.
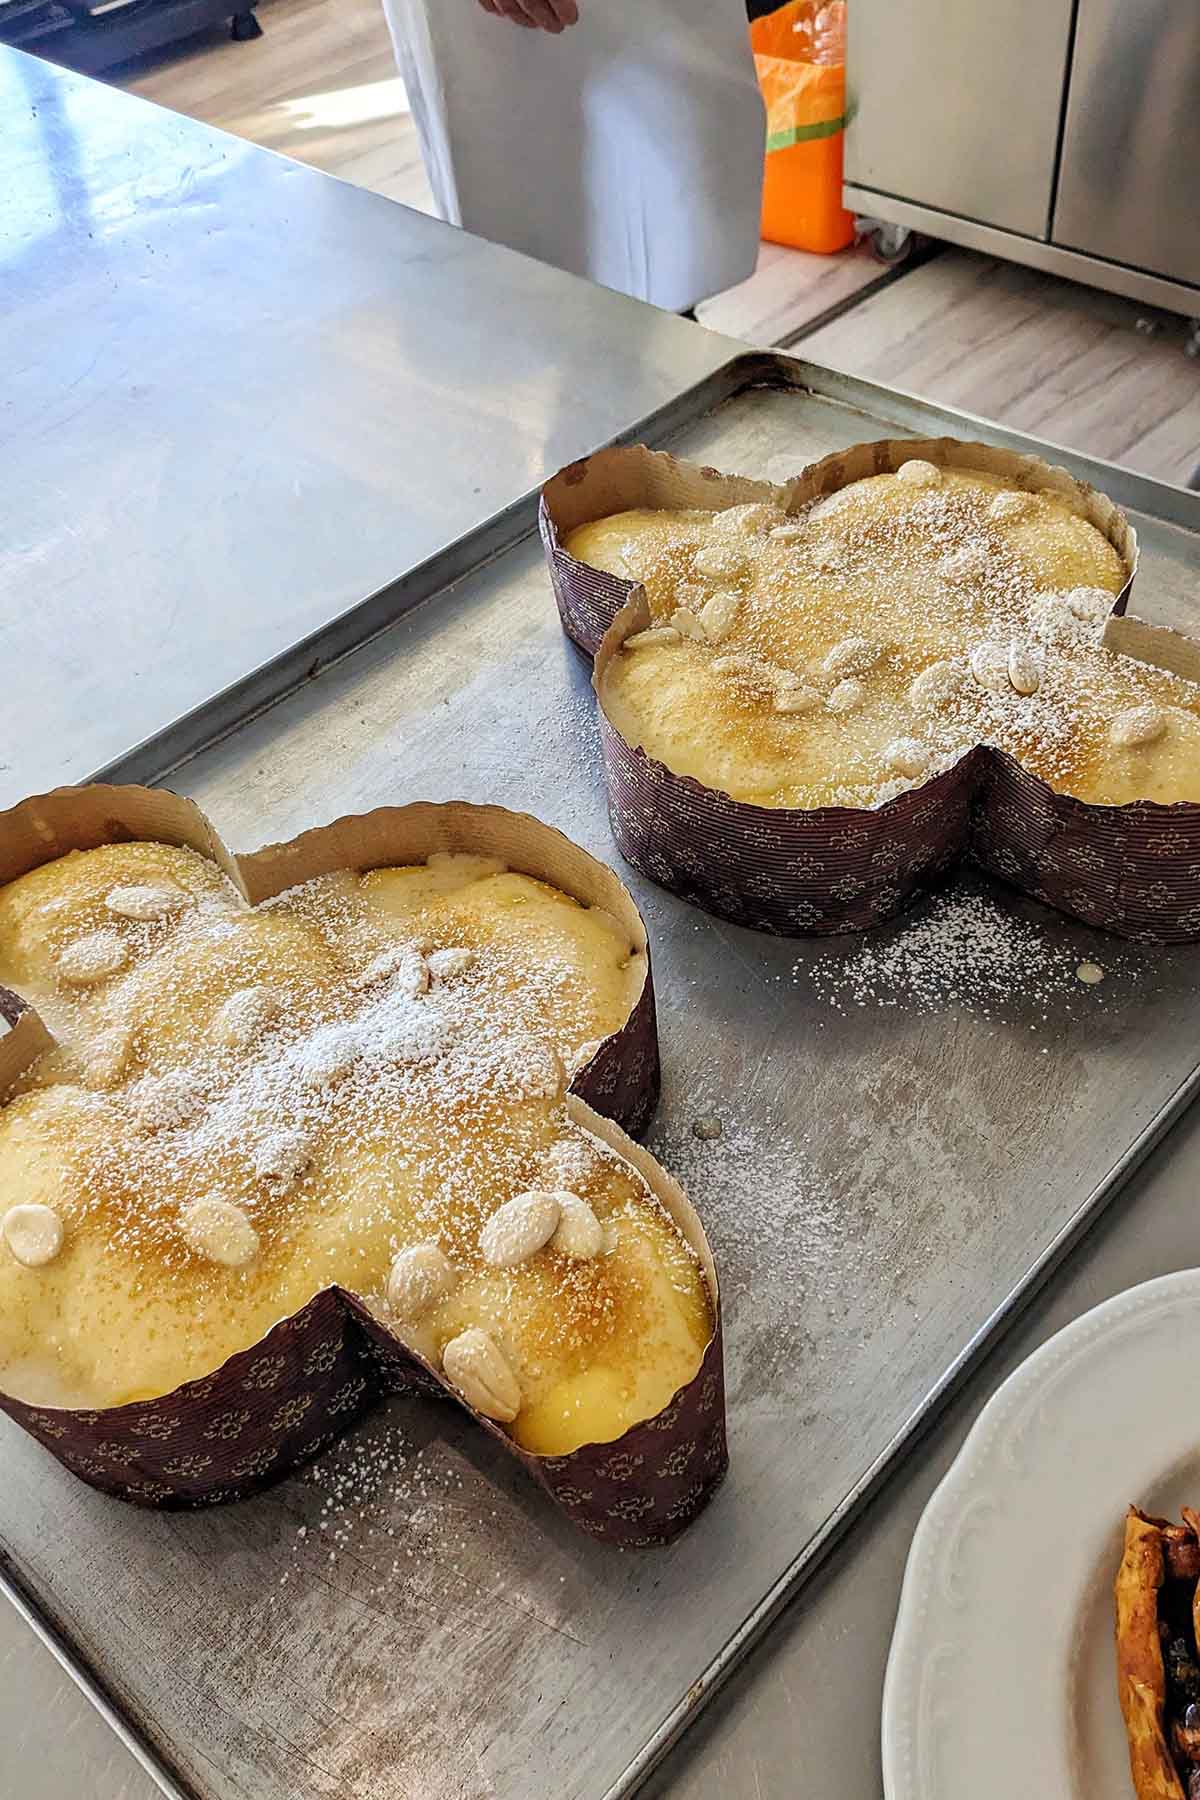
We started by baking up some traditional Easter pastries, including cudduraci (a bread filled with hard boiled eggs) and colomba pasquale (a sweet Italian bread).
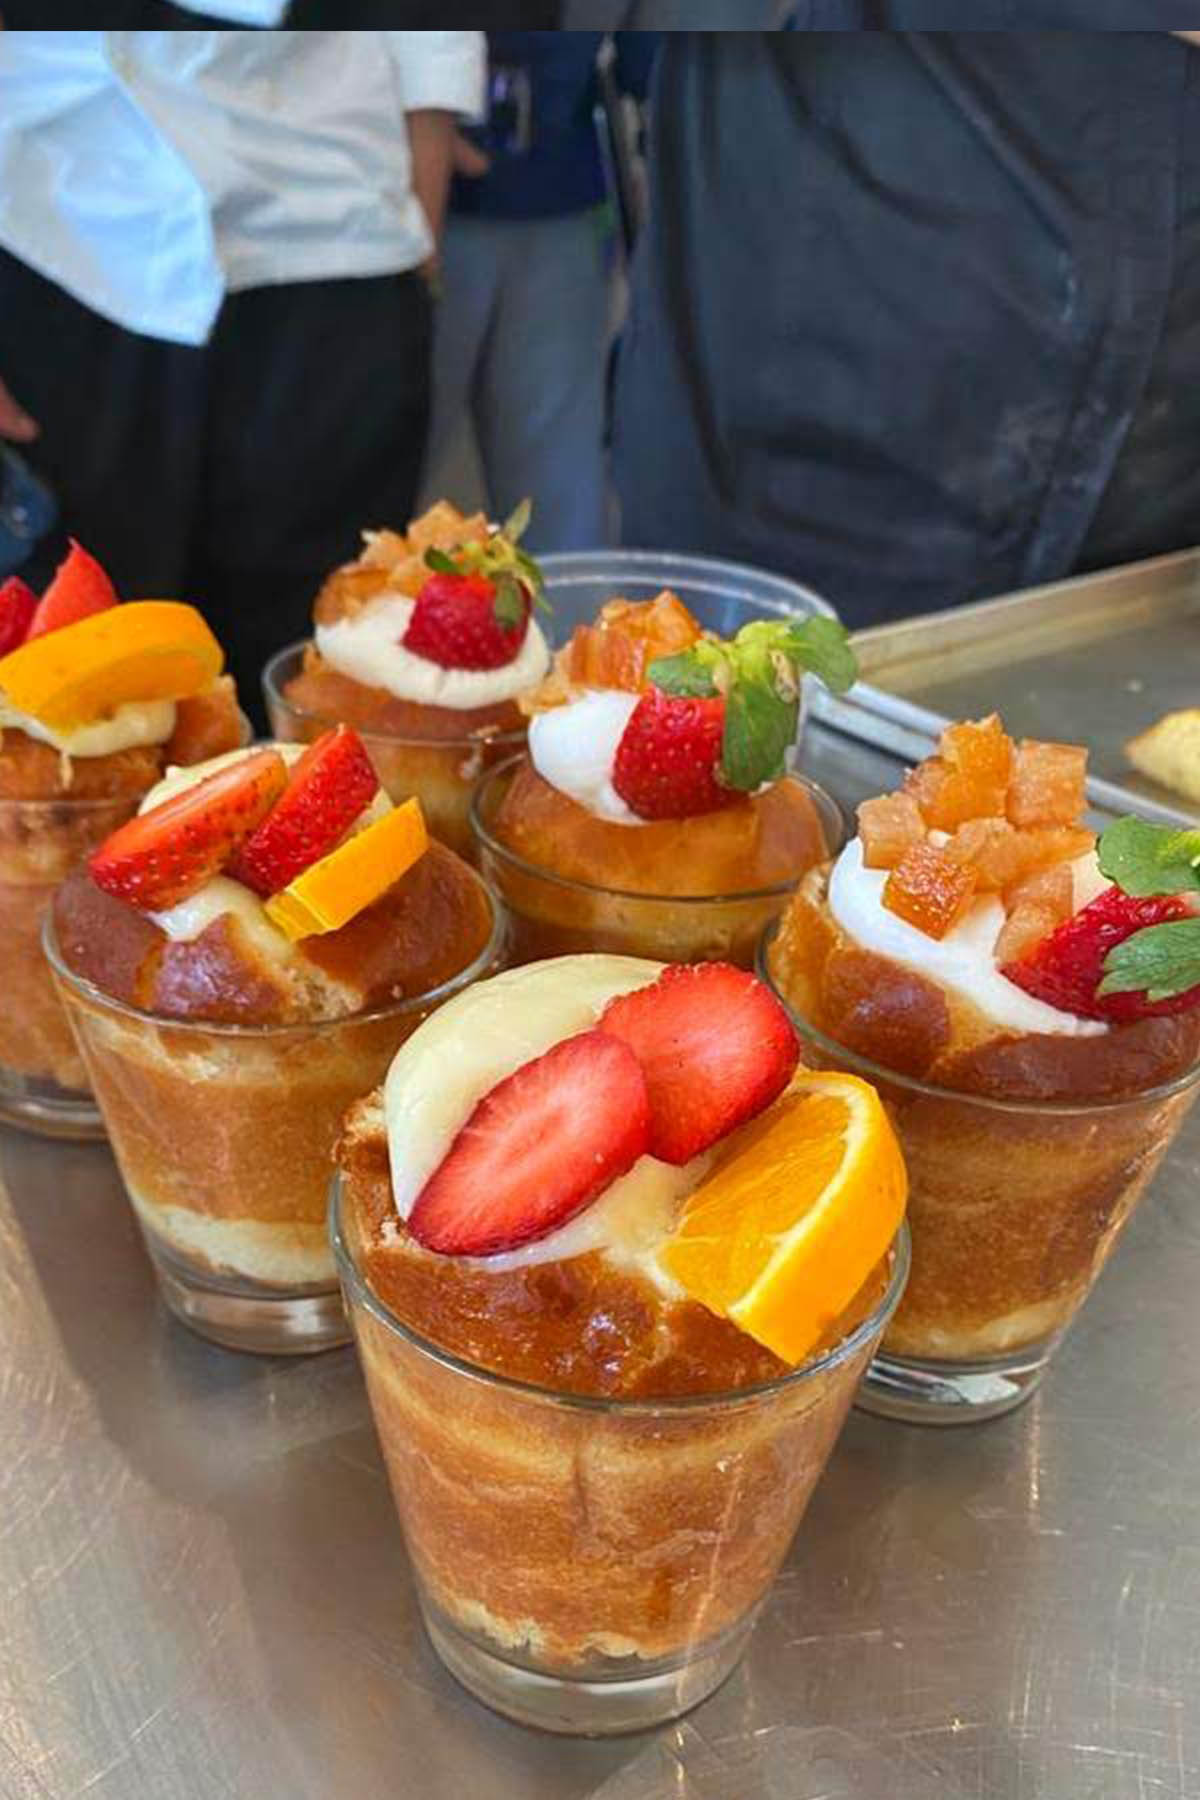
Another classic Italian dessert we learned how to make was babà. Babà al rum has become popular in the region of Campania (a must-try if you're visiting Naples). The cake is soaked in rum before serving, then topped with cream and fruits.
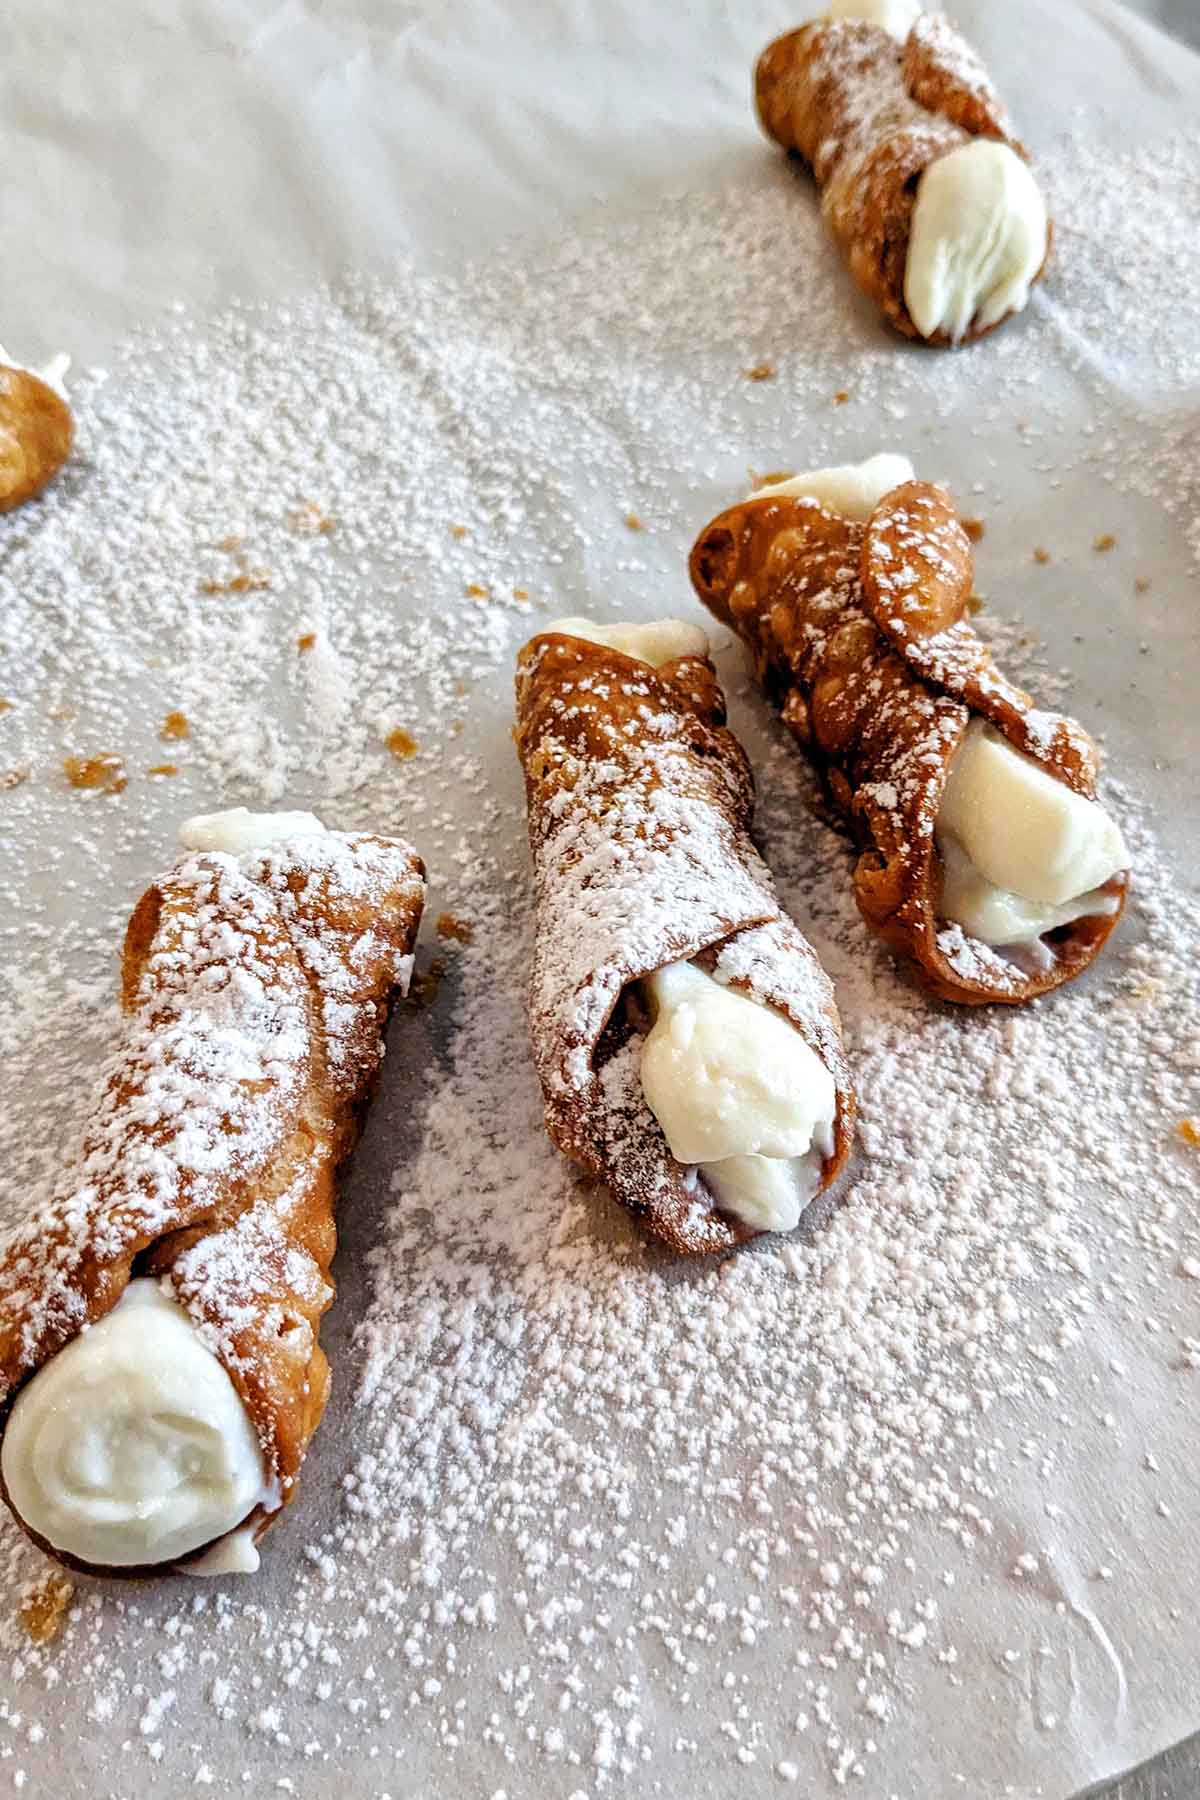
By far, my favorite pastry that we learned to make was cannoli. These delicious desserts are made from a fried outer shell then stuffed with a ricotta-based filling. Cannoli are always best if the shell has been fried that day, and the filling is stuffed right before you eat it (so it doesn't get soggy).
The best part about this section of the course was ending with a whole buffet of pastries at the end of the week. These pastries were not only beautiful, but they also tasted delicious.
Gelato
I have to admit, gelato week was one of my favorites!
We started out learning about the history of gelato in Italy as well as what makes gelato unique. The ingredients used in gelato, how a recipe is balanced, and the machine used to gel the gelato are all important aspects of making artisanal-style gelato.
Before making any gelato, we first went to a few gelato shops around town to taste various types of gelato. To evaluate the gelato at each of these shops, we tasted a fior di latte (a vanilla flavor) and a nut-based gelato like hazelnut or pistachio.
This taste test allowed us to see the various methods and ingredients used in local gelato shops.
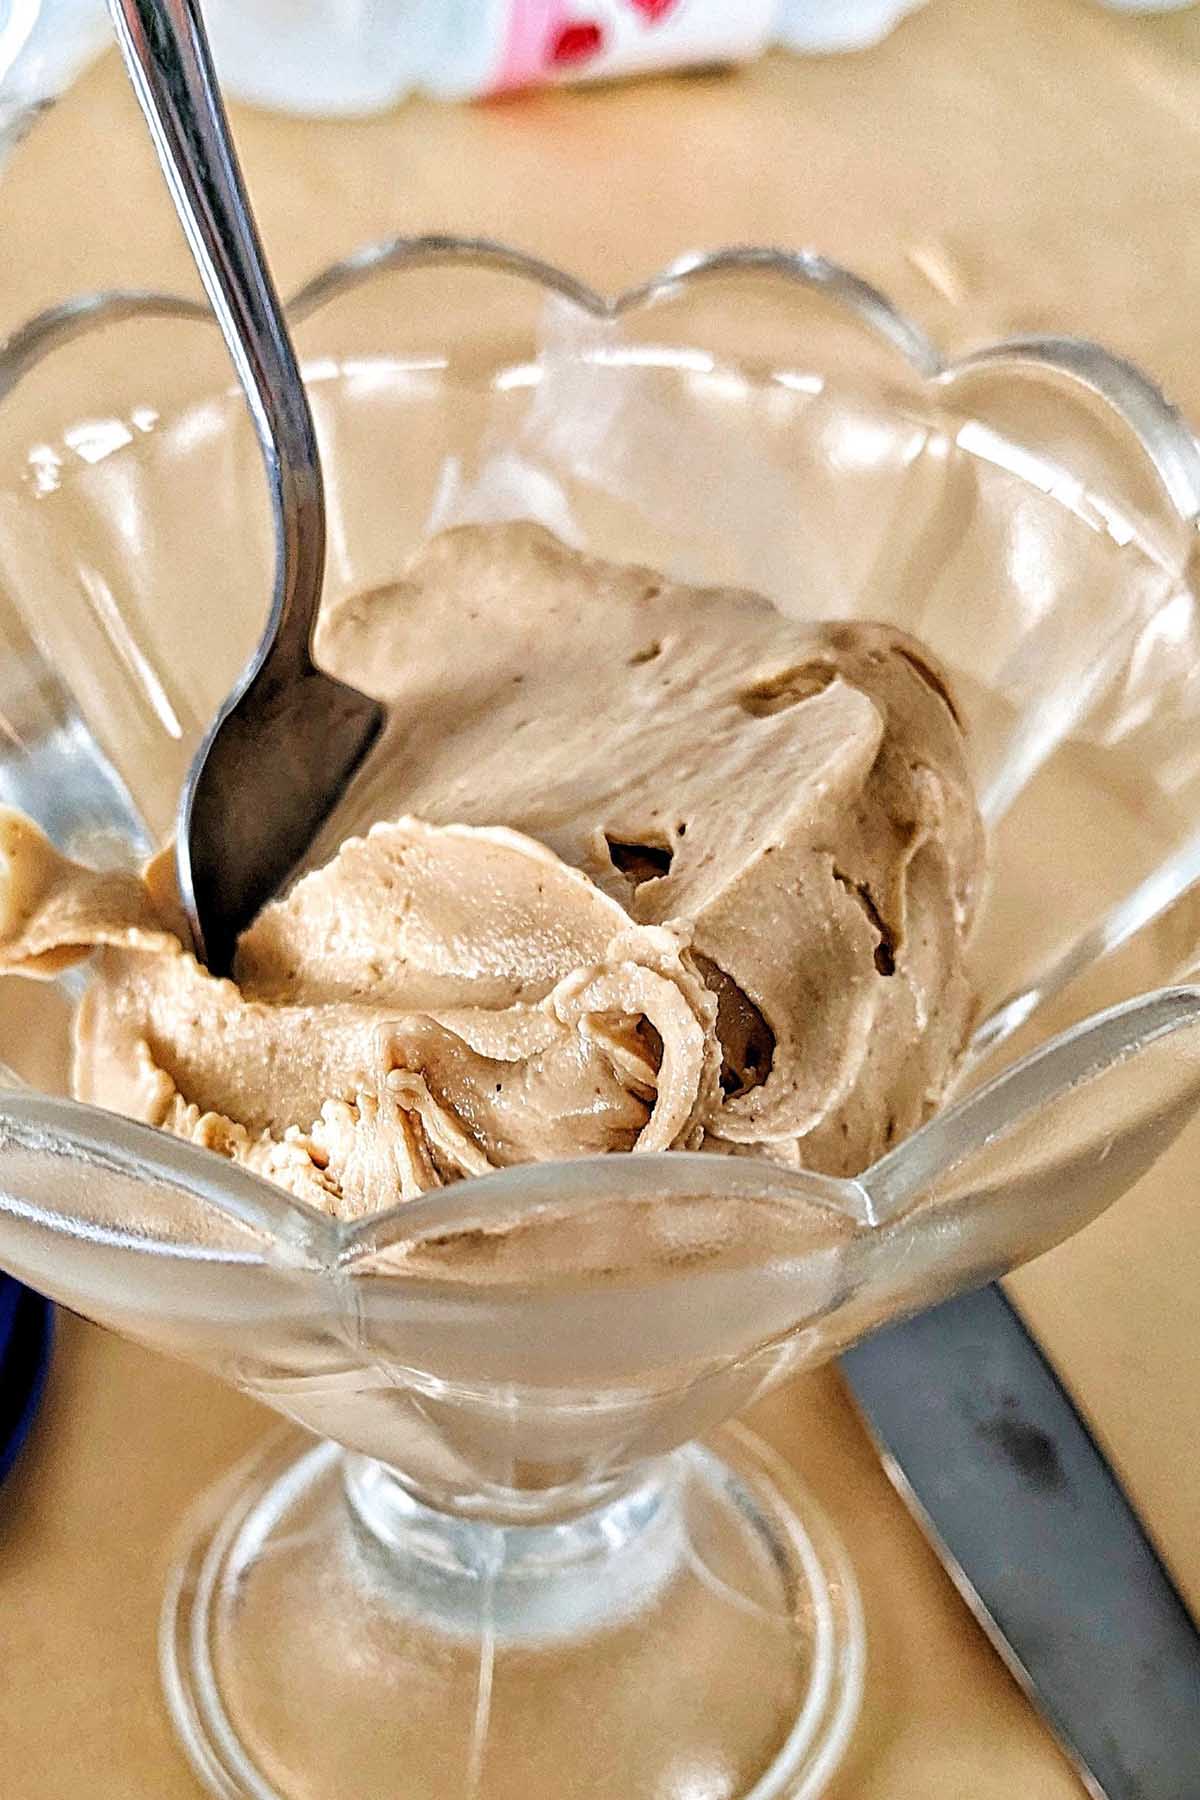
Next, we learned how to balance a gelato recipe. As it turns out, there's some math that's involved in developing a gelato recipe.
The fats, sugars, lean milk solids, and water all have to be within certain percentages in order to achieve a good-tasting gelato.
After practicing some math, watching a few gelato-making demonstrations, and of course, tasting some more gelato, we developed our own gelato creations. I worked on developing a chocolate red wine gelato for my personal recipe.
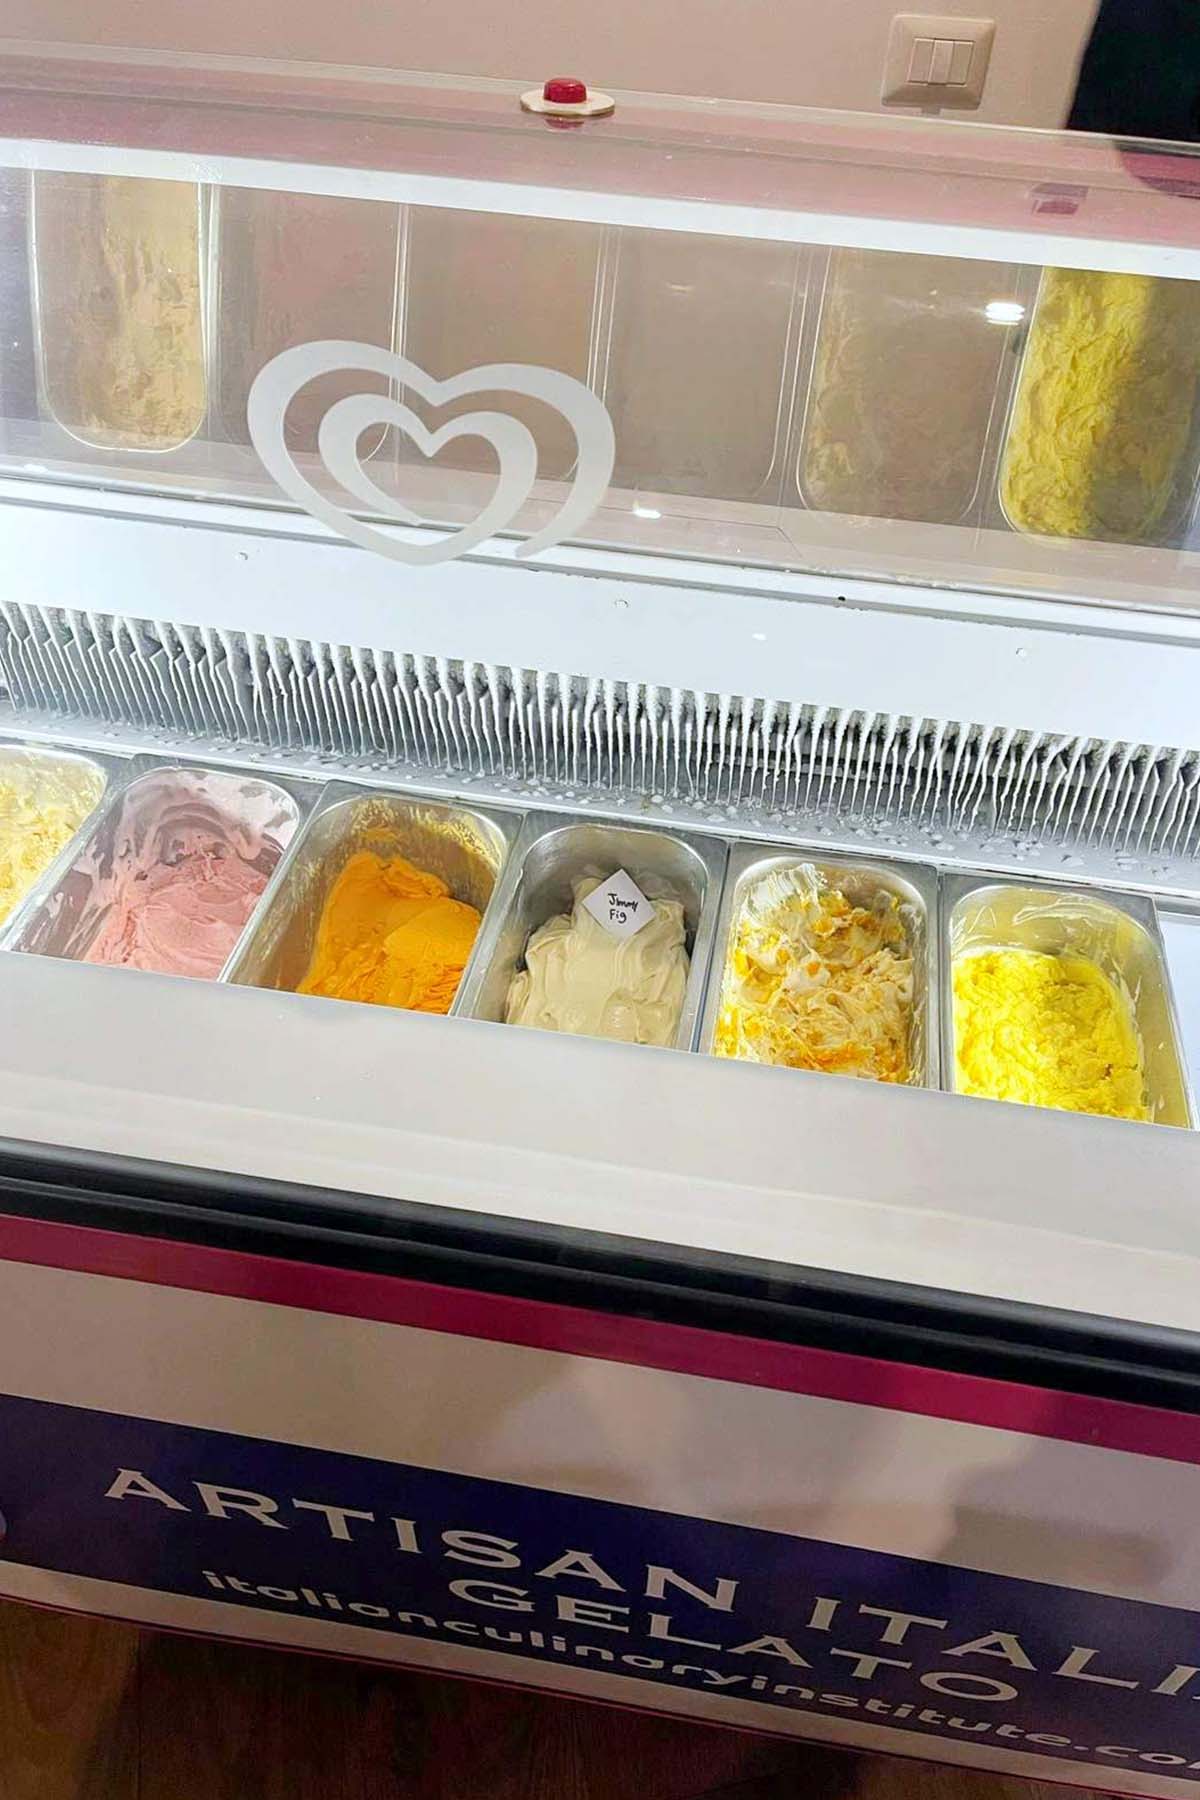
At the end of gelato week, we had so much gelato in our vetrina (display window) that everyone got to try!
Bread & Pizza
Since both bread and pizza are essential foods for Italians, we had a whole week filled with learning about the science, method, and techniques of dough making.
One of the first essential skills we learned about bread making was how to make BIGA. This is a pre-dough that's added to various types of bread that helps with flavor, predictability, and longevity.
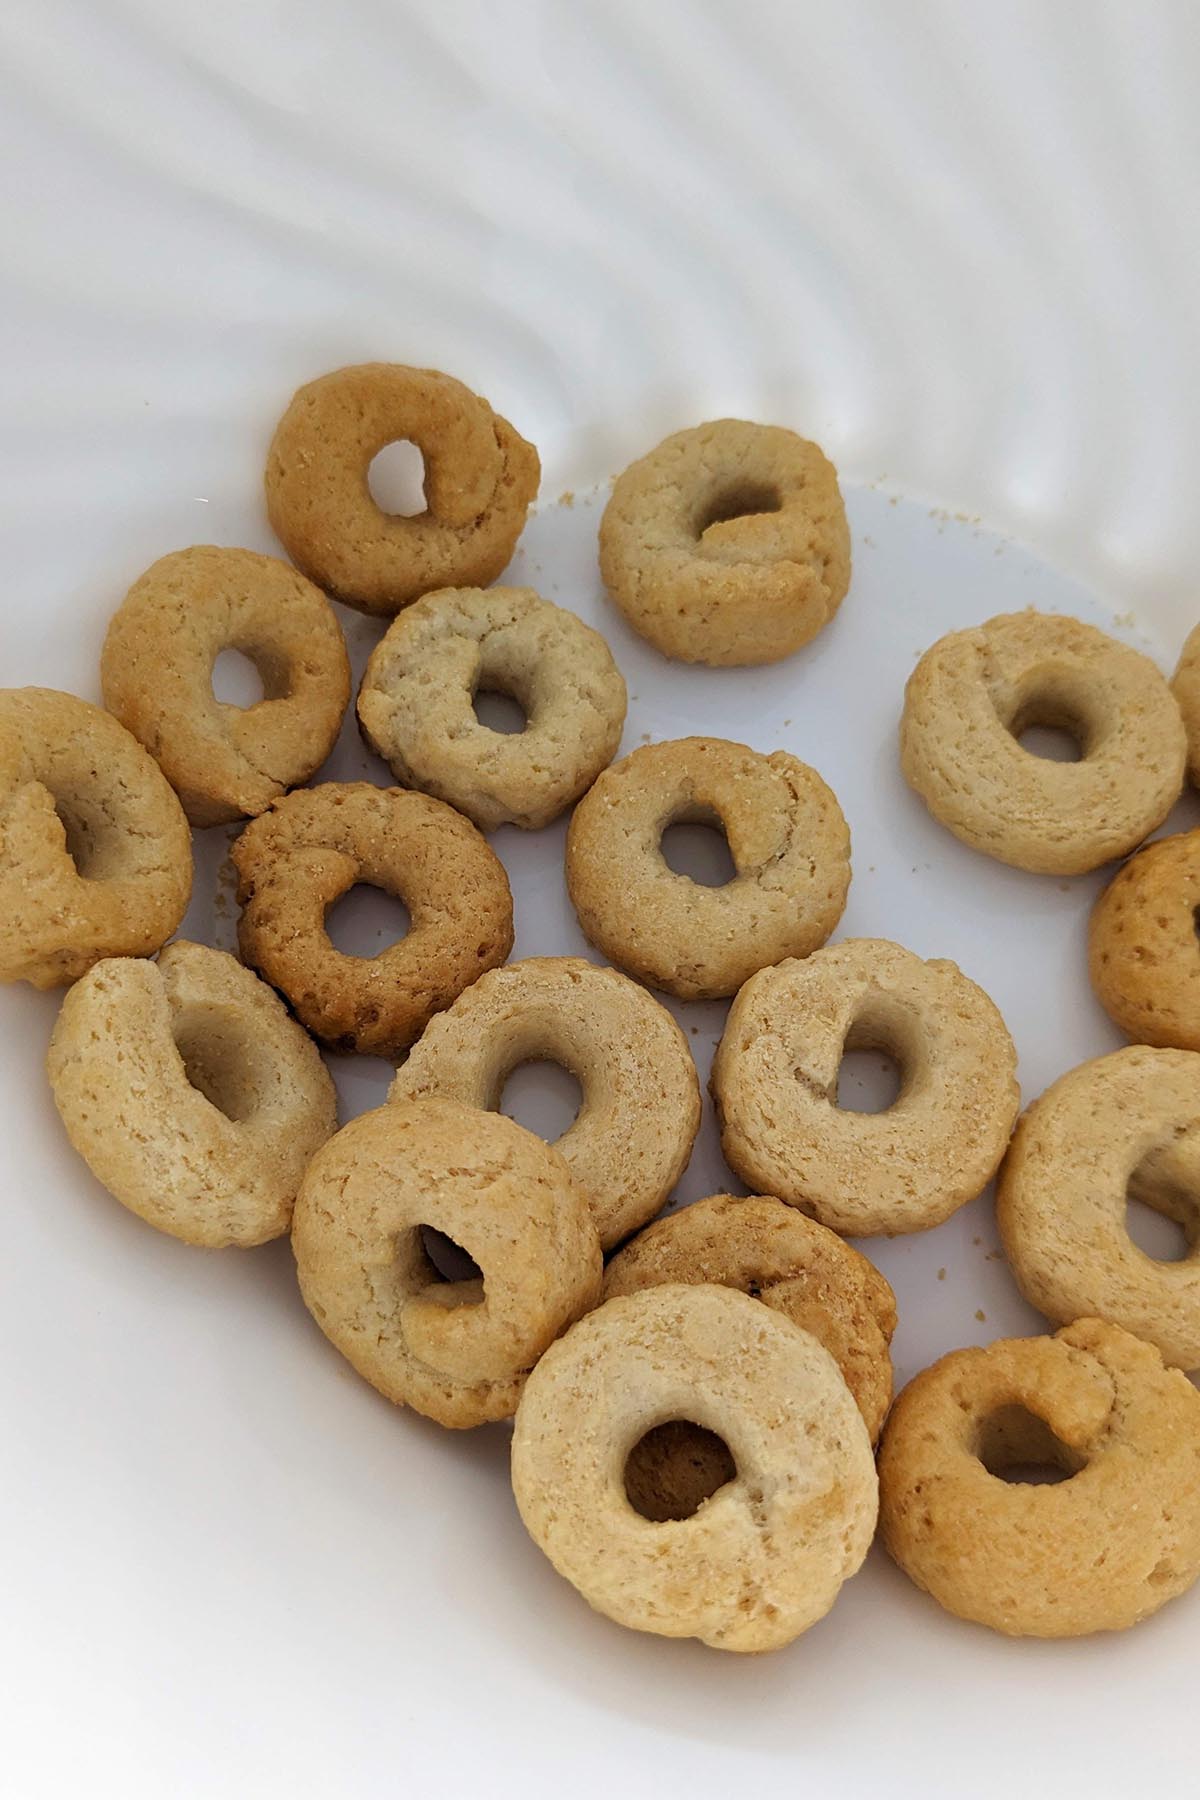
We made over 25 types of bread throughout the week, but some of my favorite types of bread included grissini (from the Pieomont region), taralli (from the Puglia region), focaccia Pugliese, and decorative bread rolls (naturally dyed dough with spinach and beetroot).
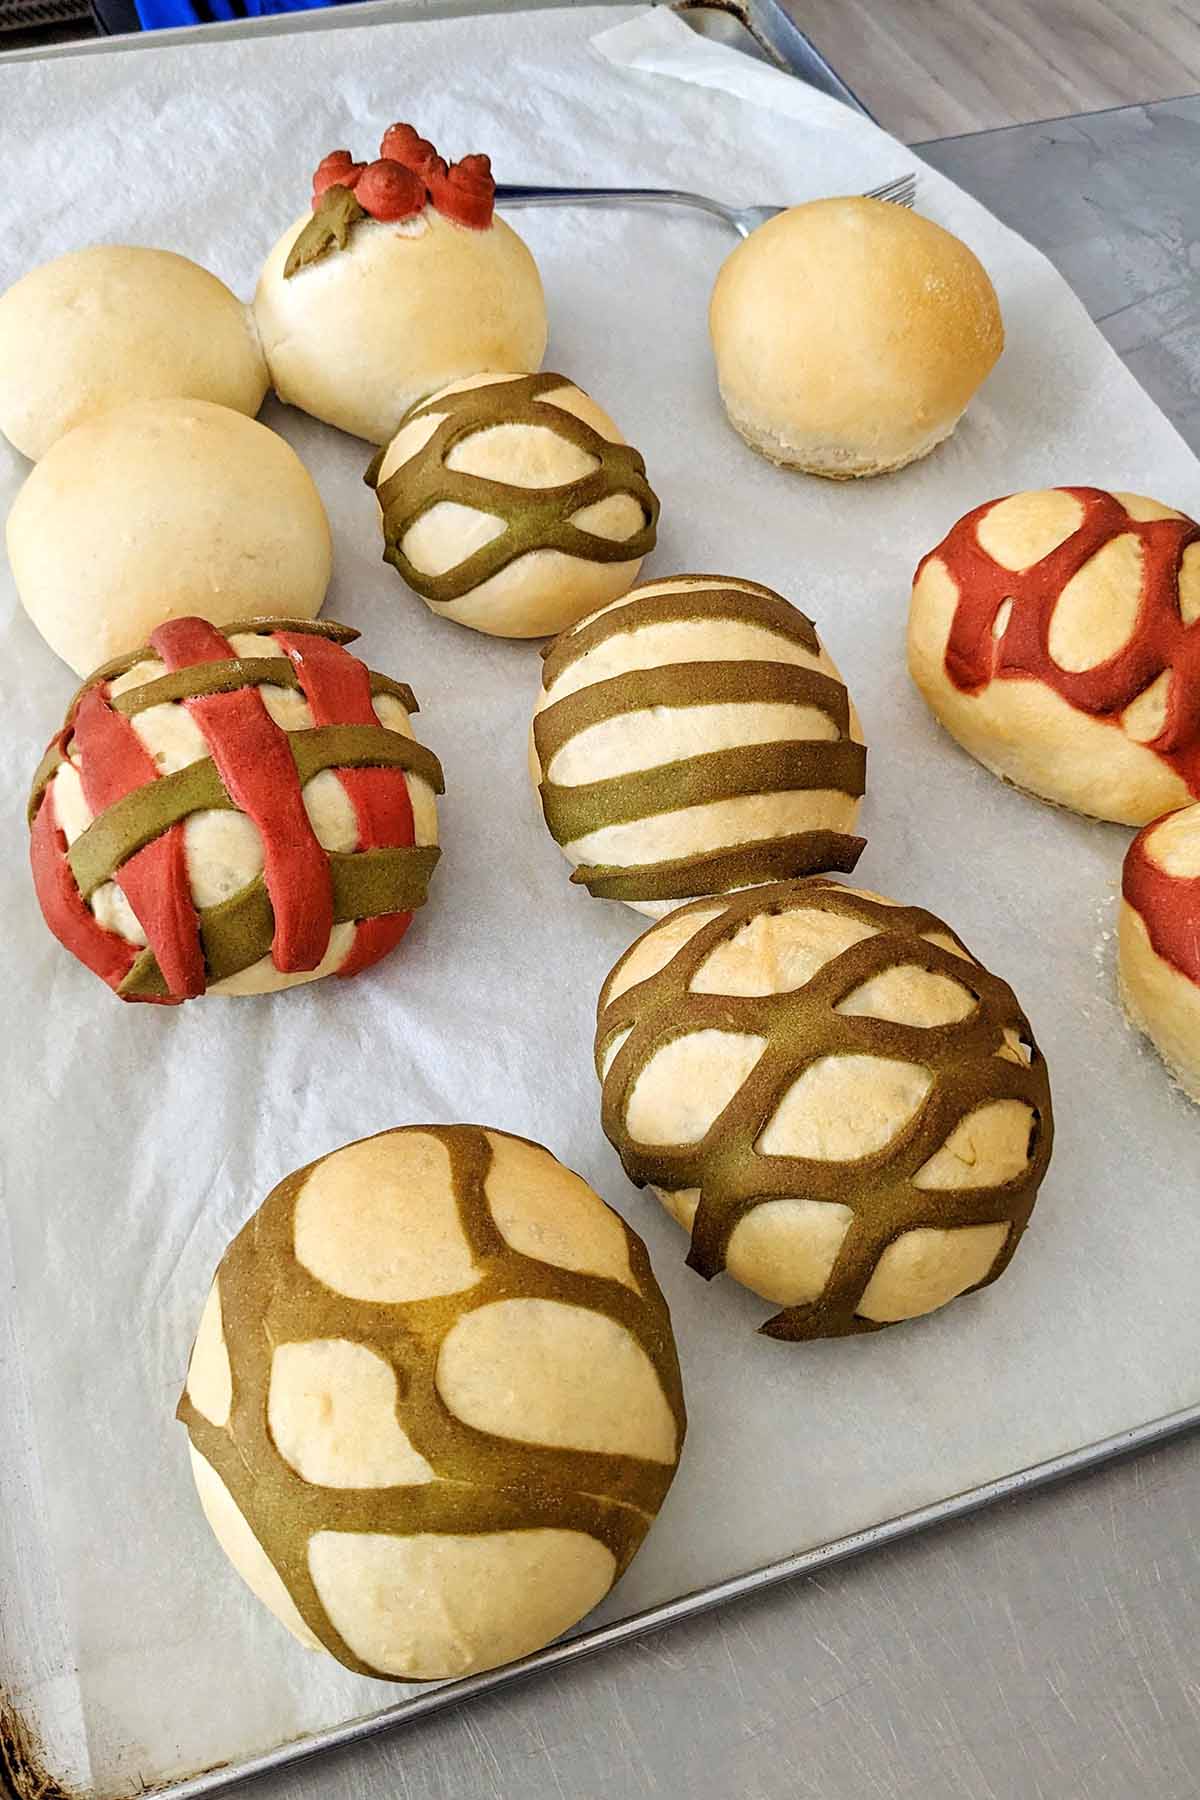
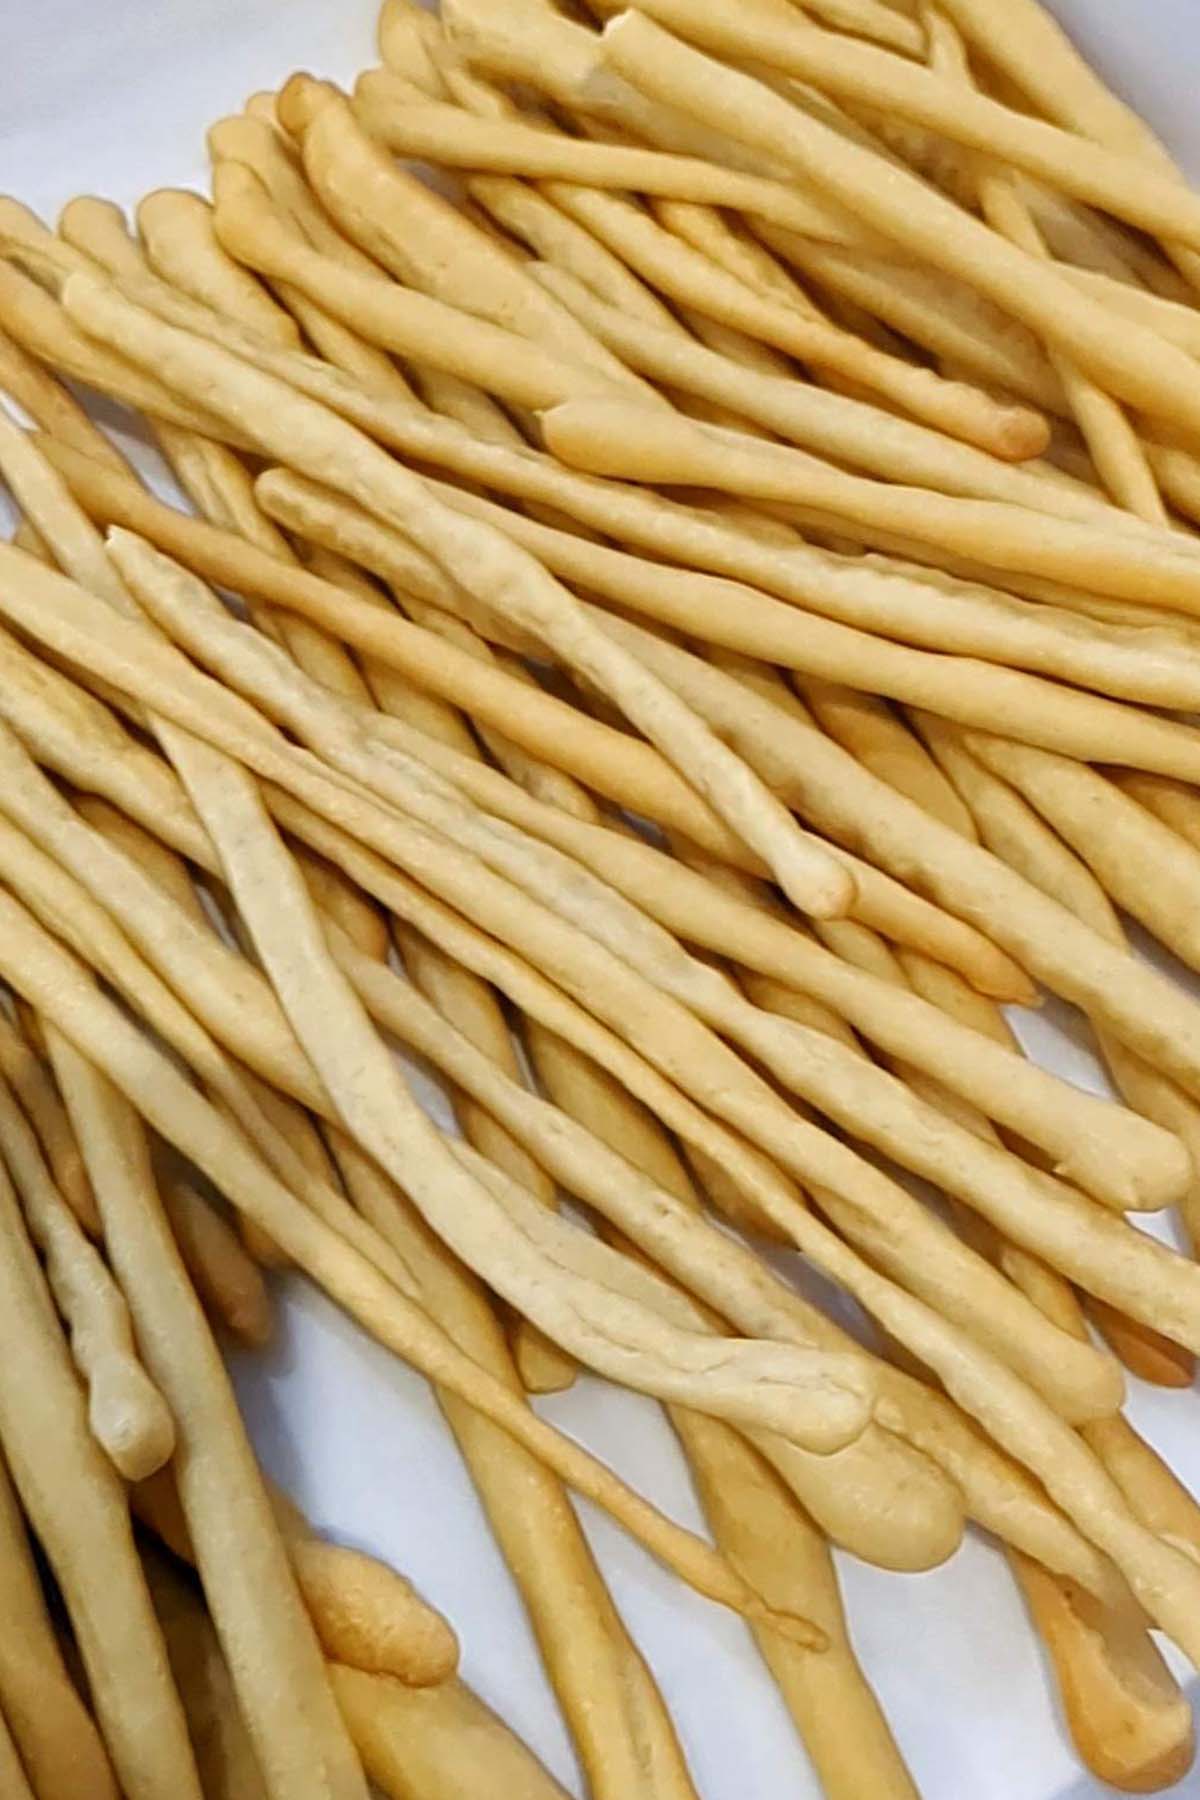
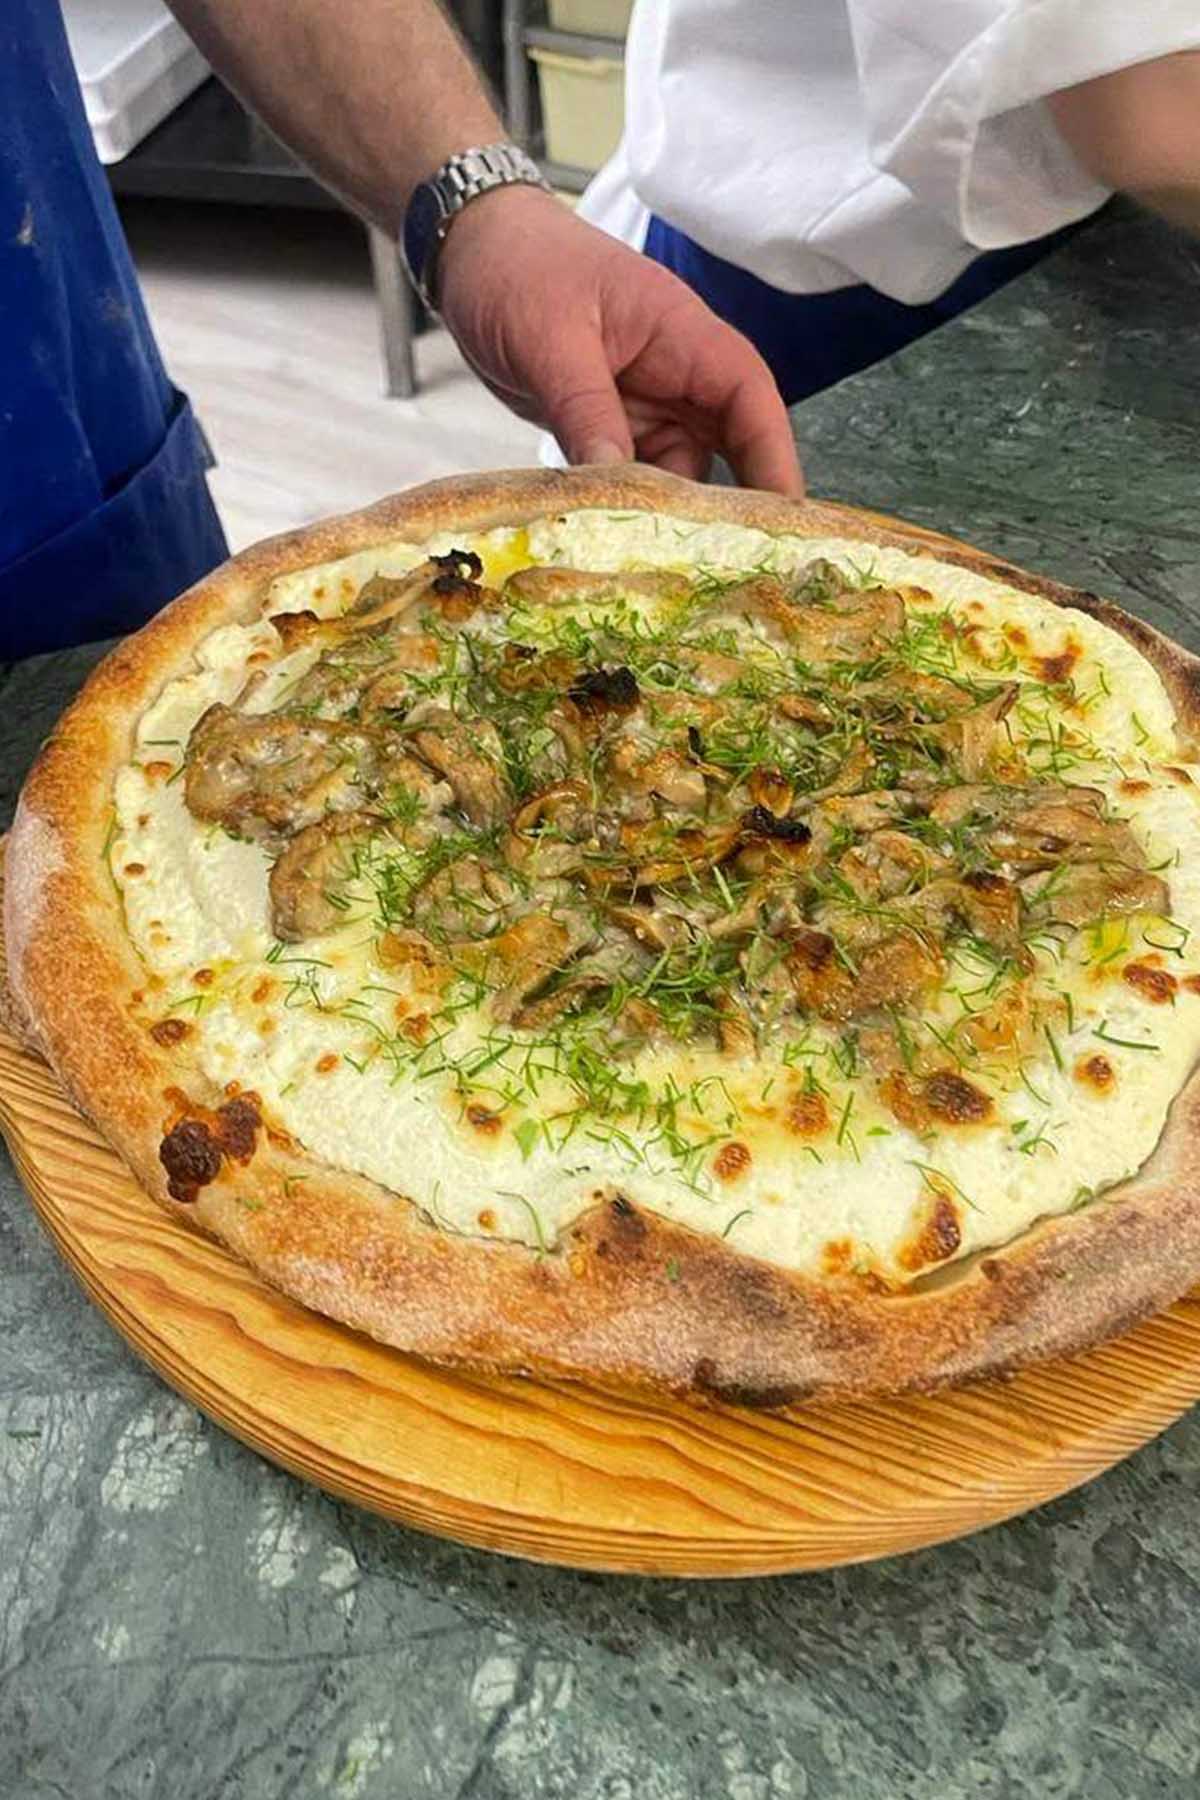
In addition to bread, we also continued to hone our pizza-making skills. Adding on to the foundation of Italian cuisine week, we continued our training with gourmet pizzas.
These gourmet pizzas use upscale ingredients and good flavor combinations to provide a wow factor. We got to create our own gourmet pizza using the ingredients of our choice. I made a spicy 'bomba' inspired pizza.
Sommelier
A sommelier (suh·muhl·yay) is a trained professional who studies the various aspects of wine including how wine is made, tastes, and pairs with food.
While it takes years and years to practice the art of becoming a sommelier, this training allowed us to dip our toes into the world of wine.
We started our training by learning some of the basics:
- How to smell wine and how to identify primary and secondary aromas.
- The best way to properly open a bottle of wine.
- Understanding the intensity of different types of wine.
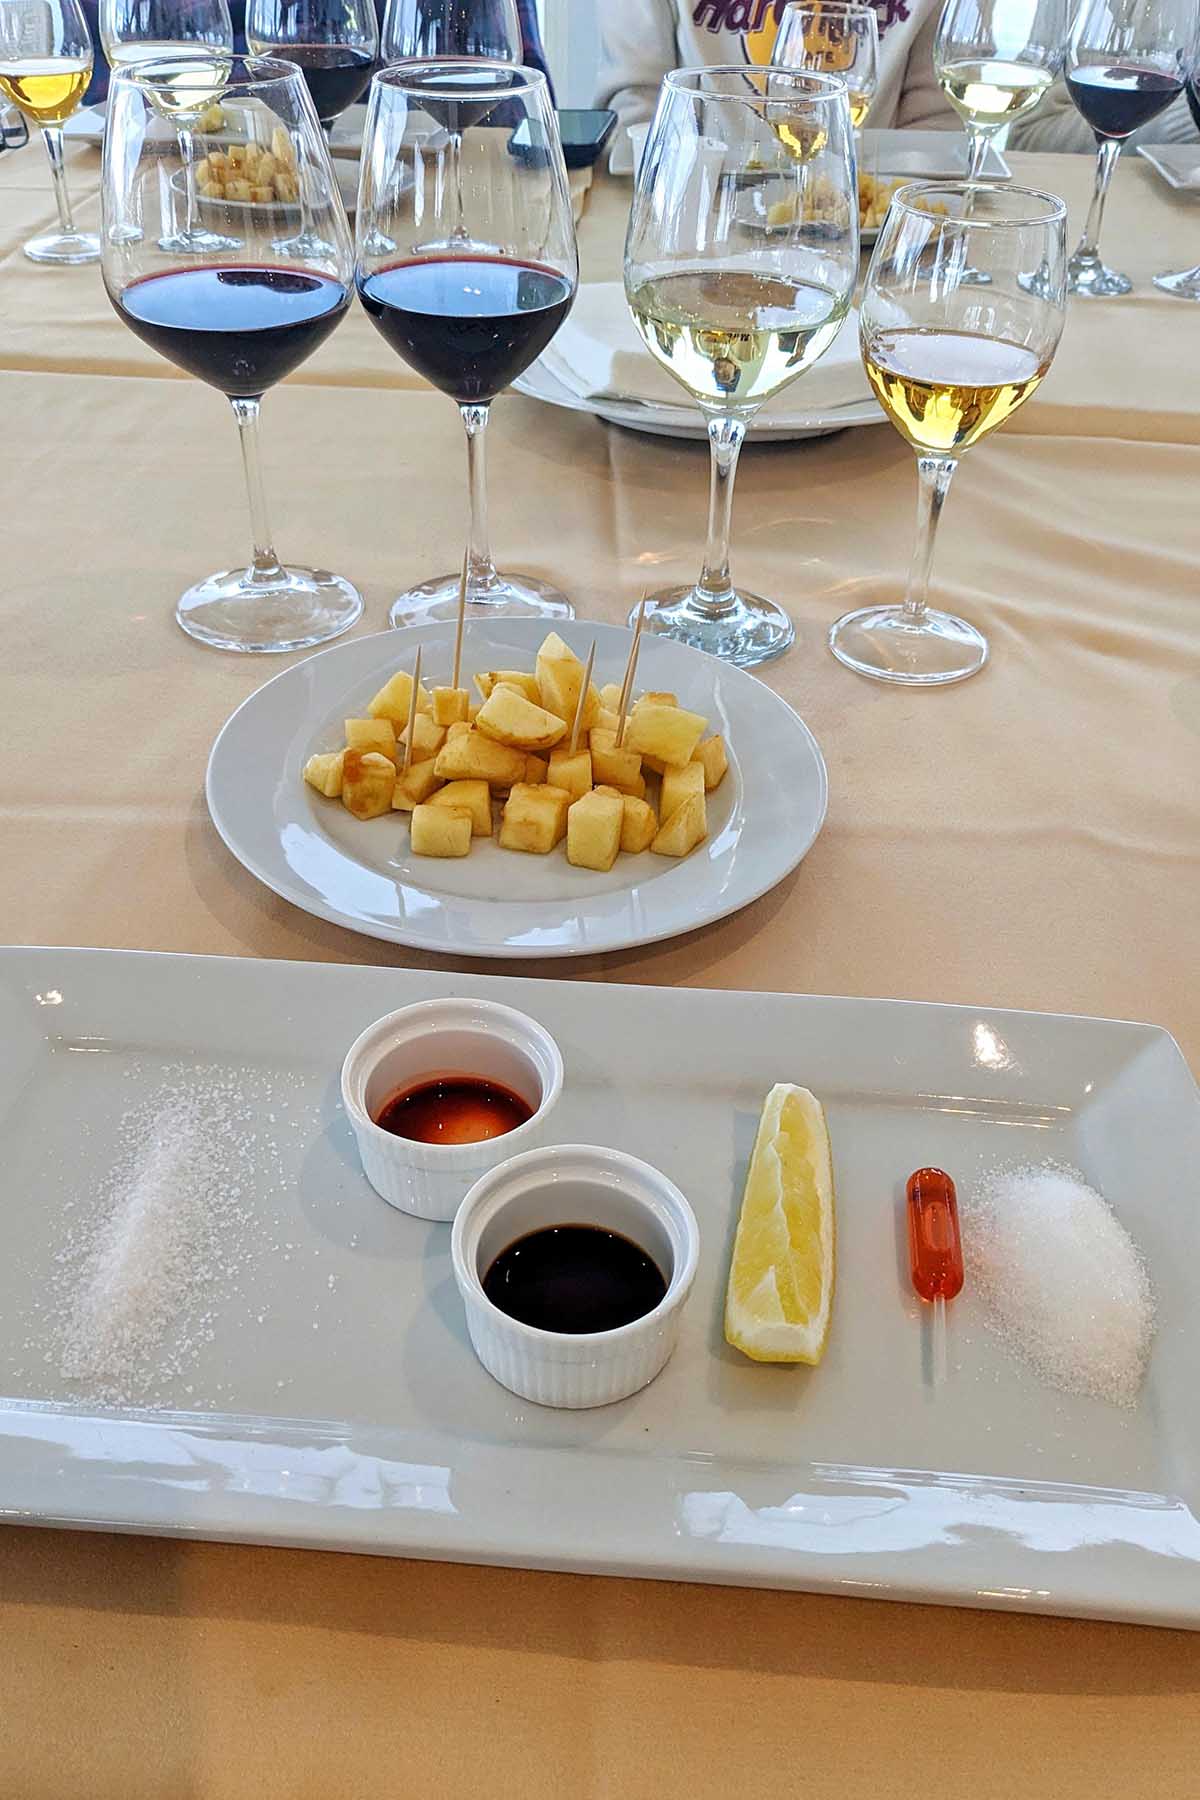
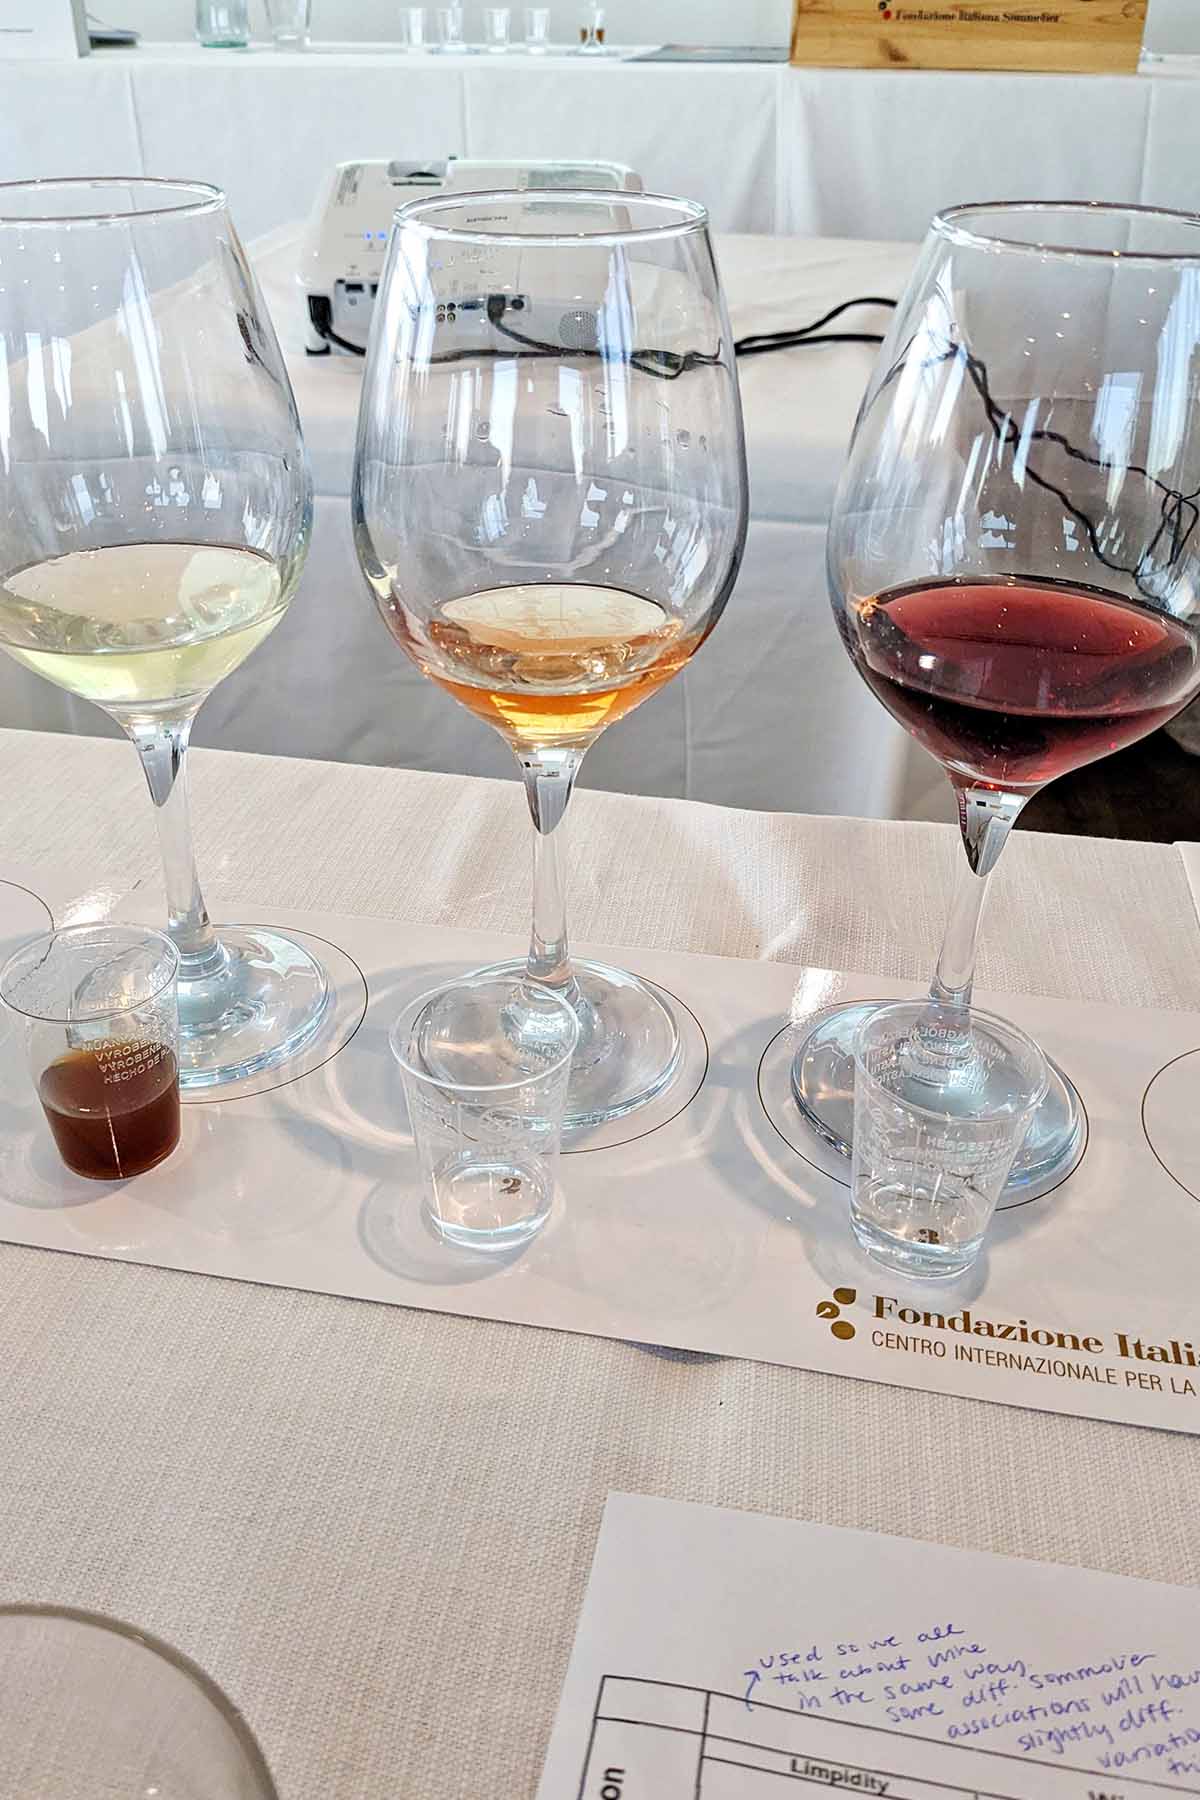
One of my favorite activities we did during sommelier training was a sensorial analysis. During this exercise, we tasted various types of wine with sweet (sugar), umami (soy sauce), acidic (vinegar), salty (salt), bitter (angostura bitters), and spicy (peperoncini oil) foods.
This allowed us to see which wines pair well with certain types of food. For example, almost all wines taste better with salt because the salt makes the wine less bitter/tannic.
It was an eye-opening activity for me because we got to directly taste the effect of the tasting note with each variety of wine.
Finally, we ended our sommelier training with the Fondazione Italiana Sommelier.
They taught us the proper wine-tasting terminology and allowed us to practice examing various types of wine using this terminology.
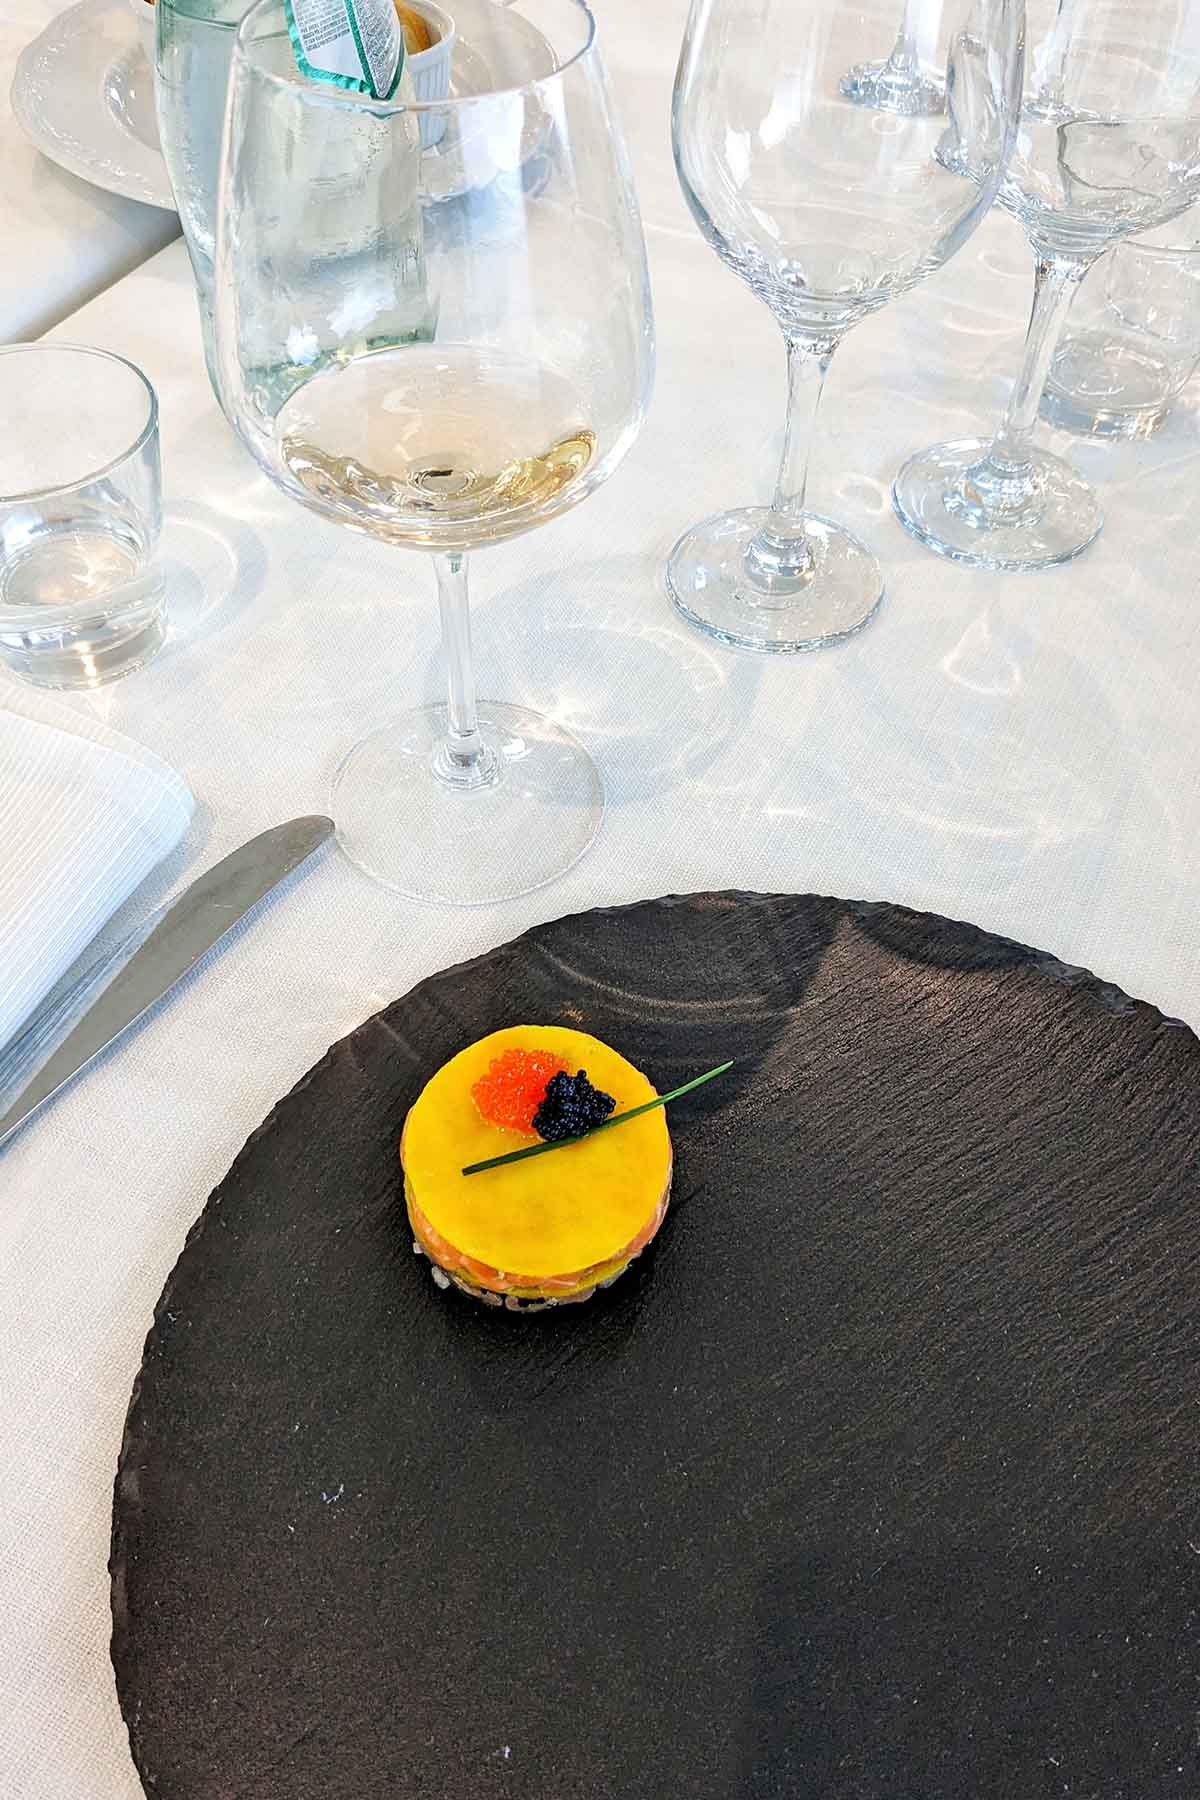
Finally, we practiced wine and food pairings again and ended the week with an elegant multi-course wine-pairing dinner.
Cheese
To start off our week learning about cheese, we first dove into the science of milk. We learned the different components of milk (casein, whey, proteins), as well as how it is pasteurized.
Cheese making, while it varies from cheese to cheese, often has a similar process.
First, you heat up the milk along with a starter. Sometimes this starter can be yogurt, while other times, it's a type of lactic acid bacteria or even a mold culture, if you're making a cheese like gorgonzola.
Next, after some rest time, you add rennet. If you're unfamiliar with rennet, it's the lining of the stomach of the animal. The rennet is a really cool ingredient because it allows curds to form in the milk once it rests a while with the milk and starter.
Once your curd has formed, this is where things get really interesting! You get to cut your curd to help determine the texture of your cheese. Generally, the bigger your curds the creamier the cheese.
Some cheeses even require you to cut the curds multiple times in order to achieve the right consistency.
Next, the curds and whey need to separate. Since the curds are heavier, they will sink down to the bottom of the pot and the whey will come to the top.
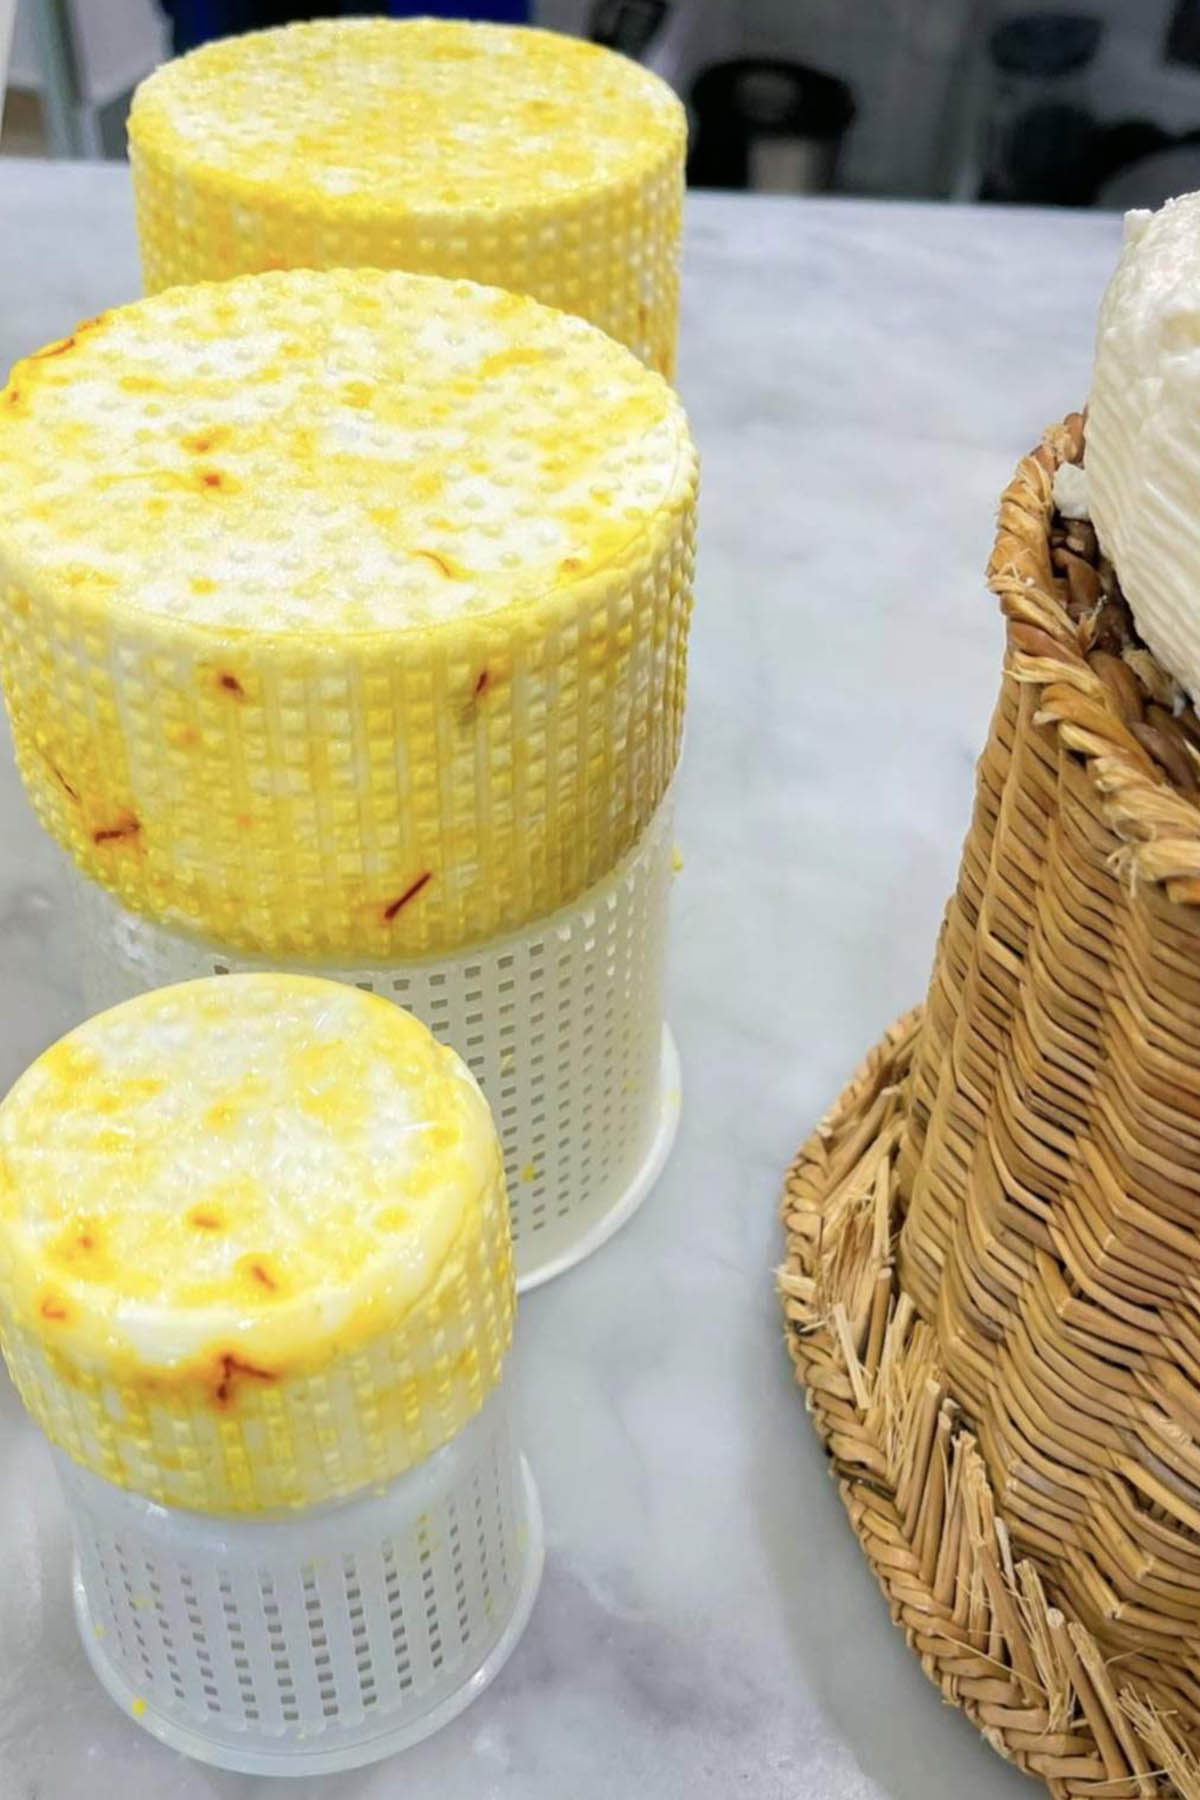
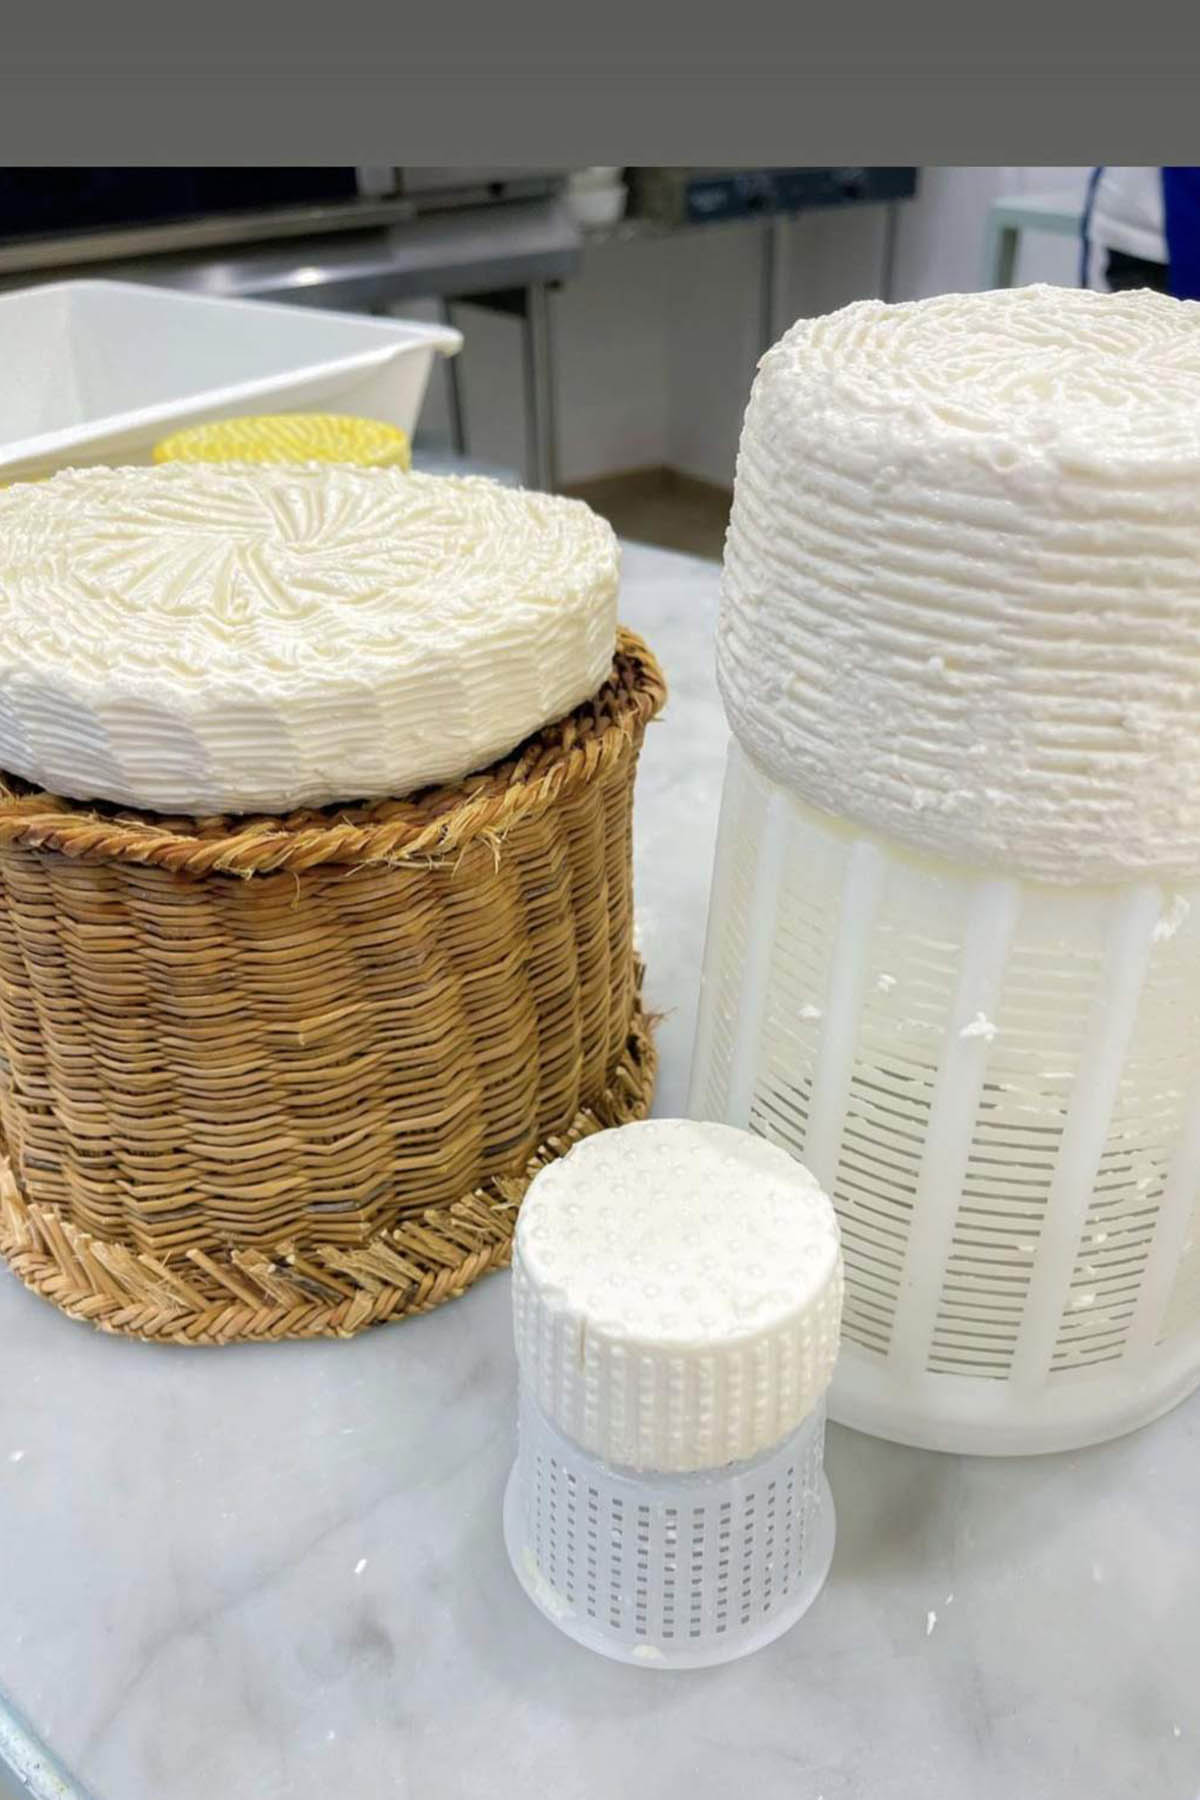
You'll then use the curds by placing them into a cheese basket (it's basically a container with holes in it). This allows the curds to mold into one solid cheese, and it allows for creativity, as different cheeses can mold into different shapes.
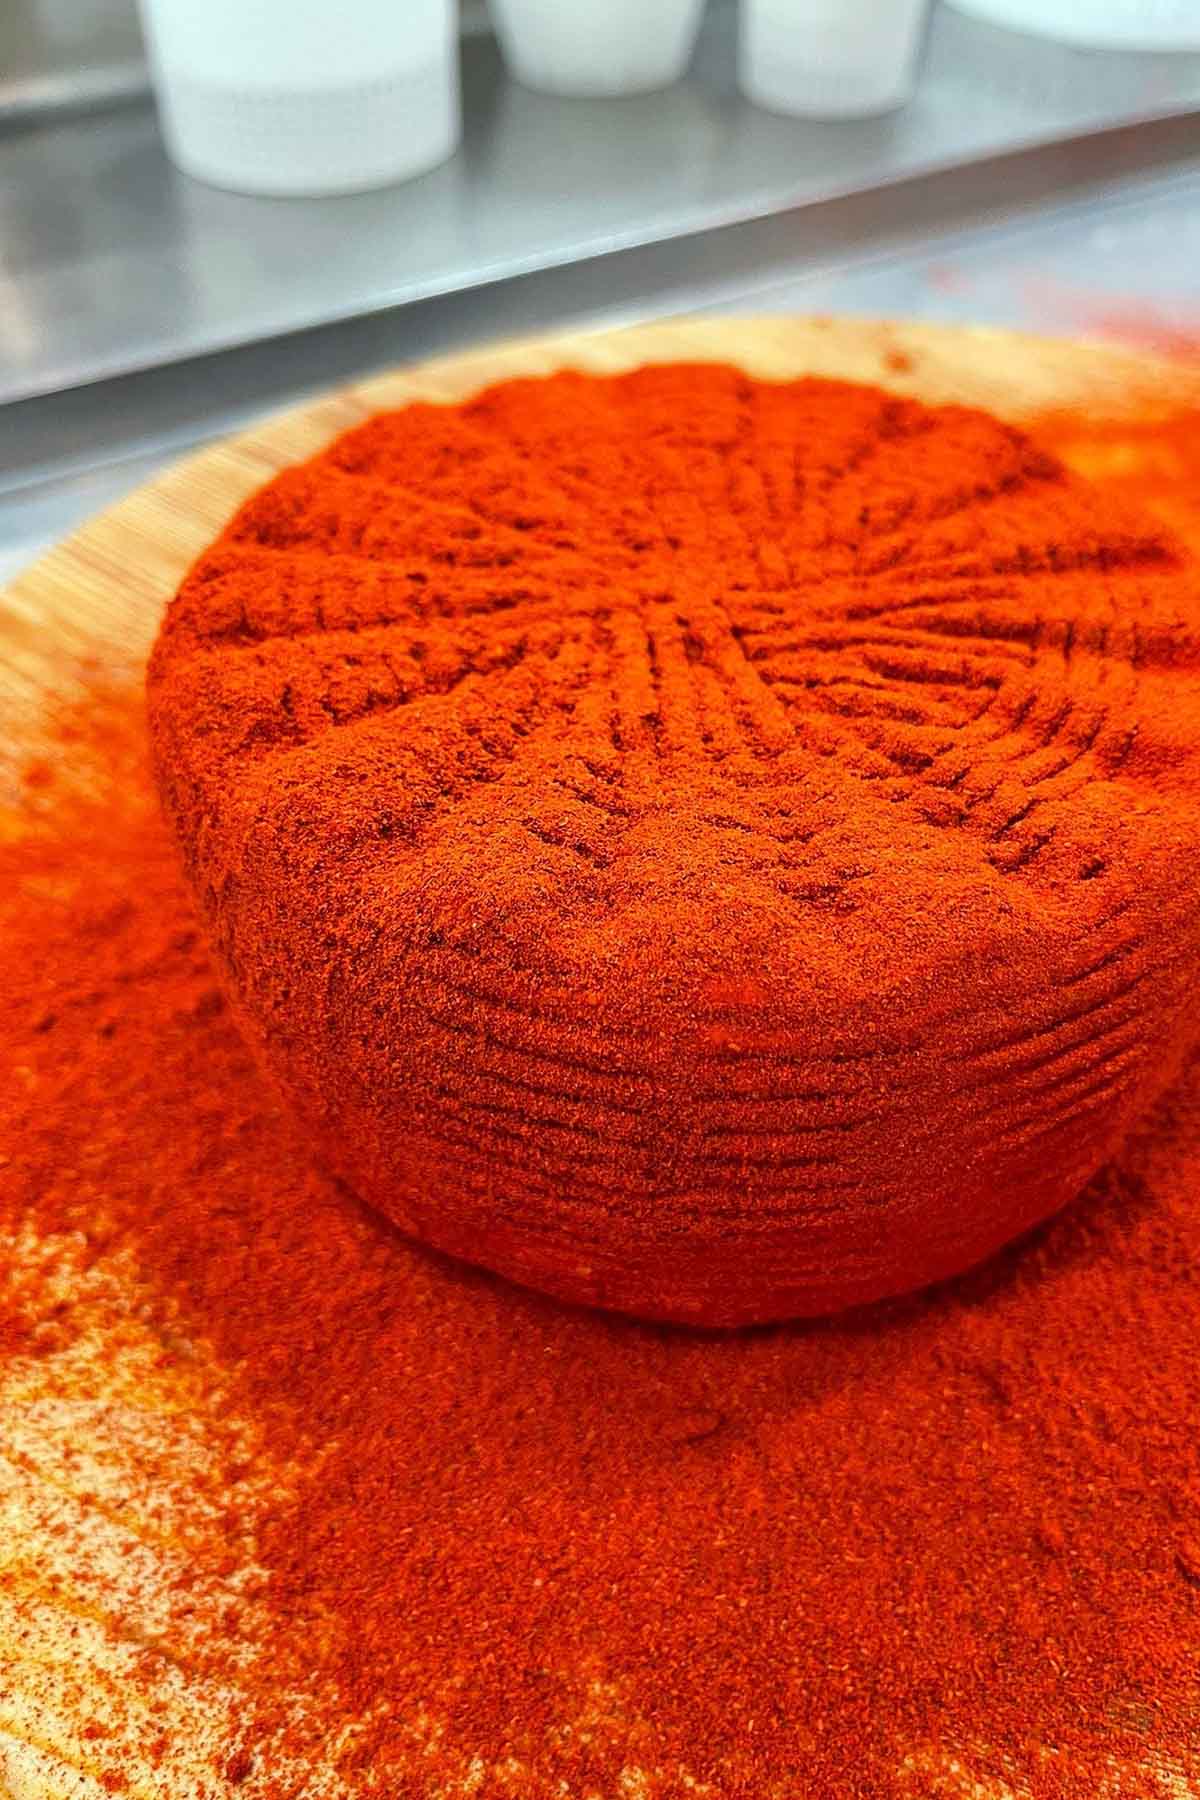
Finally, once the curds have molded together, it’s time to salt the cheese. This helps to preserve the cheese.
At this point, you can age your cheese or eat the cheese as it is (fresh).
Culinary School Tests
In most school settings, you have some way to test your knowledge. Some schools use written tests, while others, like culinary school, use practical, hands-on challenges to see what you've learned.
At the Italian Culinary Institute, our tests weren't exactly framed as tests. Instead, we called them 'menu execution', and they were a way to challenge us in the kitchen.
These challenges not only tested our cooking abilities but also helped us learn how to work as a team in the kitchen and build a menu.
We had three menu executions throughout the three months. Each menu executive looked a little different, but here's generally what it entailed:
- We were randomly assigned kitchen brigade teams. This was a group of about 10 people who we worked with in the kitchen.
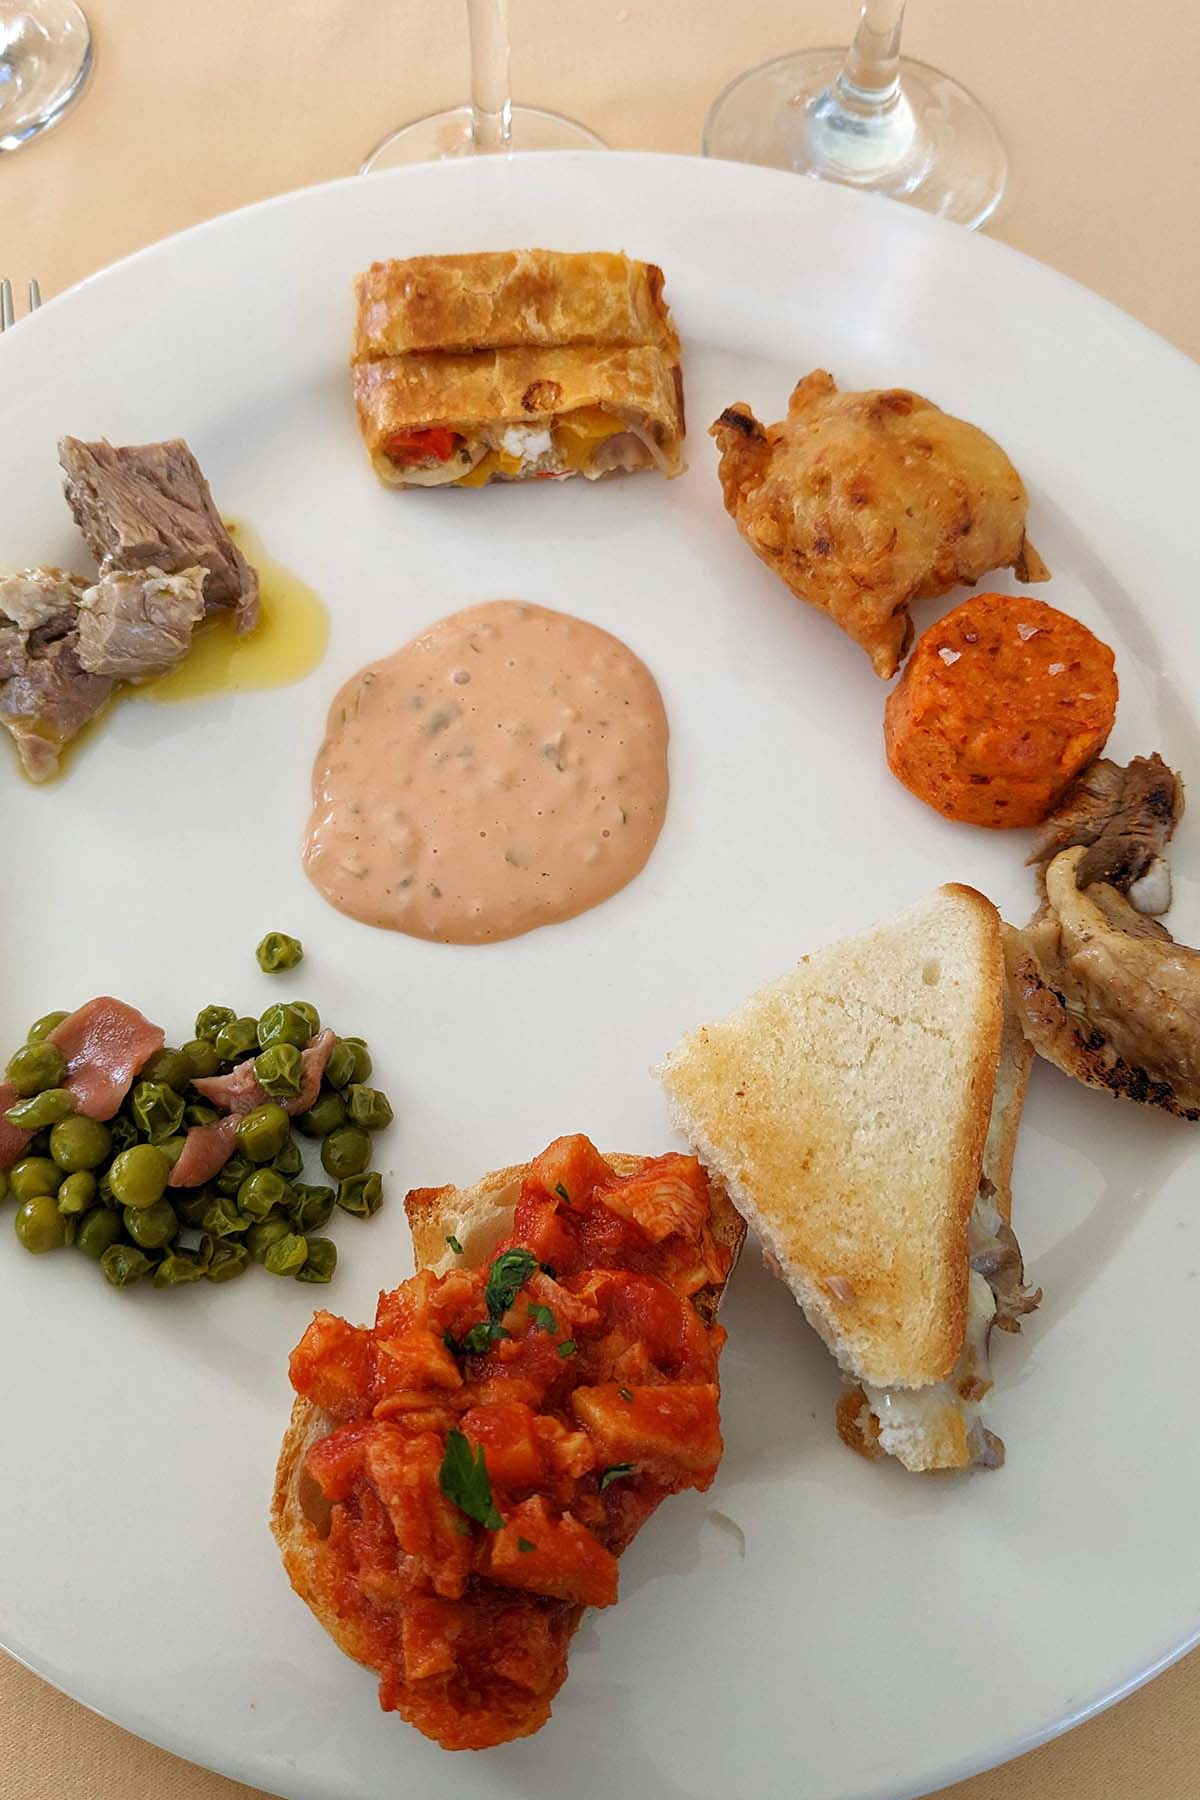
- Next, we were assigned a menu. Generally, our menu consisted of an antipasto (appetizer), primo (first course), primo espresso (first course made on the spot), secondo (main course usually consisting of some protein), contorno (side dish), dolce (dessert), a multitude of bread, and wine pairings.
- Since each region of Italy has its own type of cuisine, we were given specific regions of Italy from which our menu needed to be inspired by.
- Our team brainstormed a menu based on the regions we were given.
- Once we had our menu, we wrote out a detailed food quantity and prep list.
- We spent about 3 - 4 days in the kitchen prepping all of our items. On the last day, we presented our full menu to the chefs and some of our classmates.
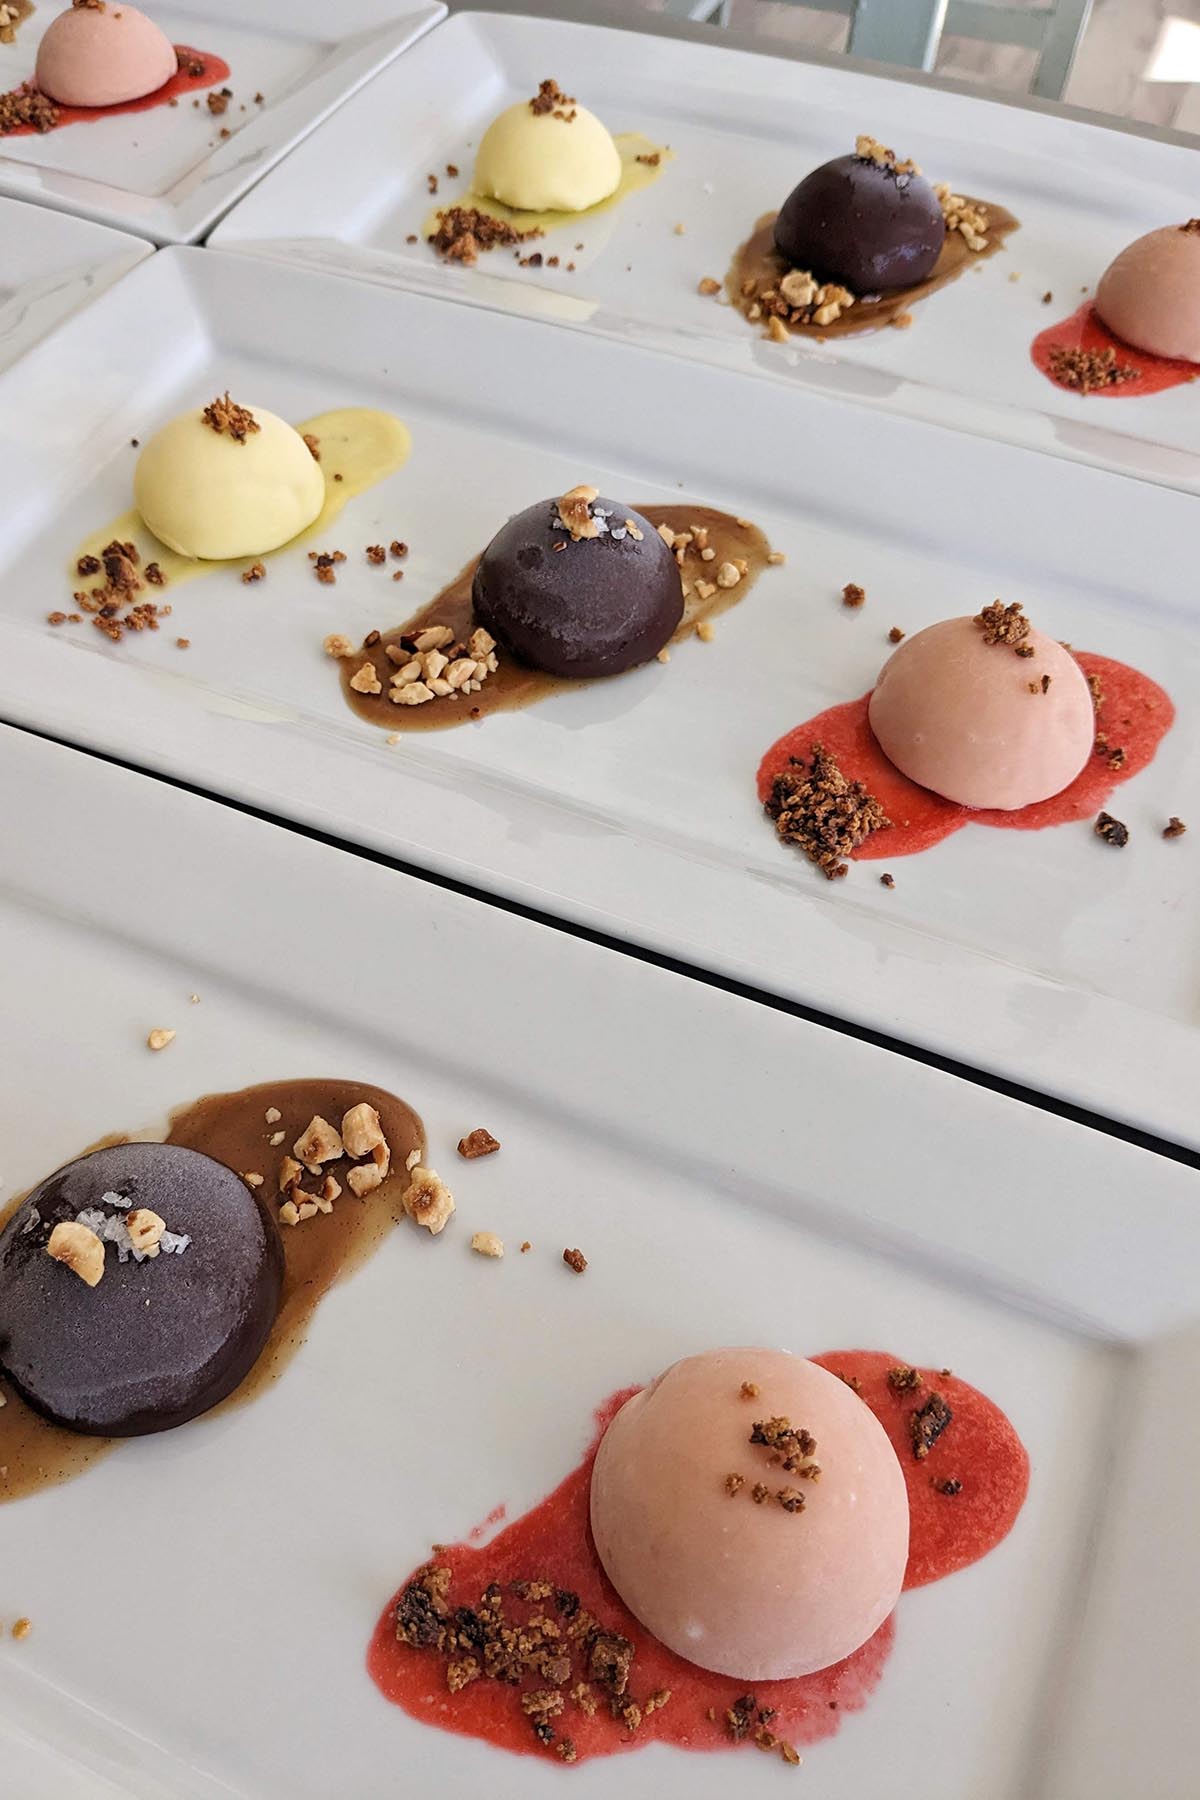
Here are a few of the menu execution plates I was responsible for producing:
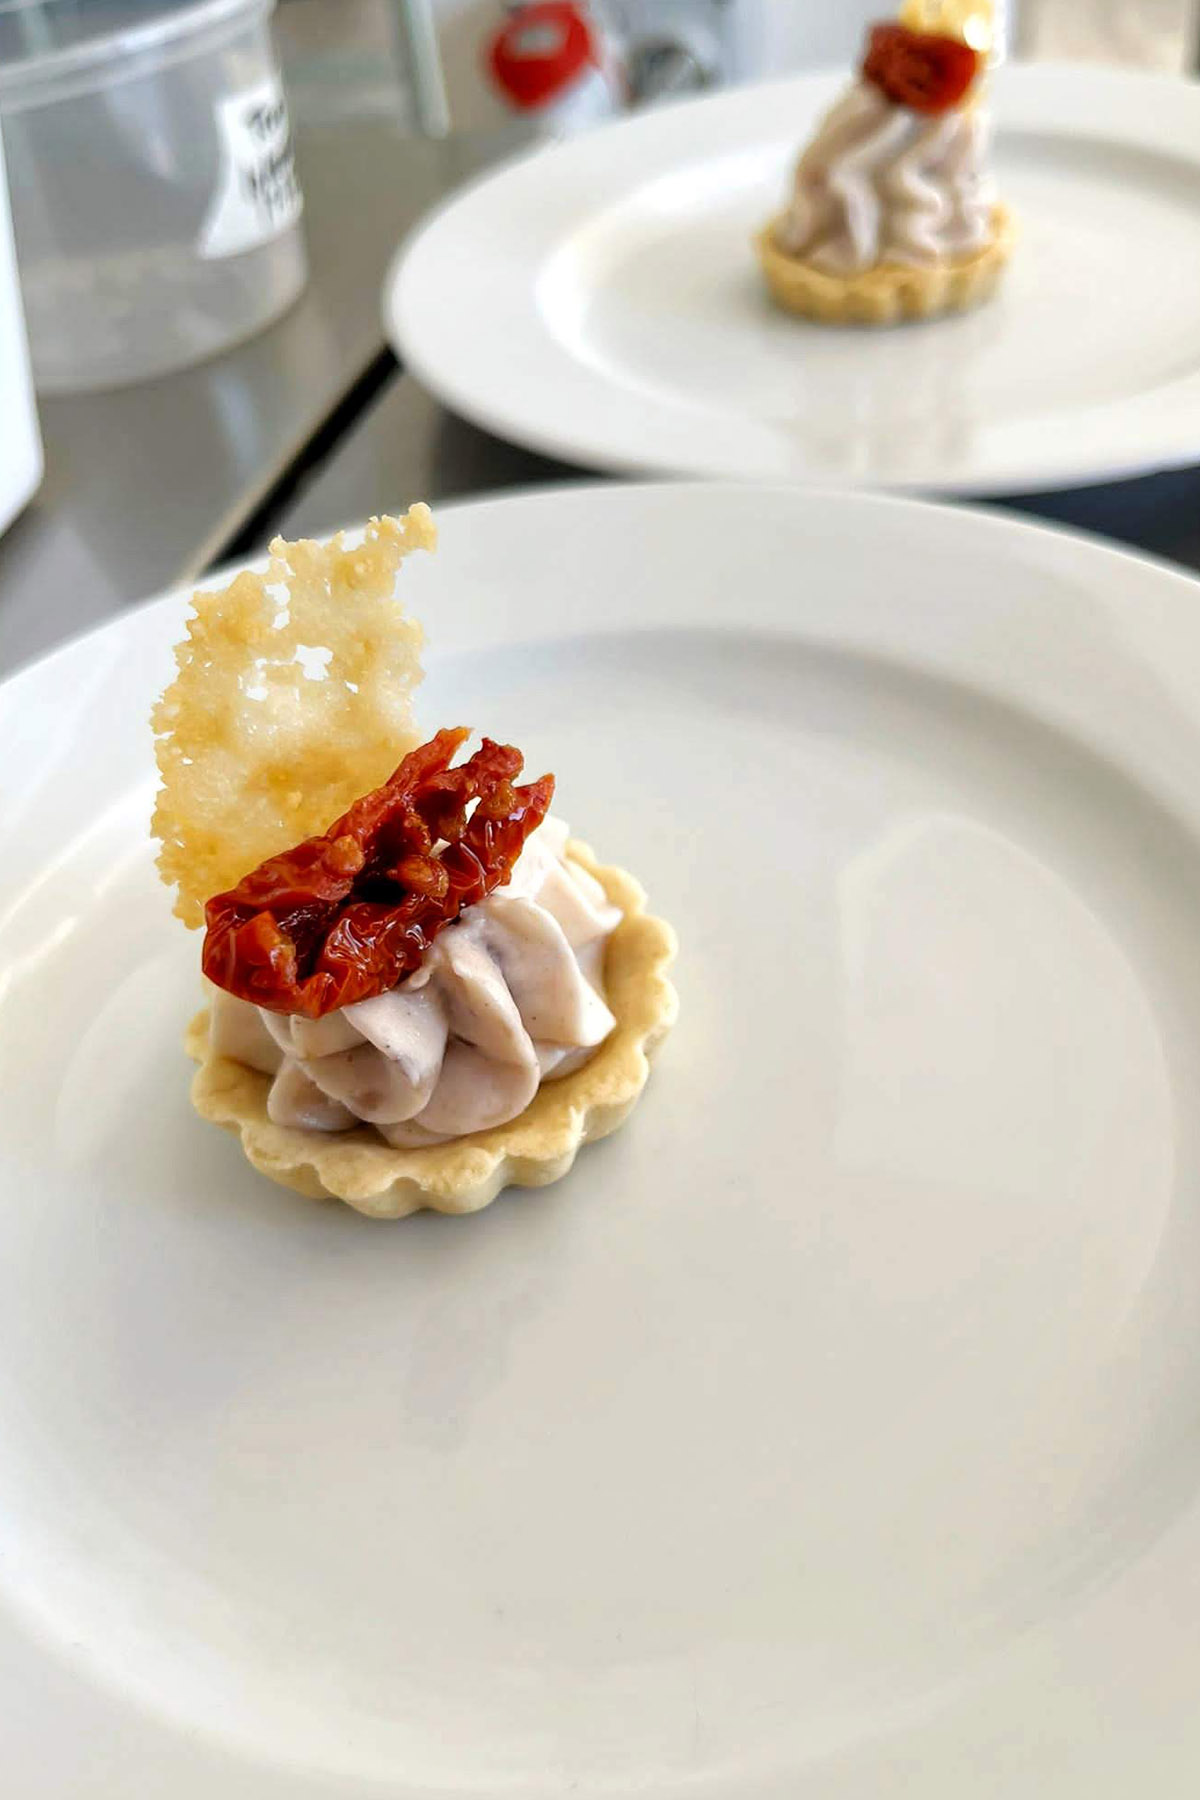
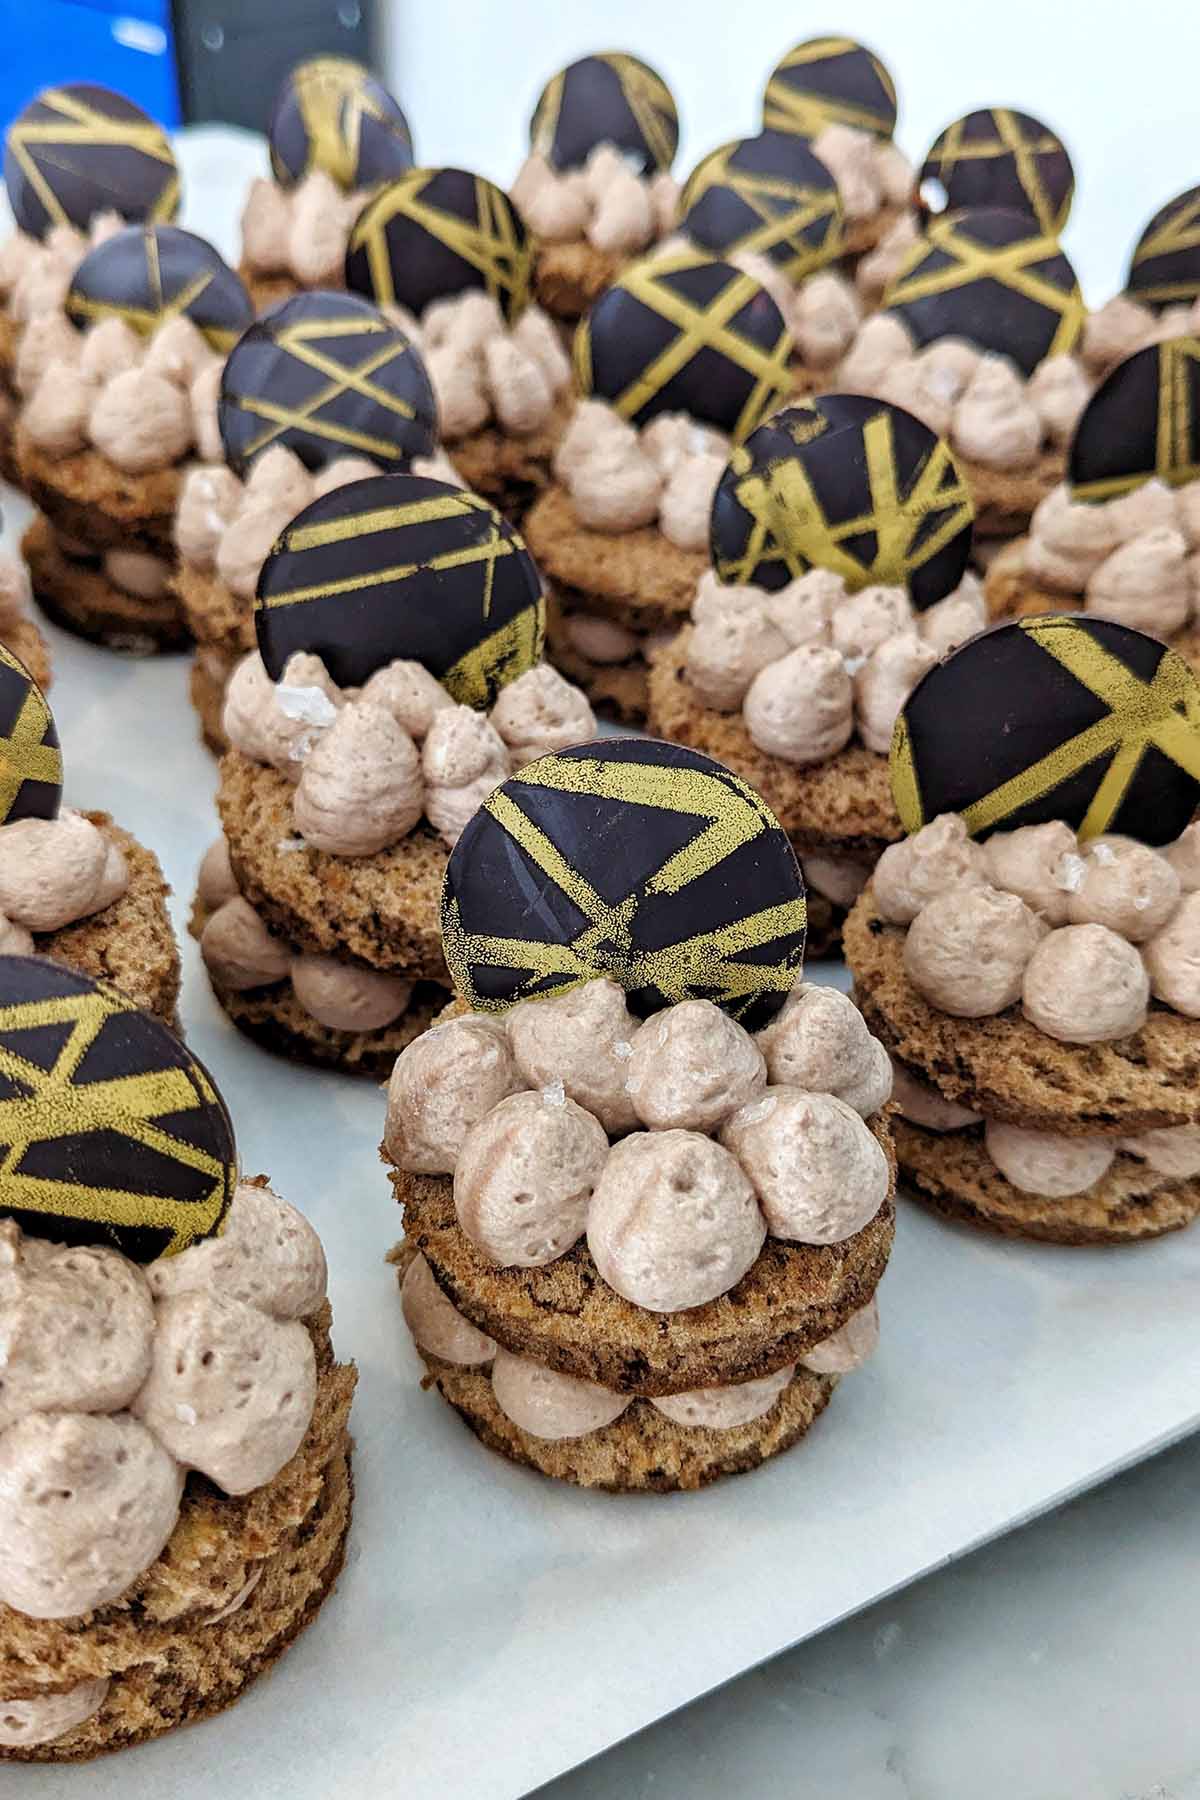
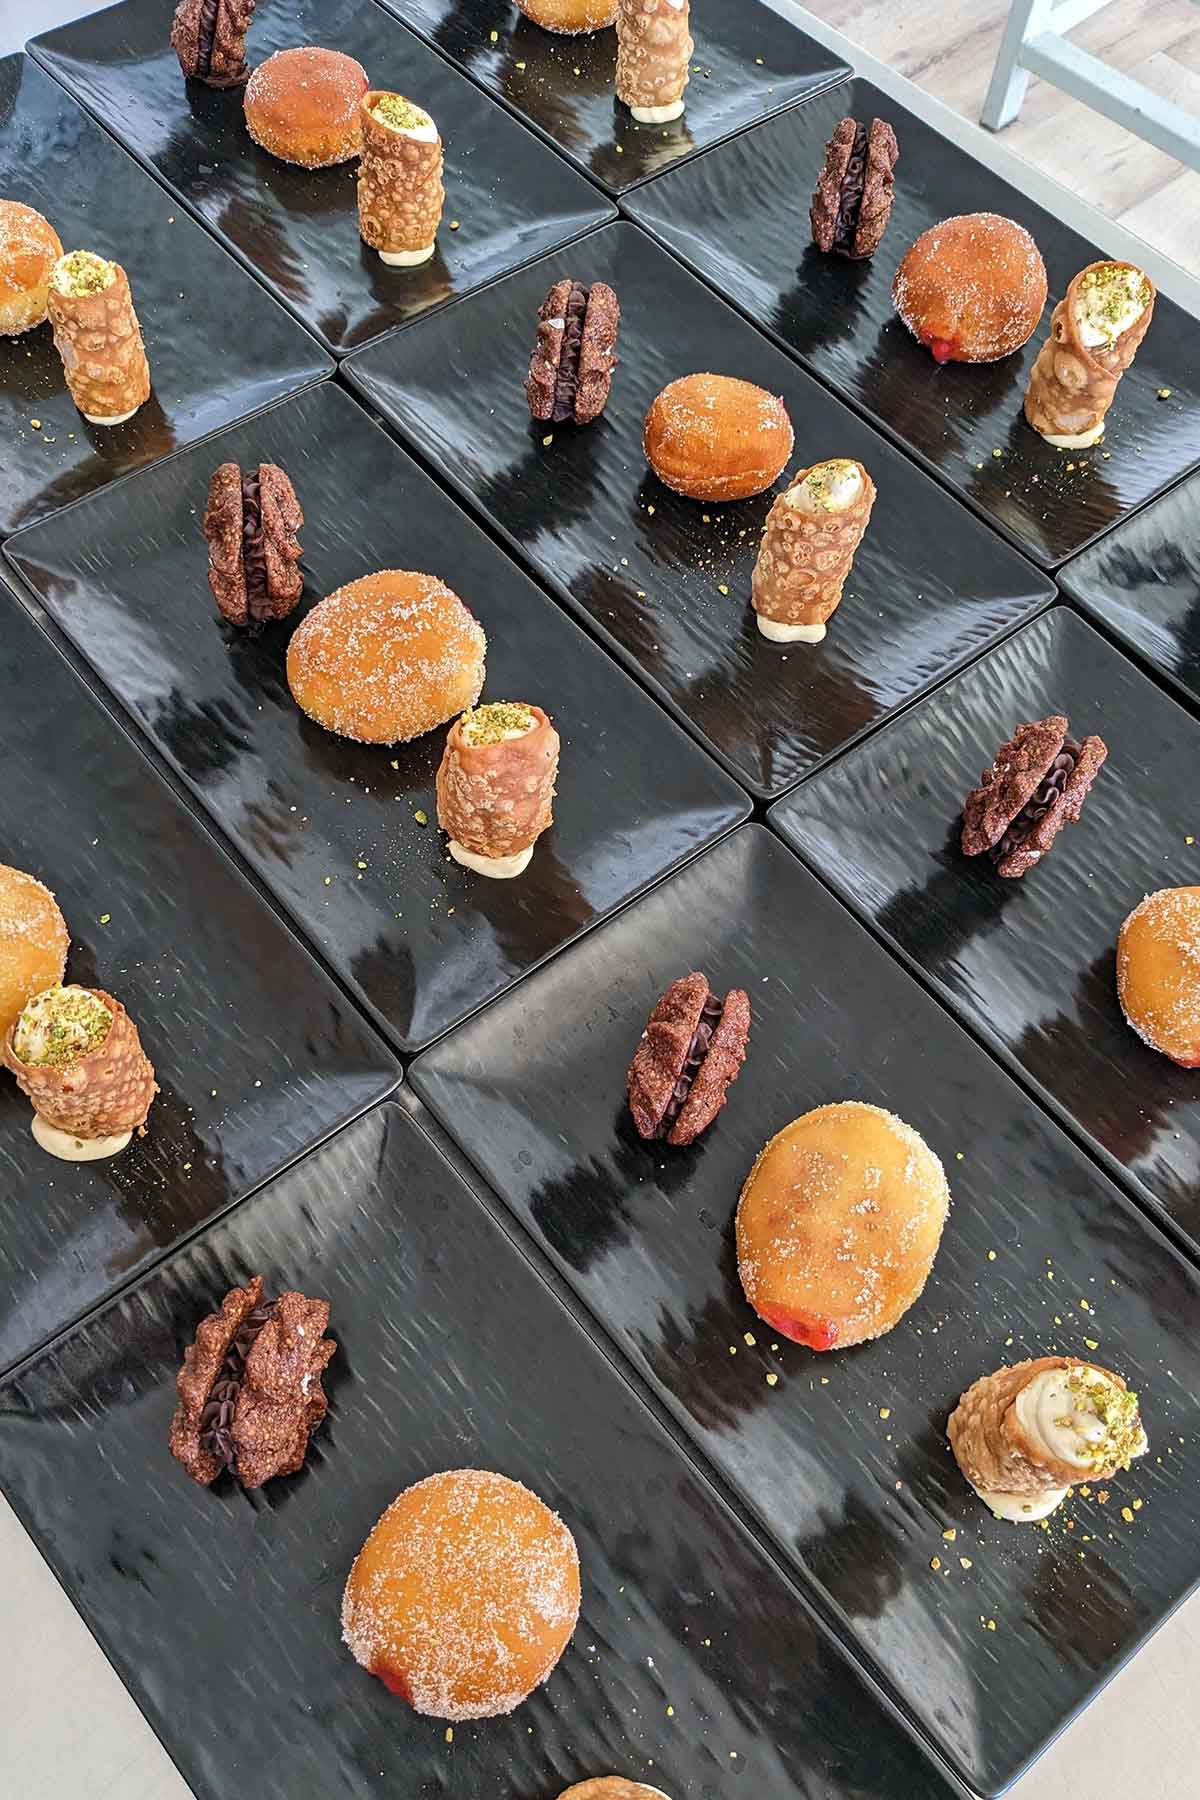
Overall, these 'tests' really helped me see how much I had learned throughout the course and taught me to have confidence in the dishes I was producing.
Final Thoughts
If you're interested in learning more about how to work in the kitchen and cook yummy food, I'd definitely recommend a culinary program in Italy.
Not only did I have an amazing time learning about the different cuisines from each region of Italy, but I was also able to travel, eat at local restaurants, and experience the cultural beauty of Southern Italy.
FAQs
That depends on what you are hoping to gain and learn from attending culinary school. For me, it was well worth the money. Attending a culinary program in Italy was not only cheaper than a traditional U.S. based culinary school, but it also allowed me to travel and be immersed in Italian culture.
Every culinary school will vary. However, the Master of Italian Cuisine program I attended at the Italian Culinary Institute lasted for 3 months.
Even though the program was only 3 months, we had plenty of time for lessons and hands-on cooking practice.
While I can't speak for all Italian culinary programs, the Italian Culinary Institute taught all of the classes I attended in English.
Going to culinary school in Italy doesn't have to be an unattainable dream. While culinary school is pricey, it can be well worth the investment in yourself.
Before attending culinary school, you'll first need to figure out how to fund your program. Next, take a look at the classes offered and which one you're interested in. Finally, you'll need to complete all of the enrollment requirements.
Culinary school was without a doubt an investment in myself. Culinary school taught me so many valuable lessons, even outside of learning how to cook authentic and delicious Italian regional cuisine.
Here are a few other valuable reasons I believe culinary school was worth the investment for me personally:
- I learned to trust my gut instinct in the kitchen.
- I now understand how to troubleshoot problems that may arise in the kitchen.
- I was able to network with other culinary professionals to grow my career in a meaningful way.
- I left inspired to create delicious food.
- I now have a whole group of friends and colleagues that can help answer any cooking related questions I may have.
- I learned how to stay organized and calm in the kitchen.
- I can now confidently work with a team while cooking.
- I understand how to cook food with minimal waste.
- I know I can build a career in the culinary field doing something I love.
Love this guide? Please leave a comment below. Don't forget to follow along on Instagram, Facebook, YouTube, and Pinterest for more recipes.



Leave a Reply