Whether you’re stuck at home or just want to save money, making sushi at home is a great option! With practice, you can master the basics of creating homemade sushi rolls!
Want To Save This Article?
Enter your email below and we'll send it straight to your inbox. Plus, you'll receive new weekly recipe inspiration.
So here’s the deal - sushi is amazing. Like really. If you’ve done any research at all about sushi, you’ll find it has a rich history from its Japanese origin. There are many individuals who spend their careers perfecting the craft of sushi, and many say their training will never fully be complete.
True sushi masters, they spend time self-selecting fresh fish every morning, carefully crafting each element that goes alongside the sushi (rice, wasabi), and then hand making each piece in front of you. I love this video from Tasty, showing a day in the life of a sushi master.
Looking at how sushi has evolved, Americans have definitely added their own flair to the typical nigiri found in Japan. Today, we are going to look at how to make a version of Americanized sushi in the comfort of our own home!

Homemade Sushi Recipes
First things first, you'll need to make a big batch of Japanese sushi rice. You can make it with a rice cooker or pot, whatever you have on hand!
Up next, decide how many rolls you want to make, and gather all the supplies you need:
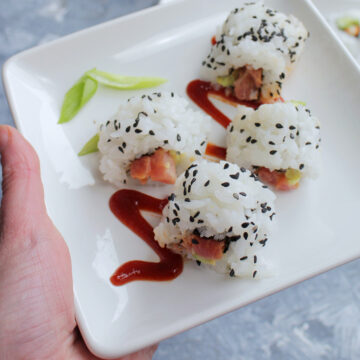
Spicy Tuna Roll - sriracha & mayo, it can't get better than this
Philadelphia Roll - definitely an American twist with the addition of cream cheese
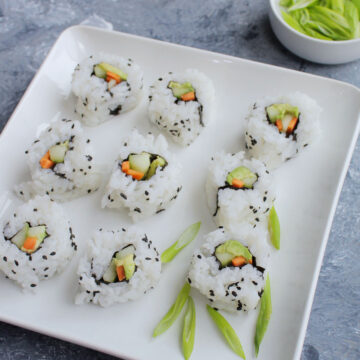
Veggie Roll - a great option for vegetarians

Sushi Basic Ingredients and Tools
Bamboo Rolling Mat: This is a one time investment and helps create a tight sushi roll. It's cheap and totally worth it!
Short-Grain Rice: It’s super important to purchase short-grain sushi rice to achieve the best produce. Short-grain rice has just the right amount of moisture and starch to allow the sushi roll to stay in place. A rice cooker makes it even easier to cook it up!
Rice Vinegar: An important ingredient in sushi vinegar (that gets added to the cooked rice).
Seafood: Most restaurants use raw seafood, which is frozen to specific temperatures to kill off any parasites. However, please select the seafood that makes you feel most comfortable when making it at home. You can always make a veggie roll, or use smoked fish (such as salmon). If you do choose to purchase raw fish, please be sure to do so from a reputable store. Fish can be sourced from a local store (sometimes you have to look in the freezer section) or an Asian market.
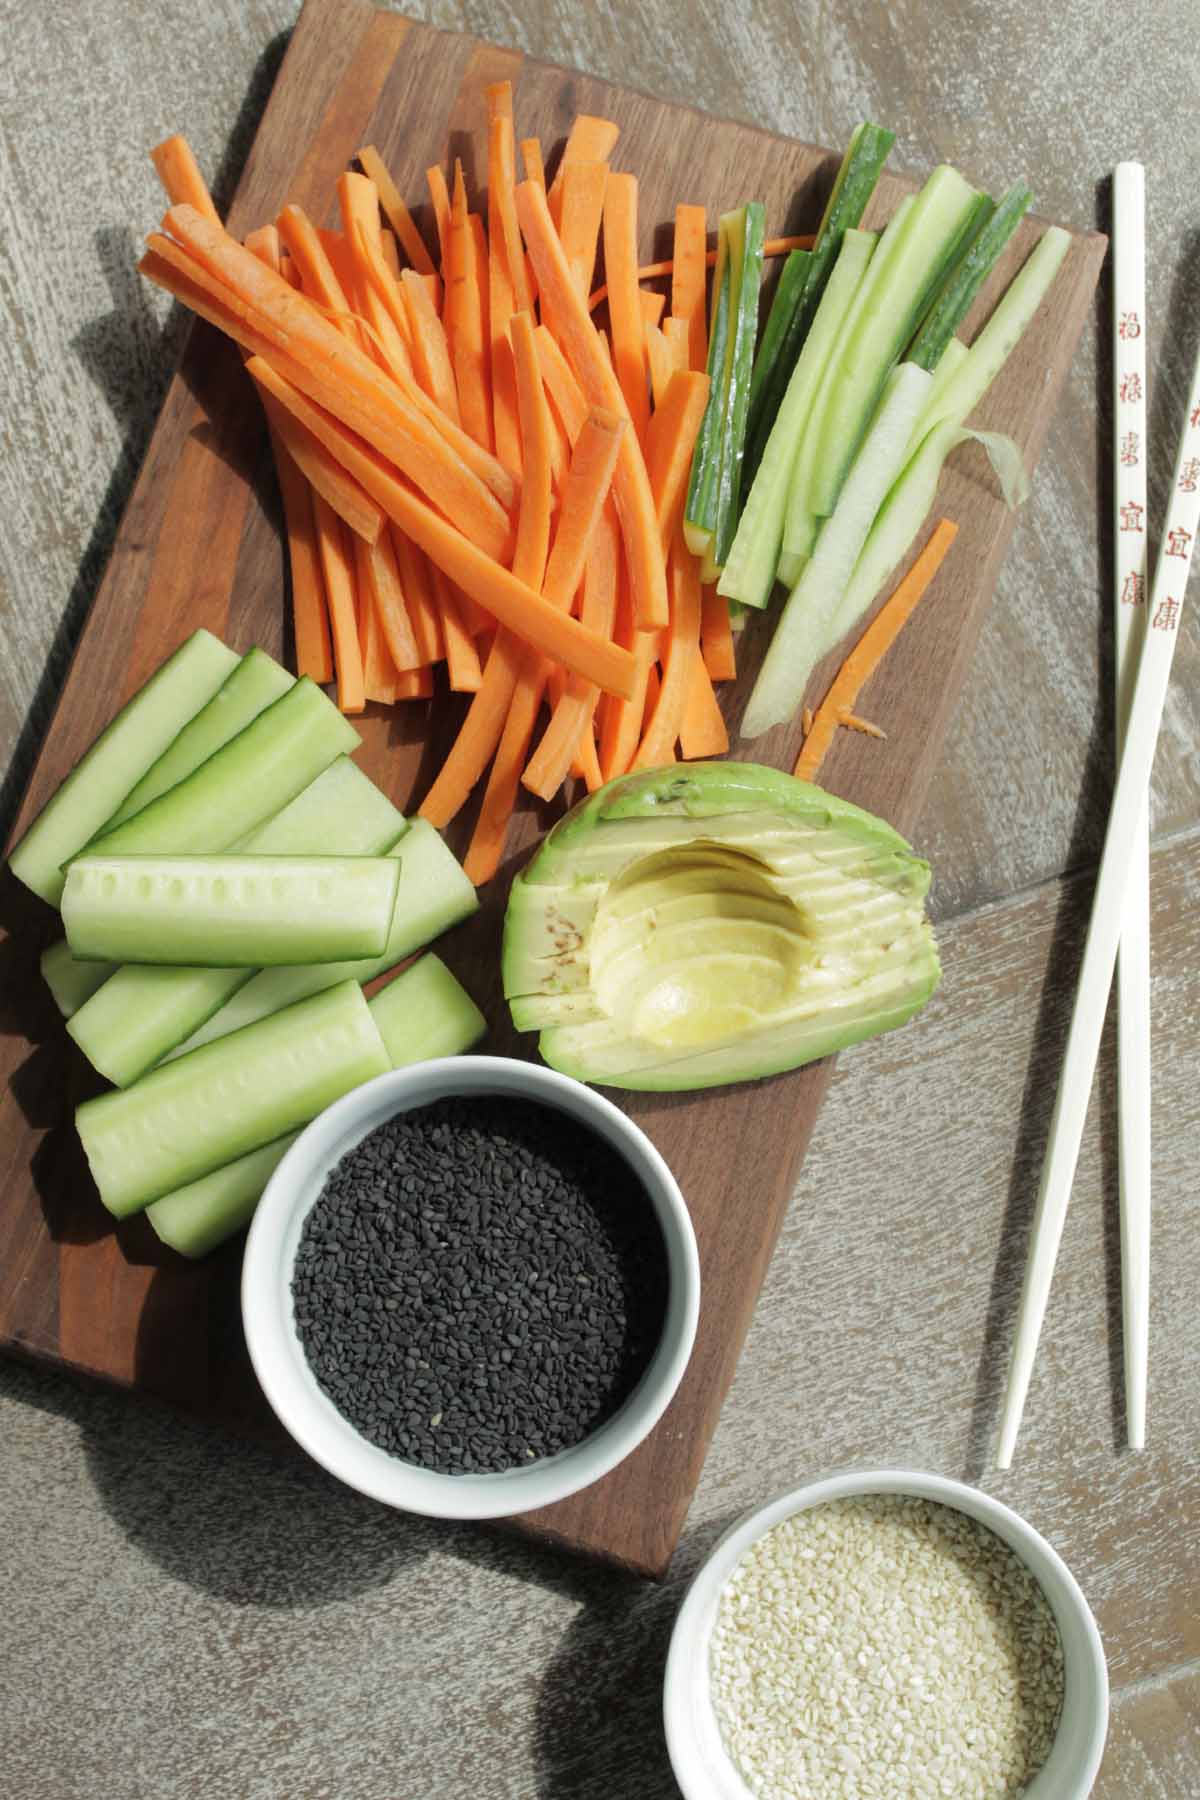
Veggies: The type of veggies needed depends on the type of wrap. Most common veggies include avocado and cucumber.
Seaweed Wrap: The nori seaweed sheets are an essential part of sushi! You should be able to find nori in the Asian section of your local grocery store (I buy mine at Walmart) or from Amazon.
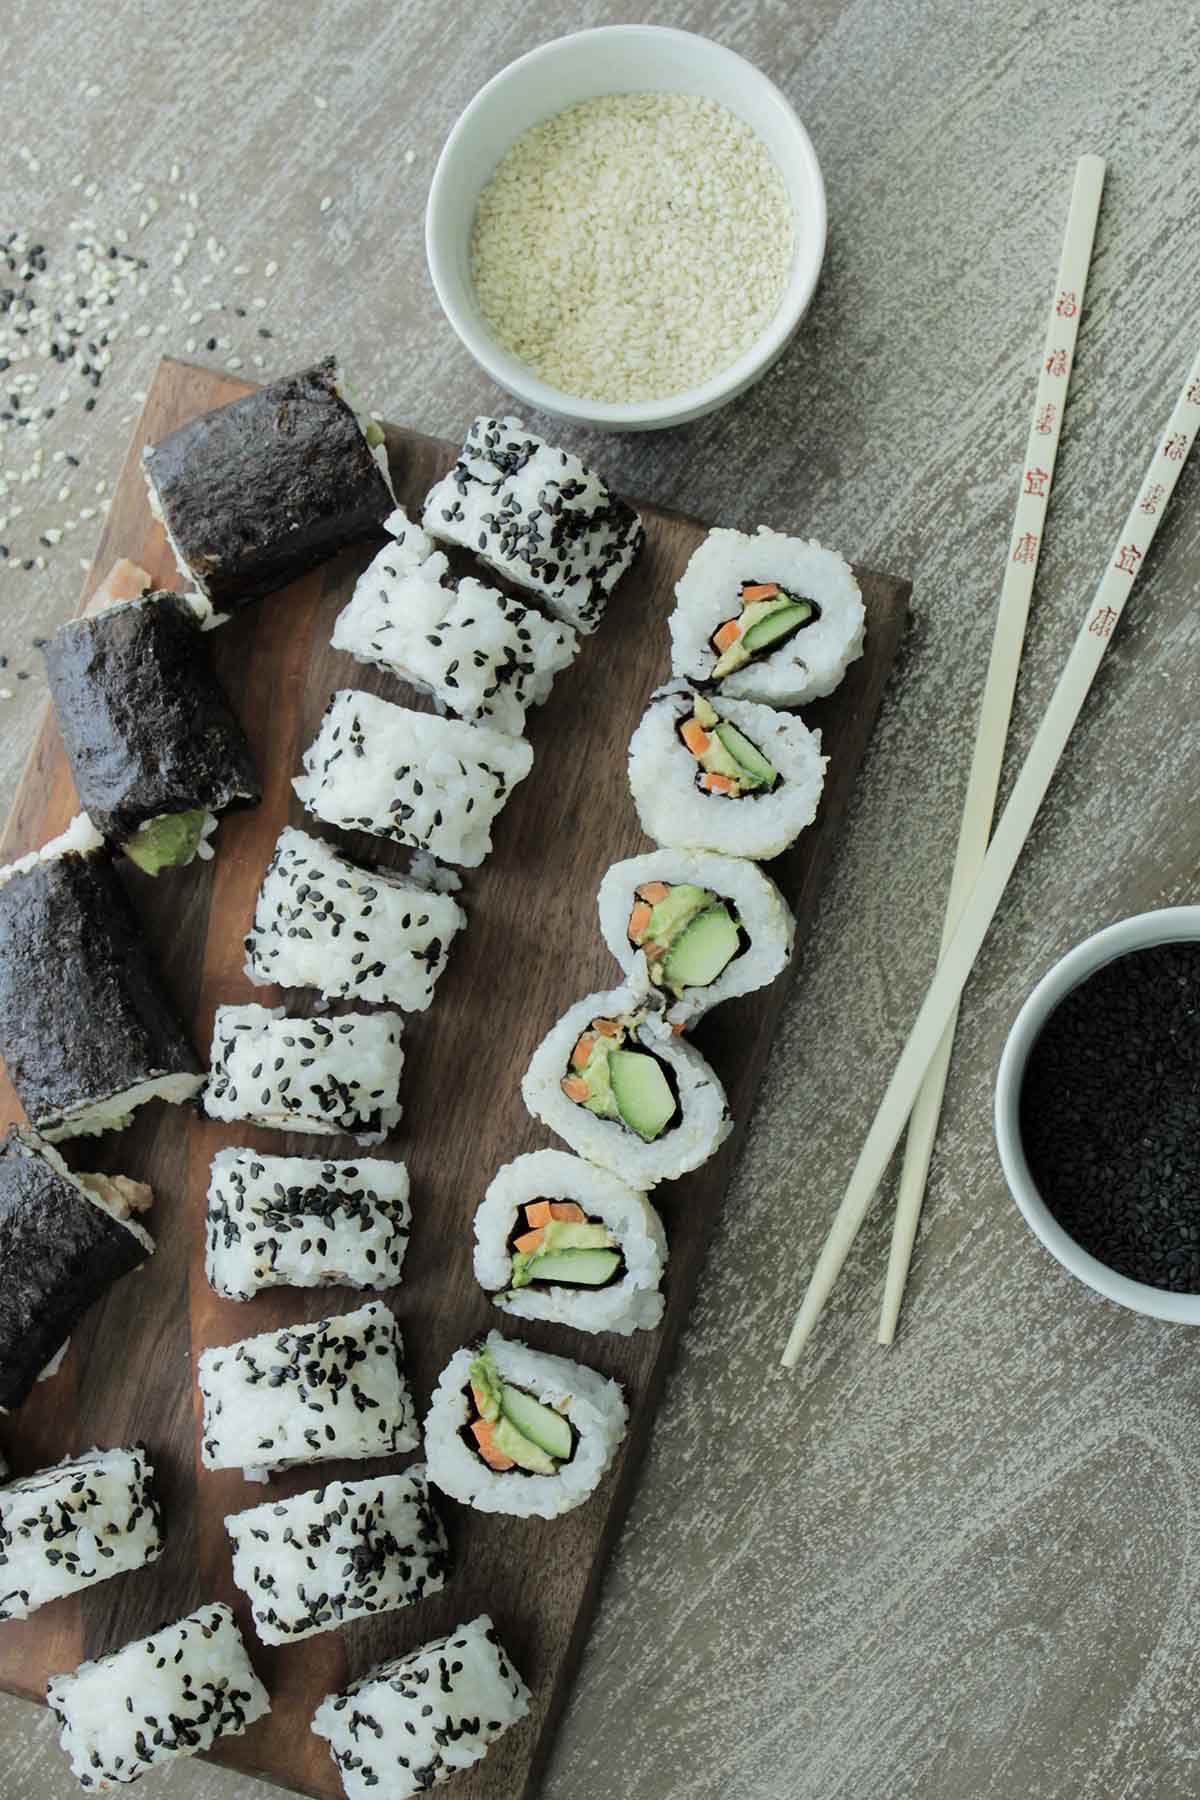
Sesame Seeds: They will add a nice pretty touch to your sushi and make it look like it does at a restaurant. You can always use up leftover sesame seeds in a stir fry dish.
Sharp Knife: Just a basic chef’s knife will work, but make sure it’s sharp! A knife sharpening steel will help you achieve this.
How to Make a Sushi Roll
- Prepare the Japanese sushi rice. This can be done either in a rice cooker or on the stove. Allow rice to cool.
- Cover bamboo mat with plastic wrap.
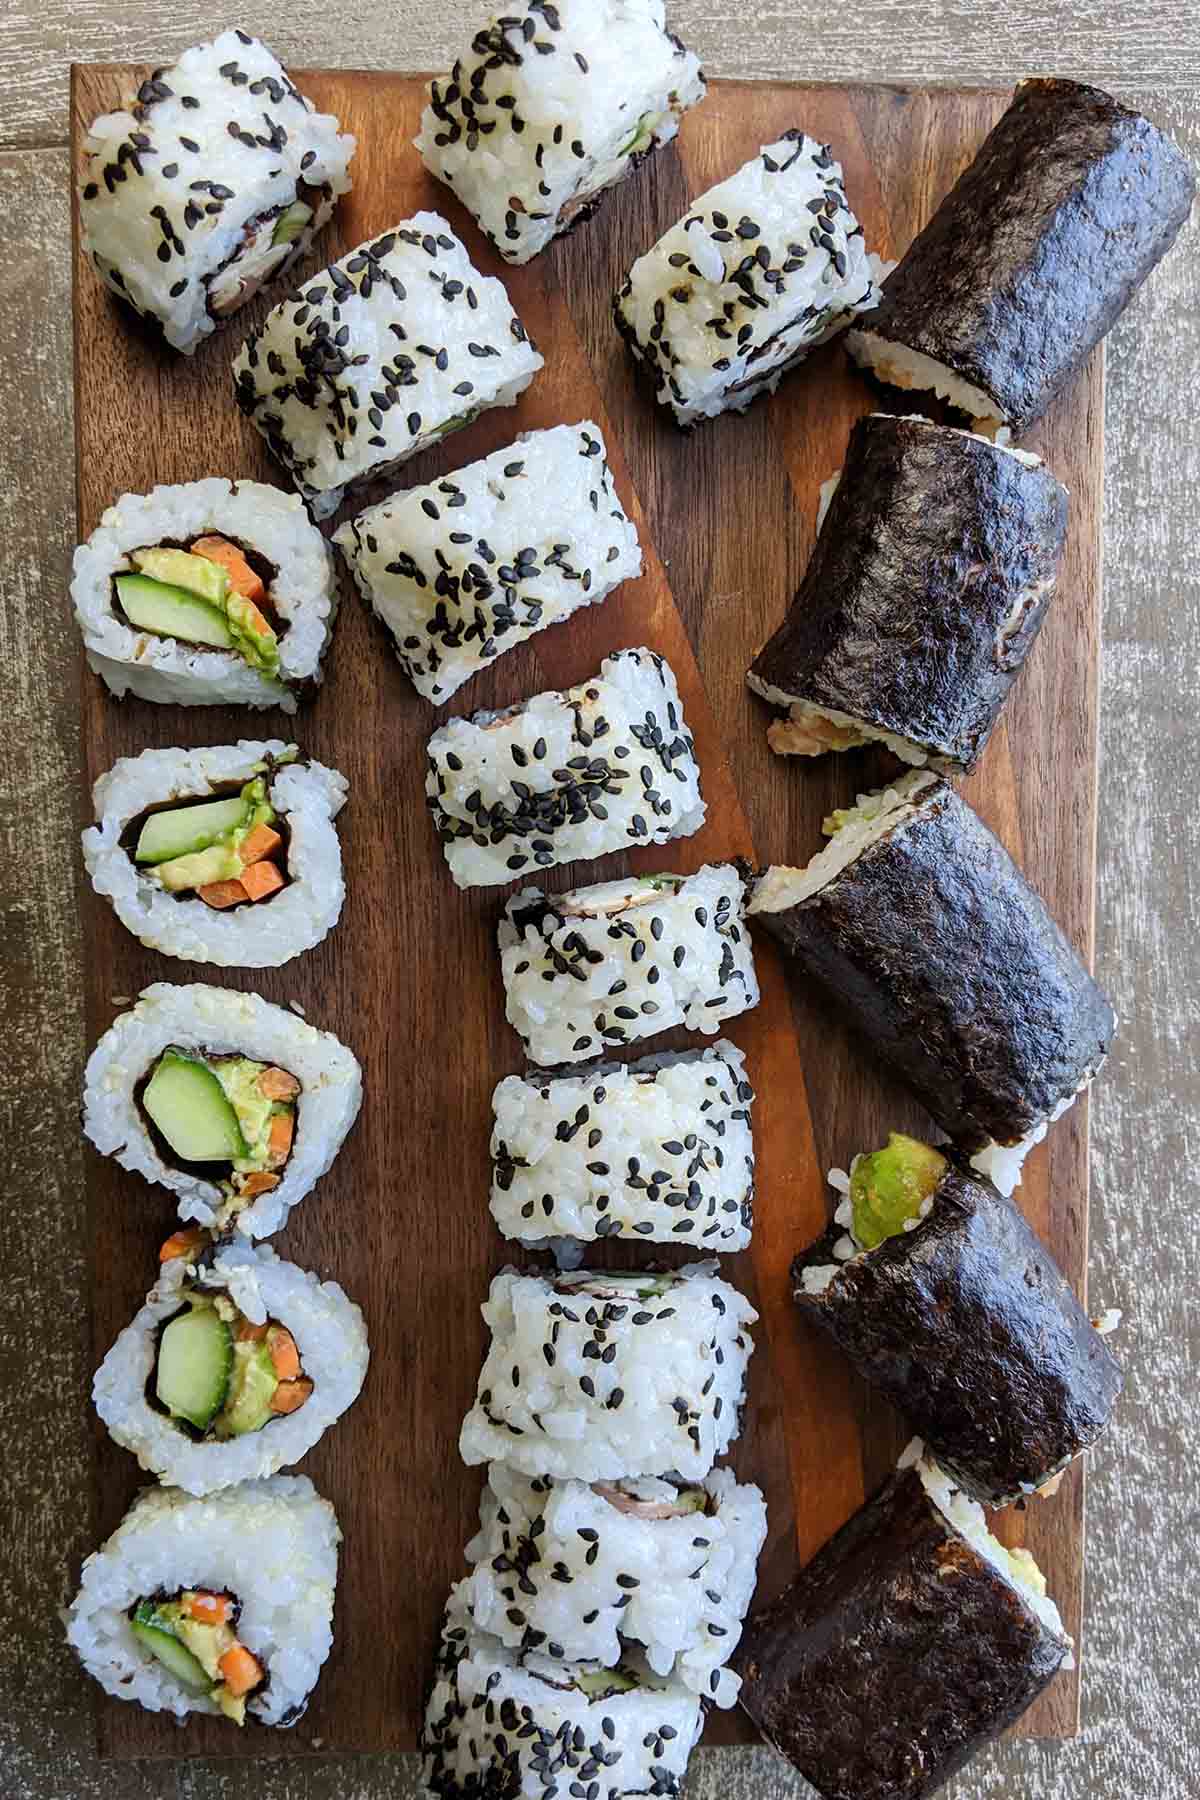
- Cut nori sheet in half. Lay nori shiny side down, on a bamboo mat covered in plastic wrap. Spread about ¾ cup of rice evenly on the nori sheet. If needed, wet hands to help spread the rice. If desired, sprinkle with ½ tablespoon of white or black sesame seeds, making sure they adhere to the rice.
- Flip the nori over (rice side facing down). Place fillings along the bottom of the nori.
- Grab the nori and the rolling mat. Fold the nori over until it touches itself. Continue rolling until a complete roll is formed. Squeeze gently, but firmly. Repeat with the remaining rolls.
- Transfer to a cutting board. With a very sharp knife, slice roll into 6 - 8 slices. Wipe knife on a damp cloth in between each cut to keep the rice from sticking.
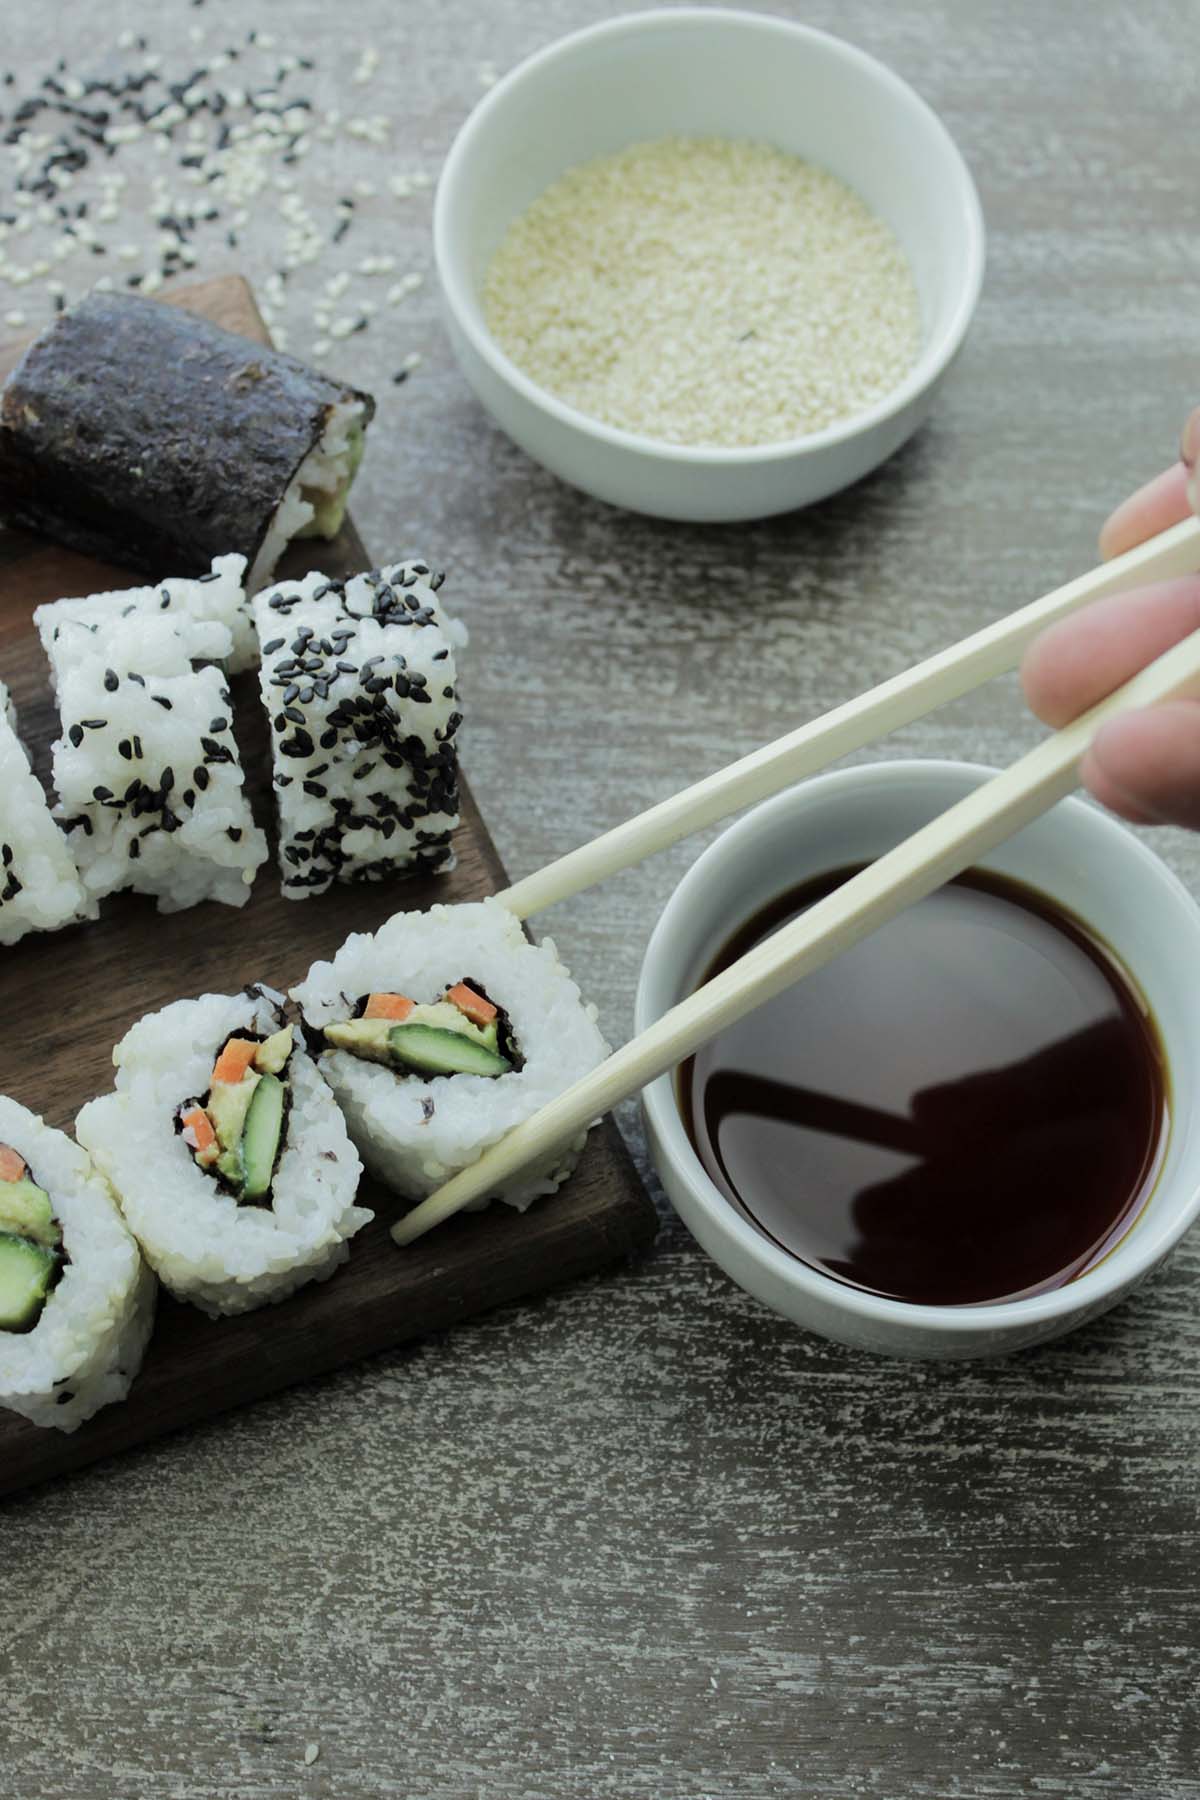
- Serve immediately with wasabi and pickled ginger.
Safety with Sushi
The raw fish and cooked rice in sushi require time and temperature control for safety. Just like I mentioned above, some fish can carry parasites that can cause illness in humans. Therefore, fish should be frozen according to regulations. Fish that have gone through this process will be labeled 'sushi grade' (although sushi grade is not regulated in the U.S.). However, stores do not want to get their customers sick, so they typically save only the best fresh fish to be labeled as 'sushi grade.'
Cooked sushi rice should be covered with a damp cloth and kept chilled at 41°F or lower. Make sure to keep the rice in the fridge until you're ready to assemble the sushi.
Be sure to keep cleanliness and sanitation as a top priority when making sushi at home. Since everything is eaten raw, it's essential to have quality ingredients and a clean workspace.
Homemade Sushi Tips
- Don’t overstuff the rolls: It’s so tempting to do this, and it might take a couple of tries to learn just the right amount of filling. But, if the roll is too stuffed, it won’t close properly.
- Don’t smash the rice: Part of the success of a good sushi roll is having nice and fluffy rice. When you’re rolling the sushi, be sure to be firm, but gentle.
- Gather all your ingredients (mise en place): Mise en place is a French culinary term for “everything in its place” meaning, make sure you’ve got everything laid out and ready to go. It will make things smoother when assembling the sushi rolls.
- Vinegar dip for hands: To avoid the rice sticking to your hands, prep a bowl of water with a few drops of rice vinegar. Use this before pressing the rice onto the nori.
To learn about authentic Japanese sushi, check out these resources:
- How to Make a Dragon Roll: Just One Cookbook
- Expert Level Sushi Rice: Outdoor Chef Life
- Preparing Sushi is More Involved Than People Think: Eater
- Sticky Sushi Rice: Japanese Cooking Lovers by Yuri
Have you tried this at home?!
Let me know how if you've tried making homemade sushi! Comment below, or share a picture on Instagram with the hashtag #HomebodyEats. Happy cooking, Homebody family!
Yum

Leave a Reply