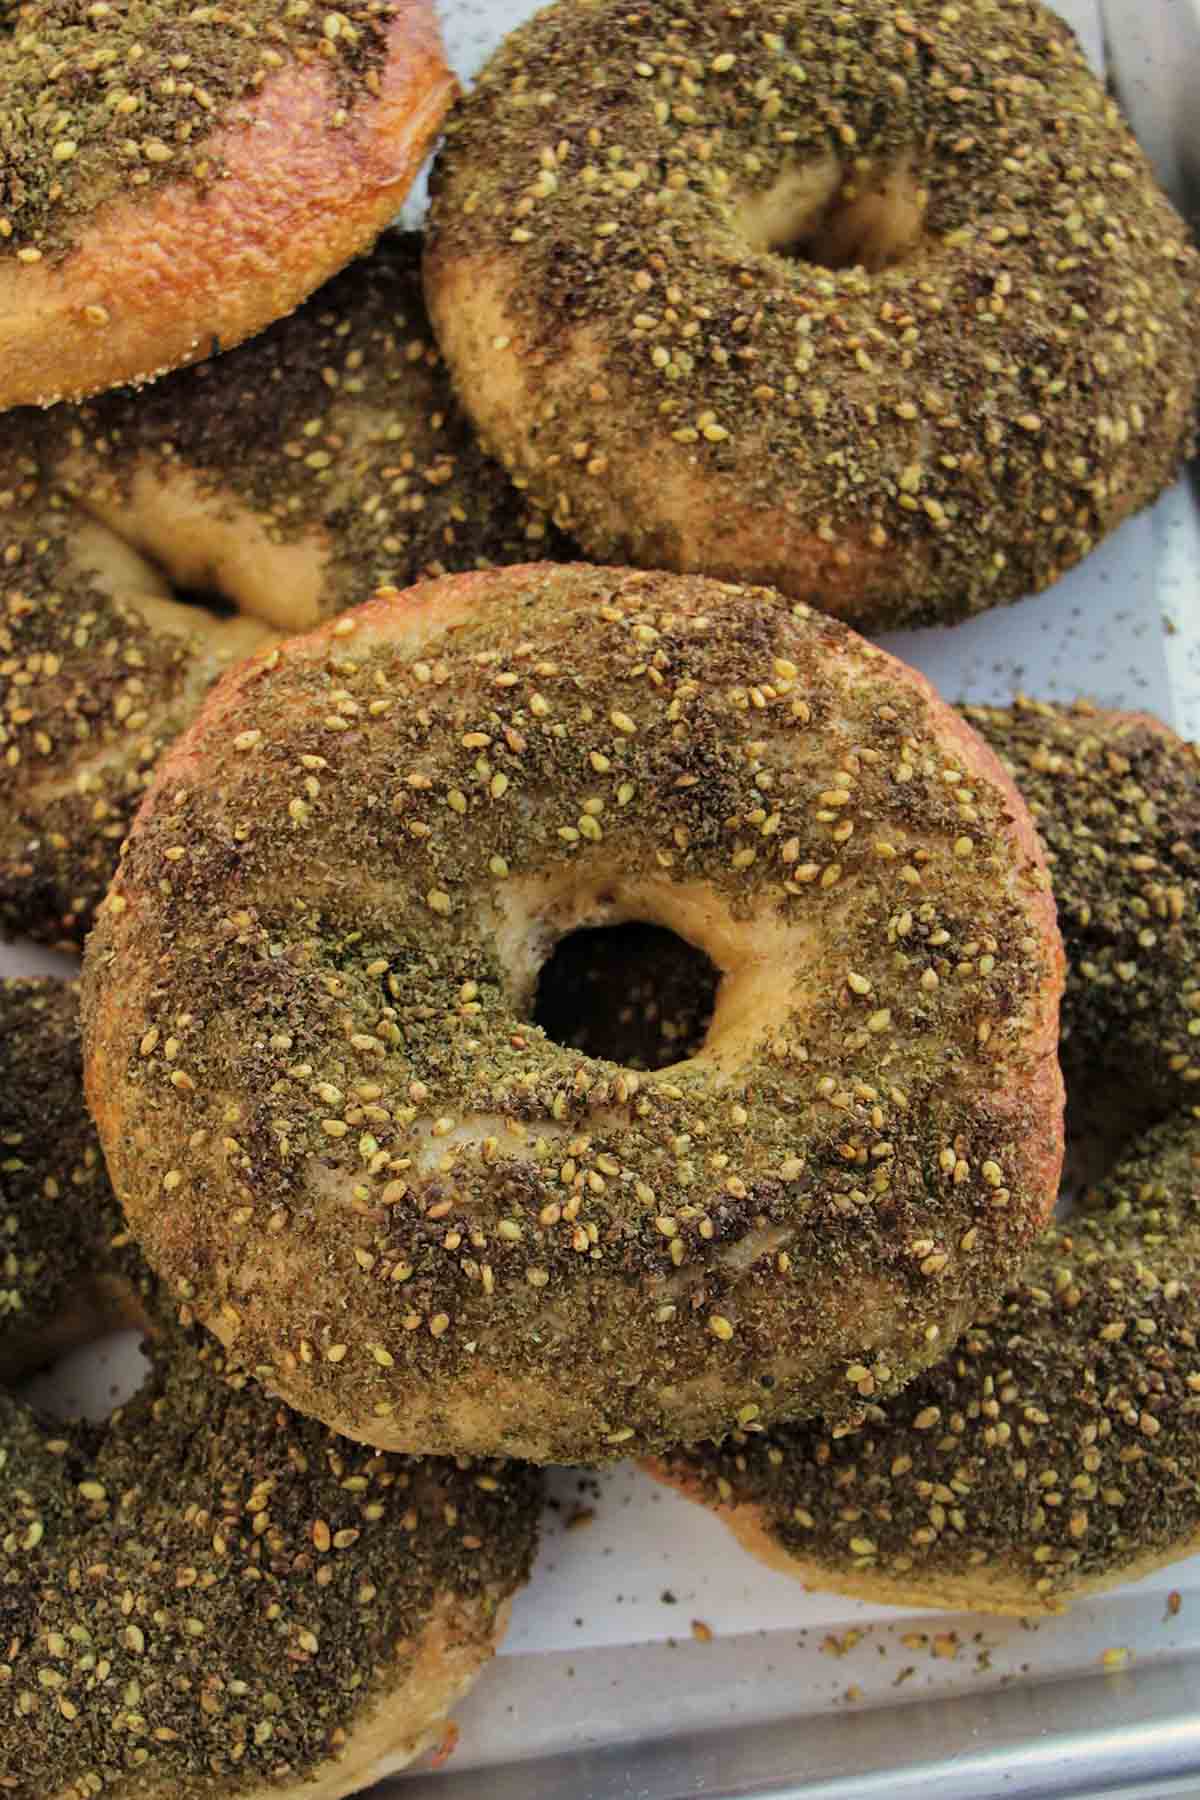
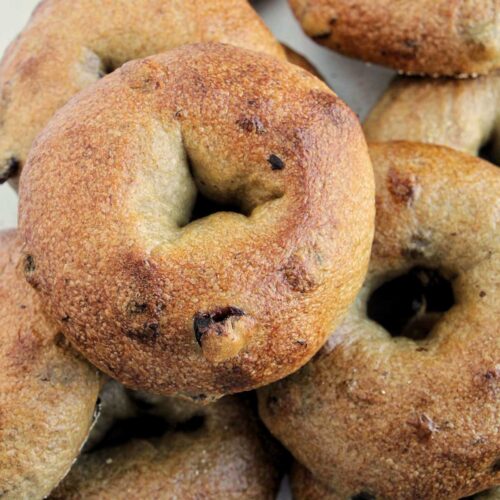
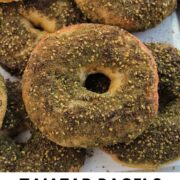
Make a batch of homemade za'atar bagels with this easy-to-follow recipe. This recipe can be made with a mixer or by hand. After an overnight proof (rest) in the fridge, these bagels are topped with za'atar, a popular Middle Eastern spice.
Want To Save This Article?
Enter your email below and we'll send it straight to your inbox. Plus, you'll receive new weekly recipe inspiration.
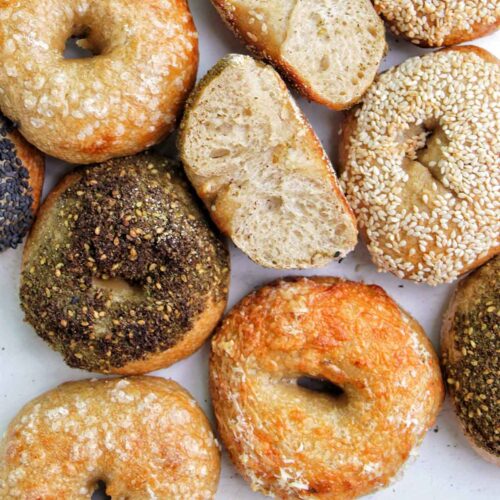
It's no secret that I love making homemade bagels! I created recipes for all of my favorite bagel flavors including cheddar cheese, salt bagels, and more.
As I was brainstorming all of my favorite flavor ideas, za'atar seasoning instantly came to mind. This spice blend perfectly marries the flavors of various herbs like thyme, marjoram, oregano, sumac, and sesame.
Za'atar seasoning isn't just for hummus. It's the perfect bagel topping that packs a punch. I love serving these za'atar bagels for breakfast alongside some marinated olives, feta, and smoked salmon.
Jump to:
What You'll Learn In This Recipe
- How to make bagel dough with helpful photos to walk you through the entire process.
- The importance of resting the bagels overnight in the fridge.
- My favorite tips for making bagels that taste amazing!
Want to continue improving your bread baking skills? Grab my free eBook with 12 secrets to help you make the best bread of your life!
Ingredients You Need
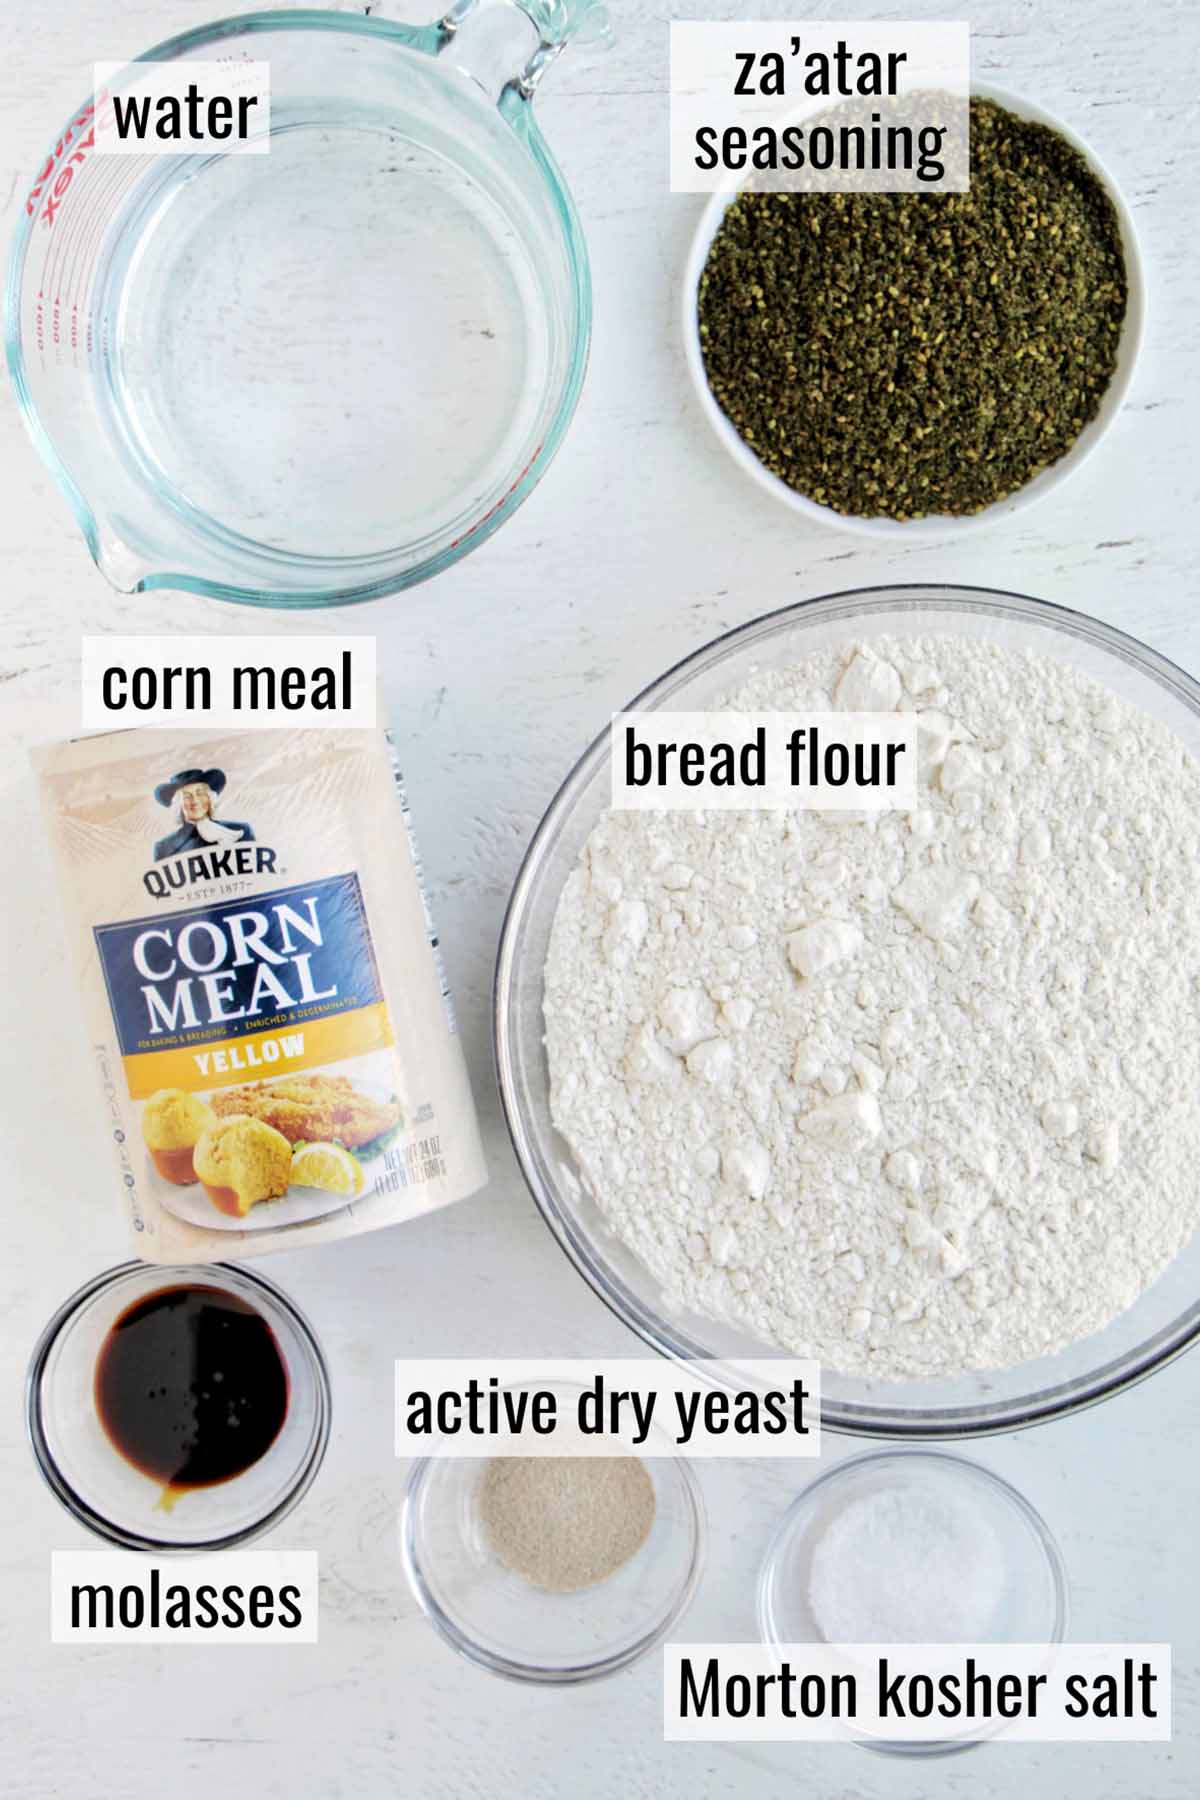
- Water: Tap water will work just fine for this recipe. The water needs to be slightly warm (110°F or 43°C) before making the dough.
- Molasses: Many classic New York style bagels use barley malt. However, this ingredient can be difficult to find in grocery stores. I've found that molasses is a great substitute and results in a crusty bagel with great flavor and texture.
- Active dry yeast: This is an essential ingredient for bread making! Make sure your yeast has not expired.
- Bread flour: Be sure to use bread flour for this recipe as it will give you the classic chewy texture that a bagel should have. Bread flour has a higher protein content (13.5% to 14.5% compared to all-purpose flour which only has 9.5% to 11.5%), so don't be tempted to substitute with all-purpose flour.
- Morton kosher salt: Salt is an important ingredient to add flavor to your bread. I do not recommend using table salt.
- Cornmeal: This ingredient is used throughout the baking process to prevent the bagels from sticking to the pans.
- Za'atar seasoning: I prefer shopping at my local international grocery store to find this ingredient. Not only is it typically cheaper than buying za'atar online, but the flavor is better!
Check out the recipe card below for the specific measurements and instructions.
How To Make This Recipe
Here's a helpful photo guide to walk you through the process of making za'atar seasoned bagels.
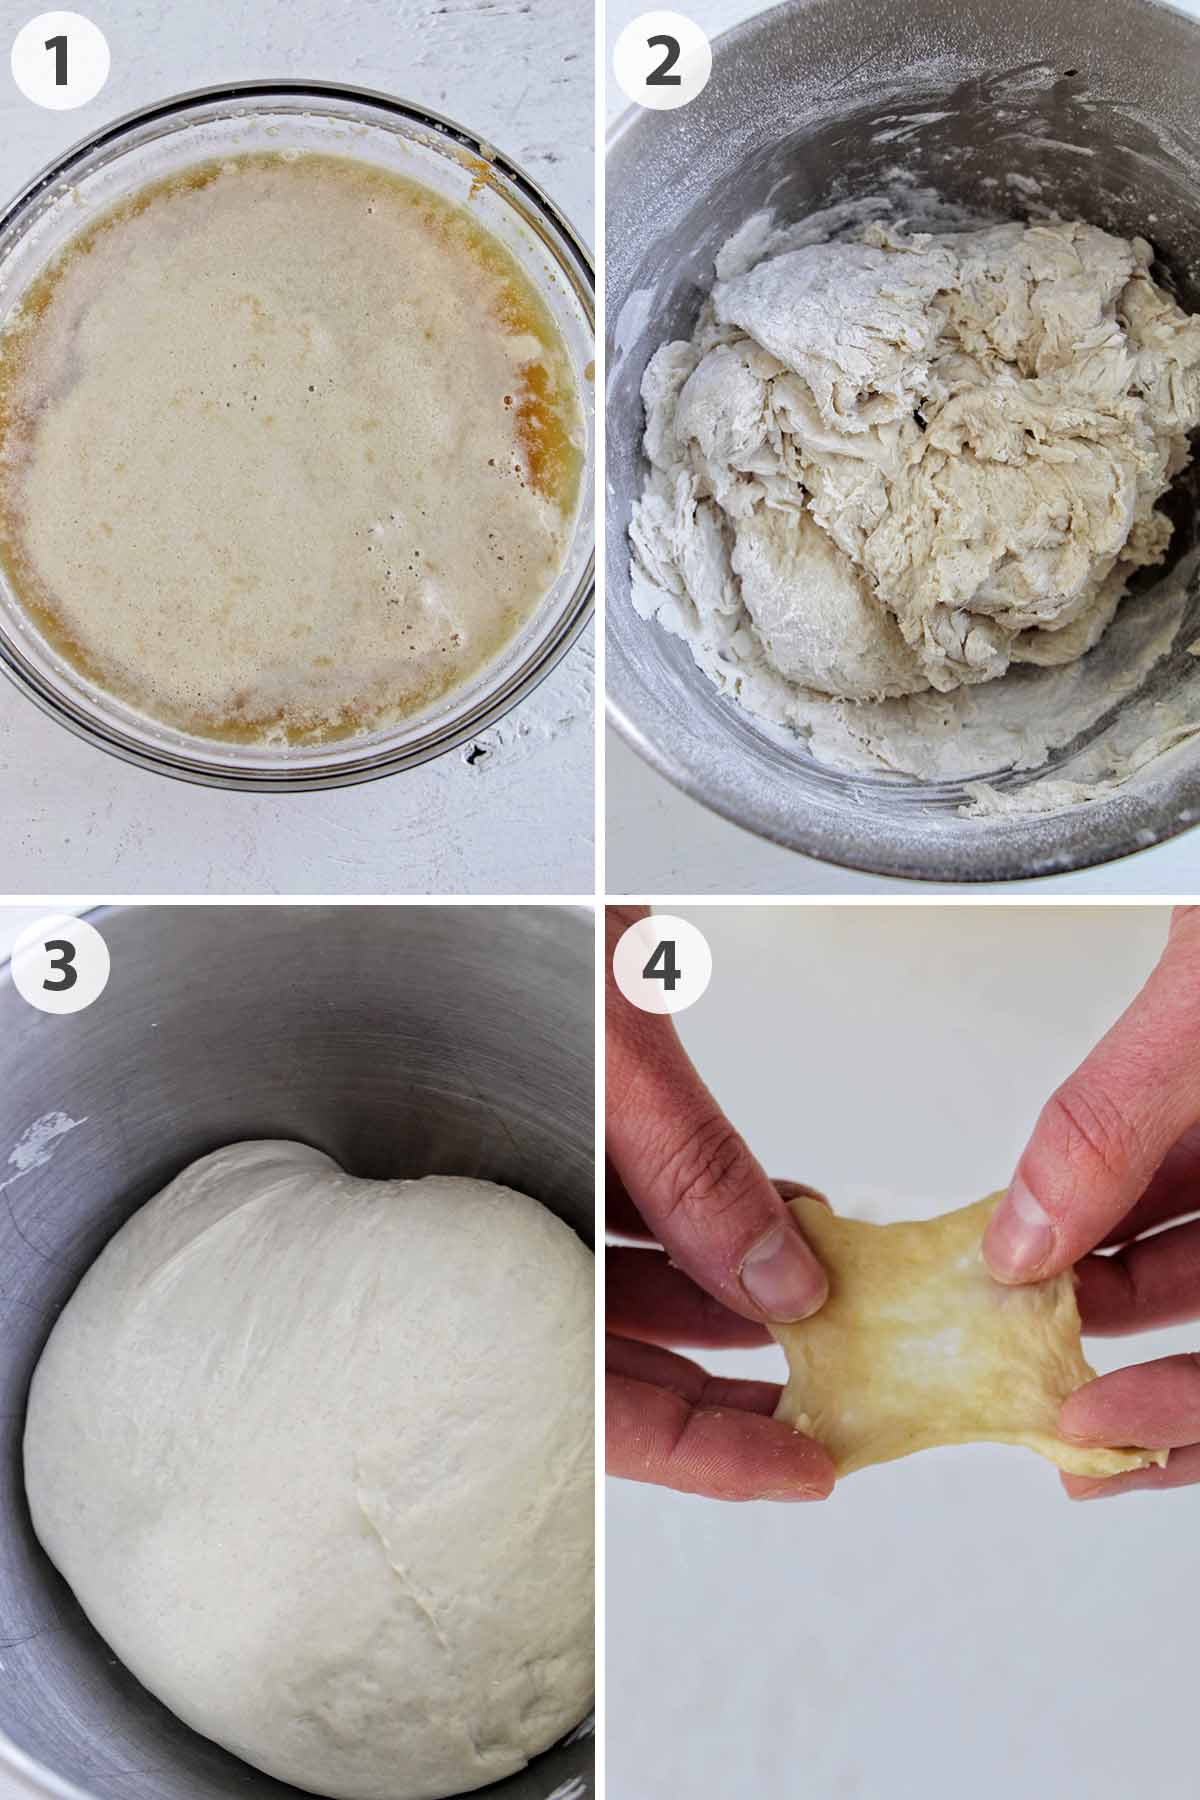
1. Add warm water, molasses, and yeast to a small bowl and whisk together until dissolved. Allow the mixture to sit until it’s foamy on top.
2. In the bowl of a stand mixer, add flour and salt. Then, slowly combine the water and yeast mixture with the flour on low speed, just until a shaggy dough forms. Scrape down the sides and increase speed to medium as needed, until the majority of the loose flour is incorporated into the dough.
If you don't have a mixer, I have notes in the recipe card below that explain how to hand-mix the dough.
3. Once a shaggy dough is formed, increase the speed to medium-high, and set a timer for 10 minutes to allow the dough to knead. Don't cut this time short! This is how you create great texture in the bagel.
You'll know the dough is done kneading when it is flexible and bouncy to the touch.
4. Just to be sure the dough is ready, let's double-check with the windowpane test. Grab a piece of dough between your fingers, stretch it, and see if web fibers have developed. You should be able to pull the dough thin enough that light shines through. If your dough rips as soon as you start pulling, you need to continue kneading the dough. You want the dough to be able to stretch rather than tear.
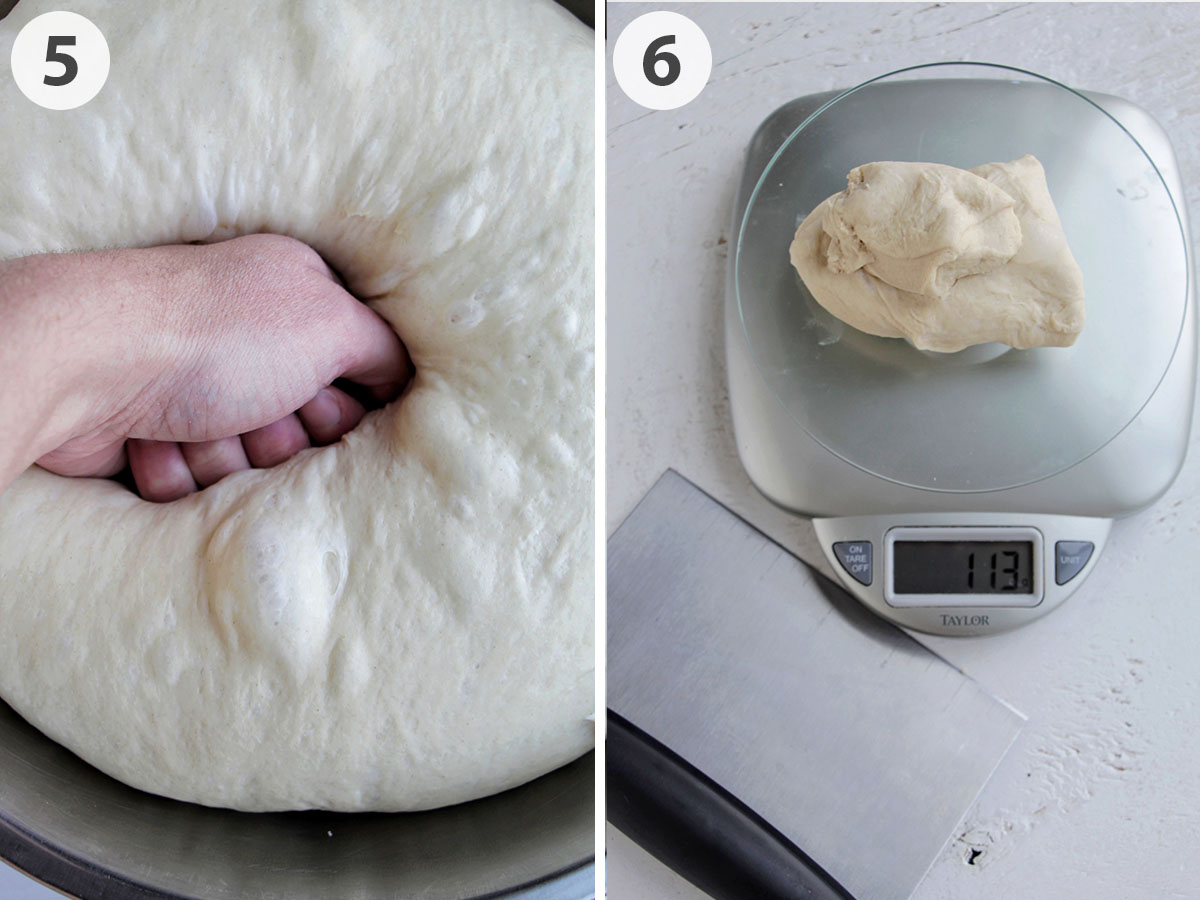
5. Roll the dough into a tight ball, then place it in a clean bowl and cover it with plastic wrap. Allow the dough to rise in a warm, draft-free place until doubled in size.
It usually takes about 45–60 minutes in my kitchen, but the rise time can vary depending on the temperature of your environment. For example, in a hotter kitchen, the dough will rise faster.
Punch down the risen dough a few times to release some of the gas that formed.
6. On a clean, un-floured surface, remove the dough from the bowl. Using a bench scraper or knife, divide the dough into 12 pieces weighing 4 ounces (113 grams).
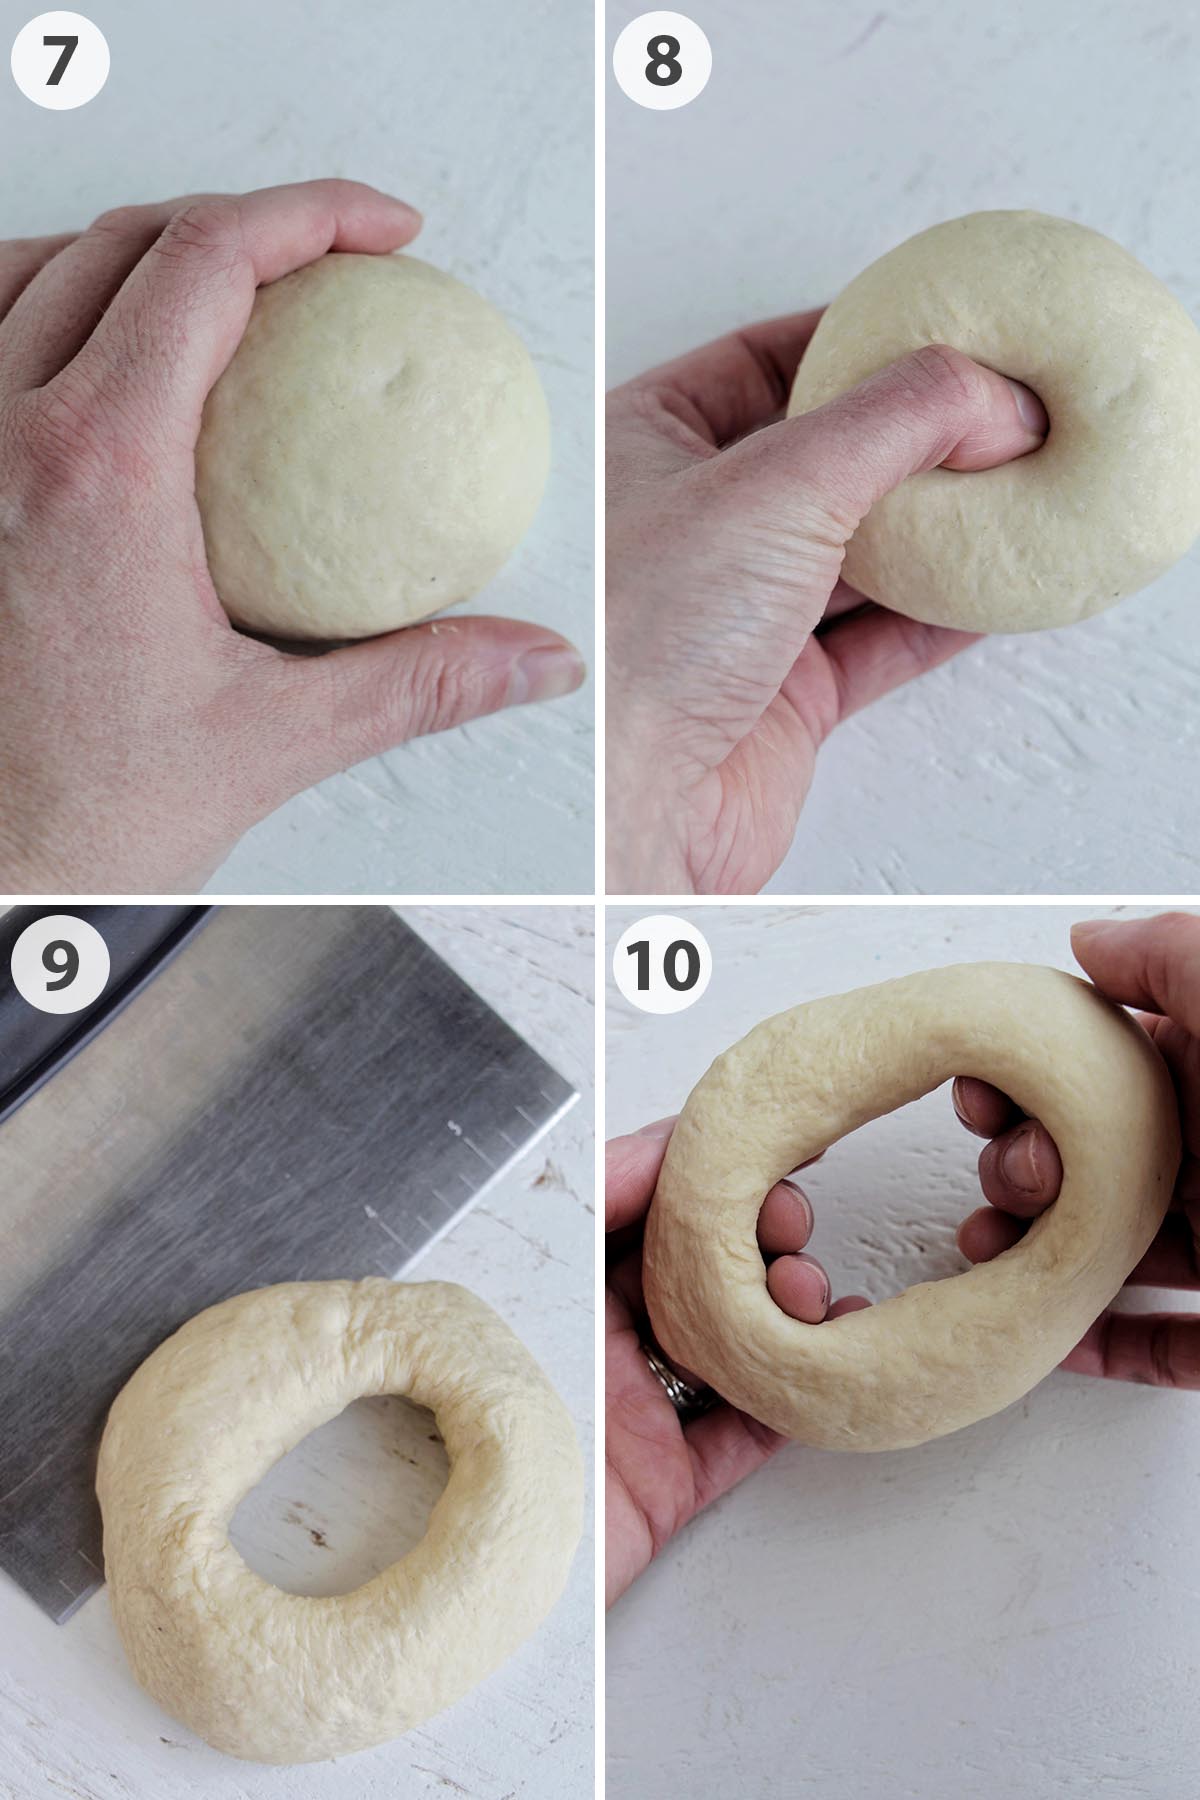
7. Next, it's time to shape the bagels. Be sure to work with only one piece of dough at a time, and keep the others covered with a towel to ensure the dough doesn't dry out. To shape the bagels, first roll the dough into a ball.
8. Push through the center of the ball using both thumbs to make a hole.
9. Then, continue to stretch the bagel out until it reaches about 4 inches (10 cm) across.
10. Be sure not to flatten the bagel too much throughout this process. Place completed bagels about 2 inches (5 cm) apart on a baking sheet that has been generously sprinkled with cornmeal.

11. Securely cover the bagels with plastic wrap so that no air can get into the baking sheet. Allow the dough to proof (rest) overnight in the refrigerator for 12–18 hours.
Proofing is the final rise before baking, and it allows the bagels to sit for an extended time, so they gain great flavor!
12. Fill a large pot or dutch oven about halfway full with water. Place over high heat to boil. Once the water is at a rolling boil, add in molasses, a tablespoon at a time, until the water is dark brown.
Allow the bagels to boil for 30 seconds on the first side, then flip, and boil for an additional 30 seconds on the second side.
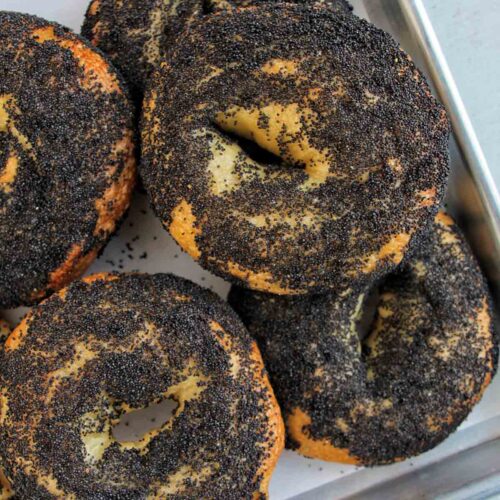
13. Immediately after the bagel has been removed from the water, gently dunk the top of the bagel into the plate with za'atar. Repeat until all of the bagels have been boiled and topped with za'atar.
14. Finally, bake the bagels for 15–19 minutes on hot pizza stones that have been preheated in the oven. I like to rotate my pizza stones halfway through baking to ensure an even cook.
Expert Tips
- Storage: You can store the bagels for up to 4 days in an airtight container at room temperature. I suggest toasting to reheat. Bagels can also be frozen for up to 6 months in the freezer. Slice them in half before you freeze them. Then, you can pop the frozen bagel straight into the toaster. You can find even more tips for storing bagels.
- Don't have a mixer but still want to make this za'atar bagel recipe? No problem! Check out the hand-kneading instructions in the notes section of the recipe card.
- It's really important to fully knead the dough until the proper amount of gluten has formed. This is an integral part of the bagel making process, so don't cut the kneading time short!
Troubleshooting FAQs
There are a few common reasons your bagels are turning out flat:
1. Be careful when handling the dough. After the bagels have been proofed overnight in the refrigerator, they are full of air. Be sure to carefully handle the bagels to avoid pushing the air out. Using a bench scraper to move the bagels will help with this issue.
2. Check that the bagels have not proofed in the refrigerator for too long. If the bagels are overproofed, the dough will start to flatten and they won't retain proper air. The same can happen during the bulk fermentation stage if you allow the dough to rise for too long and it more than doubles in size.
3. Don't open the oven door while the bagels are baking (except to rotate the pans halfway through baking). Oven spring, which is the final burst of rising that happens when the bagels are placed in the oven to cook, helps ensure your bagels are tall and fluffy. If you open the oven during the first few minutes of baking, you could hinder the oven spring resulting in flat bagels.
Here are a few reasons your bagels are dense:
1. Don't open the oven door while the bagels are baking (except to rotate the pans halfway through baking). Oven spring, which is the final burst of rising that happens when the bagels are placed in the oven to cook, helps ensure your bagels are tall and fluffy. If you open the oven during the first few minutes of baking, you could hinder the oven spring resulting in dense bagels.
2. The bagel dough rose too much during the bulk fermentation stage or proofed too long in the refrigerator. If this happens, the dough will lose its elastic and bouncy texture, which will cause it to become dense.
3. Be sure you properly mixed the dough during the kneading stage. It's important that gluten has formed during this stage. To check that the dough is ready, grab a piece of dough between your fingers, stretch it, and see if web fibers have developed. You should be able to pull the dough thin enough that light shines through. If your dough rips as soon as you start pulling, you need to continue kneading the dough. You want the dough to be able to stretch rather than tear.
Don't boil the bagels for too long or they can become overly chewy and tough. It's best to boil the bagels for just 30 seconds on each side.
Overcooking the bagels can also cause them to become chewy and tough. I've found that baking my bagels at 450°F (230°C) for 15–19 minutes gives the bagels a golden brown color with the perfect amount of chew.
Check that your oven is properly heating. I like to use an oven thermometer to ensure that my oven is reaching 450°F (230°C). Allow both the oven and the pizza stone to preheat for at least 30 minutes to ensure it's properly heated.
More Bagel Recipes
Love this recipe? Please leave a 5-star ⭐⭐⭐⭐⭐ rating in the recipe card below. Have questions as you're cooking? Leave a comment below, and I'll help!

Za'atar Bagels (6 Ingredients)
Equipment
- kitchen scale
- bench scraper or knife
- pizza stone
- large pot or dutch oven
- slotted spoon or spider strainer
- wire rack
Ingredients
- 2 cups plus 2 tablespoons lukewarm water (110°F or 43°C)
- 1 tablespoon, plus several tablespoons for boiling molasses
- 2 teaspoons active dry yeast
- 7 cups bread flour
- 2 teaspoons Morton kosher salt
- cornmeal for dusting
- ¾ cup za'atar seasoning
Instructions
- Add warm water, 1 tablespoon (17 grams) molasses, and yeast to a small bowl and whisk together until dissolved. Allow the mixture to sit until it’s foamy on top, about 5 minutes.
- Whisk together flour and salt in a stand mixer bowl. Fit stand mixer with the dough hook attachment (see notes below for hand kneading instructions). Combine the water and yeast mixture with the flour on low speed, just until a shaggy dough forms. Scrape down the sides, and increase speed to medium as needed, until the majority of the loose flour is incorporated into the dough. Once a shaggy dough is formed, increase the speed to medium high, and set a timer for 10 minutes to allow the dough to knead. During this time, keep an eye on your stand mixer to ensure it doesn’t wiggle off the counter or overheat. If at any point your mixer becomes too hot, take a break or begin hand kneading (see notes). The dough is done kneading when it is flexible and bouncy to the touch. To check that the dough is ready, grab a piece of dough between your fingers, stretch it, and see if web fibers have developed. You should be able to pull the dough thin enough that light shines through. If your dough rips as soon as you start pulling, you need to continue kneading the dough. You want the dough to be able to stretch rather than tear.
- Roll the dough into a tight ball, then place it in a clean bowl, and cover with plastic wrap. Allow the dough to rise in a warm, draft-free place until doubled in size, about 60–90 minutes. Rise time will vary depending on the temperature of your environment.
- While the dough is rising, prepare two baking sheets generously sprinkled with cornmeal. Set aside.
- Punch down the risen dough a few times to release some of the gas that formed. On a clean, un-floured surface, remove the dough from the bowl. Using a bench scraper or knife, divide the dough into pieces weighing 4 ounces (113 grams).
- Working with one piece of dough at a time, and keeping the others covered with a tea towel, roll the dough into a ball. Push through the center of the ball using both thumbs to make a hole. Then, continue to stretch the bagel out until it reaches about 4 inches (10 cm) across. Be sure not to flatten the bagel too much throughout this process. Place completed bagels about 2 inches (5 cm) apart on the previously prepared baking sheets, and cover with plastic wrap. Repeat until all pieces of the dough have been shaped.
- Securely cover the bagels with plastic wrap, so no air can get into the baking sheet. Allow dough to proof overnight in the refrigerator for 12–18 hours.
- Arrange the oven racks to the upper and lower thirds of the oven. Place a pizza stone on each of the racks, then heat oven to 450°F (230°C). Allow the oven and pizza stones to preheat for at least 30 minutes.
- Place the za'atar seasoning on a shallow plate. Fill a large pot or dutch oven about halfway full with water. Place over high heat to boil. Once the water is at a rolling boil, add in molasses, a tablespoon at a time, until the water is dark brown.
- Remove the bagels from the refrigerator. They will have puffed up slightly overnight. Gently, place as many bagels into the boiling water as will comfortably fit without over crowding the pot or dutch oven. Allow the bagels to boil for 30 seconds on the first side, then flip, and boil for an additional 30 seconds on the second side. Using a slotted spoon, remove the bagel from the boiling water. Immediately after the bagel has been removed from the water, gently dunk the top of the bagel into the plate with za'atar. Place on a wire rack to cool. Repeat until all of the bagels have been boiled and topped with za'atar.
- Carefully, remove the hot pizza stones from the oven. Transfer the cornmeal from the original baking sheets to the hot pizza stone to prevent sticking. Place bagels on the stone about 2 inches (5 cm) apart. Bake for 15–19 minutes, rotating the pans halfway through baking, until bagels are golden brown and shiny on top. Keep an eye on your bagels (without opening the oven door) to ensure they're not getting too dark. Remove from the oven and let cool completely on a wire rack.

Leave a Reply